


Adjustments, Maintenance, and Lubrication
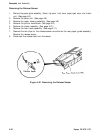
Left
Frame
8ox
Oriver
-4/
’
Adjustment
Bushing
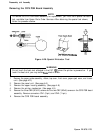
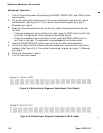
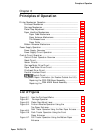
Figure 5-2. Parallelism
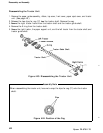
Acijustment
Bushing
9.
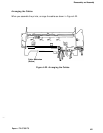
Rotate the adjusting bushing until the platen gap is large enough for a 0.36 mm thickness
gauge, but too narrow for a 0.40 mm thickness gauge.
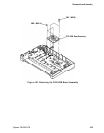
0.38
mm
+I
Id
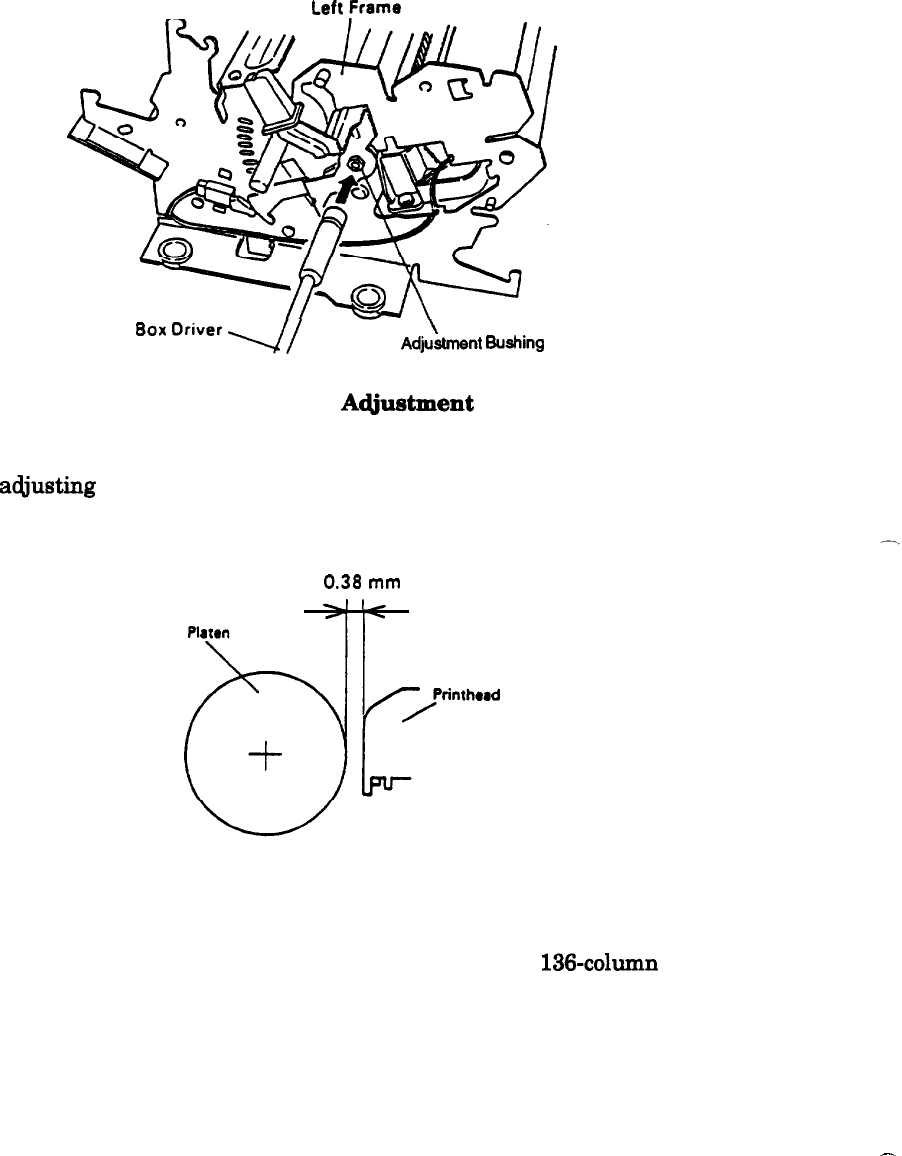
Figure 5-3. Platen Gap
10.
Move the carriage until the edge of the printhead is at the 75th column print position for
an 80-column printer or at the 130th column print position for a
136-column
printer.
11.
Use the 7 mm box driver to rotate the parallelism adjustment bushing on the right frame
of the printer mechanism.
12.
Rotate the adjustment bushing until the platen gap is large enough for a 0.36 mm
thickness gauge but too narrow for a 0.40 mm thickness gauge.
13.
Move the printhead back to the 5th column print position again. Check the platen gap
with the thickness gauge. It should still be large enough for the 0.36 mm thickness gauge
-.
but too narrow for the 0.40 mm gauge. If this is not the case, go back to step 8.
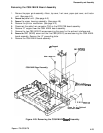
14.
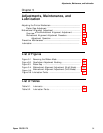
Remove the printhead, install the ribbon mask, replace the printhead, and install the
printer mechanism back in the case.
5-2
Epson FX-870/1170