


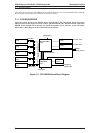
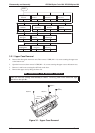
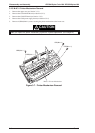
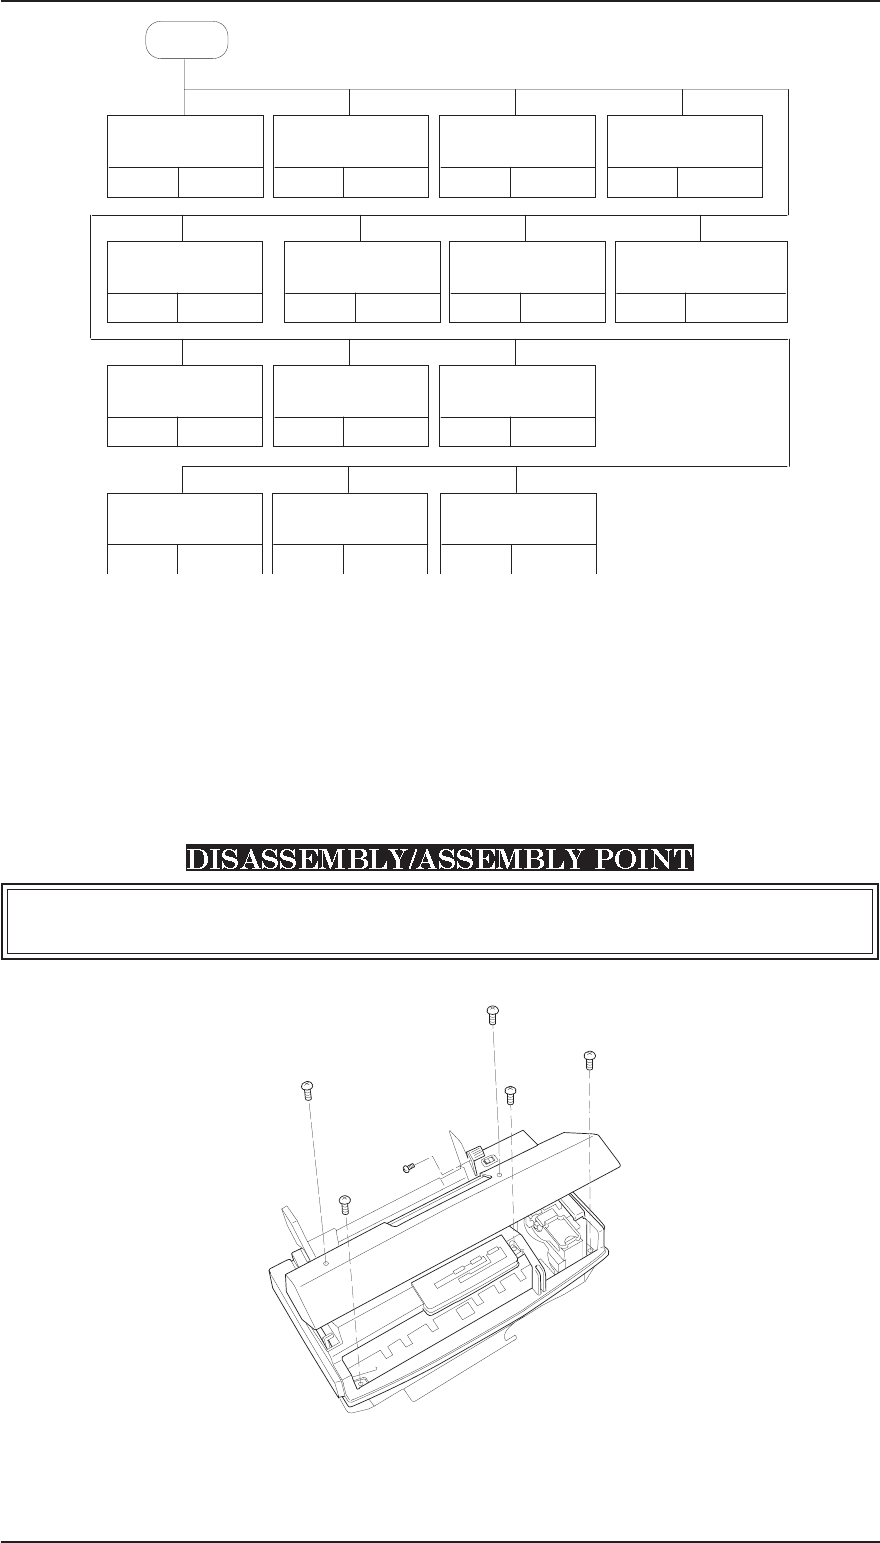
3.2.1 Upper Case Removal
1.1.
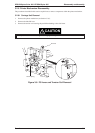
Remove the sheet guide from main unit. Then remove 2 CBB (M4 × 11) screws securing the upper case
to the bottom case.
2.
Open the front cover; then remove 2 CBB (M4 × 11) screws securing the upper case to the bottom case.
3. Remove 1 small screw securing the ASF knob to the lever.
4. Remove the upper case by lifting the front side.
When you move the carriage unit manually to remove 1 screw(*), push it once toward the right,
and move to the left side .
CBB(M4X11)
CBB(M4X11)
CBB(M4X11)
CBB(M4X11)
CBB(M4X11)
Small Screw
(*)
Figure 3-1. Upper Case Removal
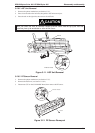
START
3.2.1
Page 3-2
Upper Case
Removal
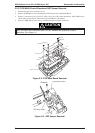
3.2.2
Page 3-3
C199 Main Board
Removal
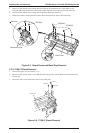
3.2.3
Page 3-4
C160 I/F Board
Removal
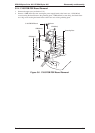
3.2.4
Page 3-5
C160 PS Board
Removal
3.2.5
Page 3-6
M-4C11 Mechanism
Removal
3.2.6.1
Page 3-7
Carriage Unit
Removal
3.2.6.2
Page 3-9
ASF Unit
Removal
3.2.6.3 Page 3-9
PE Sensor
Removal
3.2.6.4
Page 3-10
Pickup Roller
Removal
3.2.6.5
Page 3-10
CRHP Sensor
Removal
3.2.6.6
Page 3-11
Paper Feed Roller
Unit Removal
3.2.6.8 Page 3-12
Head Cleaner
Replacement
3.2.6.9 Page 3-13
Pump Unit
Removal
3.2.6.10 Page 3-14
Paper Feed Motor
Removal
Disassembly and Assembly EPSON Stylus Color 200 / EPSON Stylus 200
3-2 Rev. A