


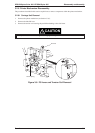
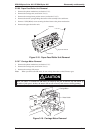


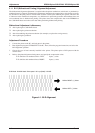

3.2.6.6 Paper Feed Roller Unit Removal
1. Remove the printer mechanism (see Section 3.2.5).
2. Remove the carriage unit (see Section 3.2.6.1).
3. Remove the carriage home position sensor (see Section 3.2.6.5).
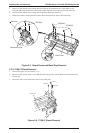
4. Remove the tension spring holding the tension roller assembly to the sub frame.
5.
Remove 2 CPS (M3x6) screws securing the front frame to the printer mechanism.
6. Remove the paper feed roller unit.
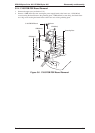
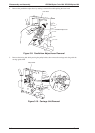
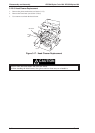
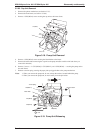
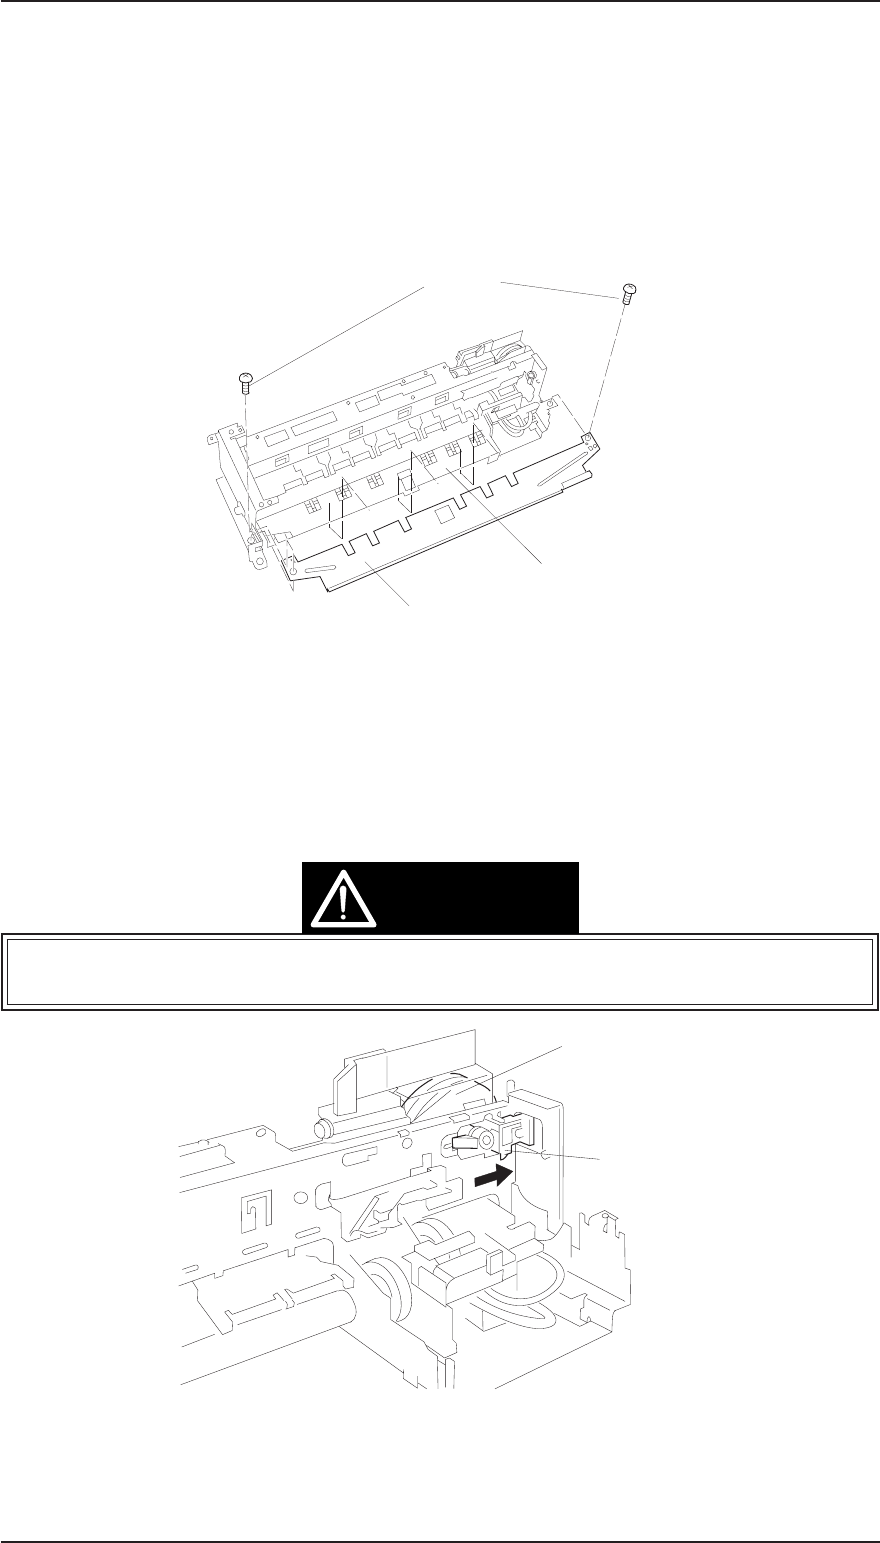
3.2.6.7 Carriage Motor Removal
1. Remove the printer mechanism (see Section 3.2.5).
2. Remove the carriage unit (see Section 3.2.6.1).
3. Remove the carriage (CR) motor.
Note:
When you remove the CR motor, be sure to keep the washer on the CR motor gear.
When you remove or remount the CR motor, be careful of the post at both the top and bottom of
the motor. If this post is broken, the motor will not seat correctly and can move during printing.
Paper Feed Roller Unit
Front Frame
CPS(M3x6)
Figure 3-15. Paper Feed Roller Unit Removal
Carriage Motor
Motor Holder
Figure 3-16. Carriage Motor Removal
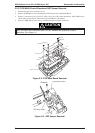
CAUTION
EPSON Stylus Color 200 / EPSON Stylus 200 Disassembly and Assembly
Rev. A 3-11