


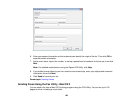

4. Select Advanced Options.
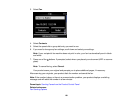
5. Select Broadcast Fax.
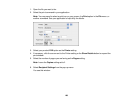
6. Select Add New then do one of the following:
• Select Enter Fax Number then use the numeric keypad to manually enter fax numbers.
• Select Select From Contacts then select a speed or group dial entry.
7. Repeat the step above to add additional fax recipients, if necessary.
8. When you have finished selecting your recipients, select Done.
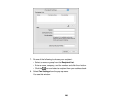
9. If you need to change any fax settings, scroll down and select your settings.
10. Press the B&W button. If prompted, select where you placed your document (ADF or scanner
glass).
Note: To cancel faxing, select Cancel.
Your product scans your original and prompts you to place additional pages, if necessary.
After scanning your originals, your product dials the number and sends the fax.
Note: If the number is busy or there is a communication problem, your product displays a redialing
message and will redial the number in a few minutes.
Parent topic: Sending Faxes from the Product Control Panel
Related references
Fax Sending Options
Related topics
Placing Originals on the Product
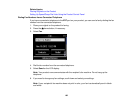
Sending a Fax at a Specified Time
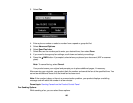
You can send a fax at a time of your choice.
Note: You can only send faxes in black-and-white when you use this option.
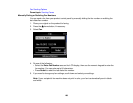
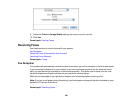
1. Place your original on the product for faxing.
2. Press the home button, if necessary.
194