E-39
EnglishDeutschEspañolFrançaisItalianoPortuguês
ġུġࢊ
Póññêèé
Ё᭛
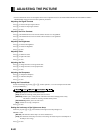
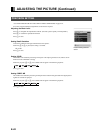
BASIC PROCEDURE OF ADJUSTMENT MENU OPERATIONS
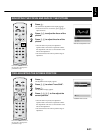
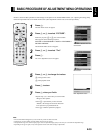
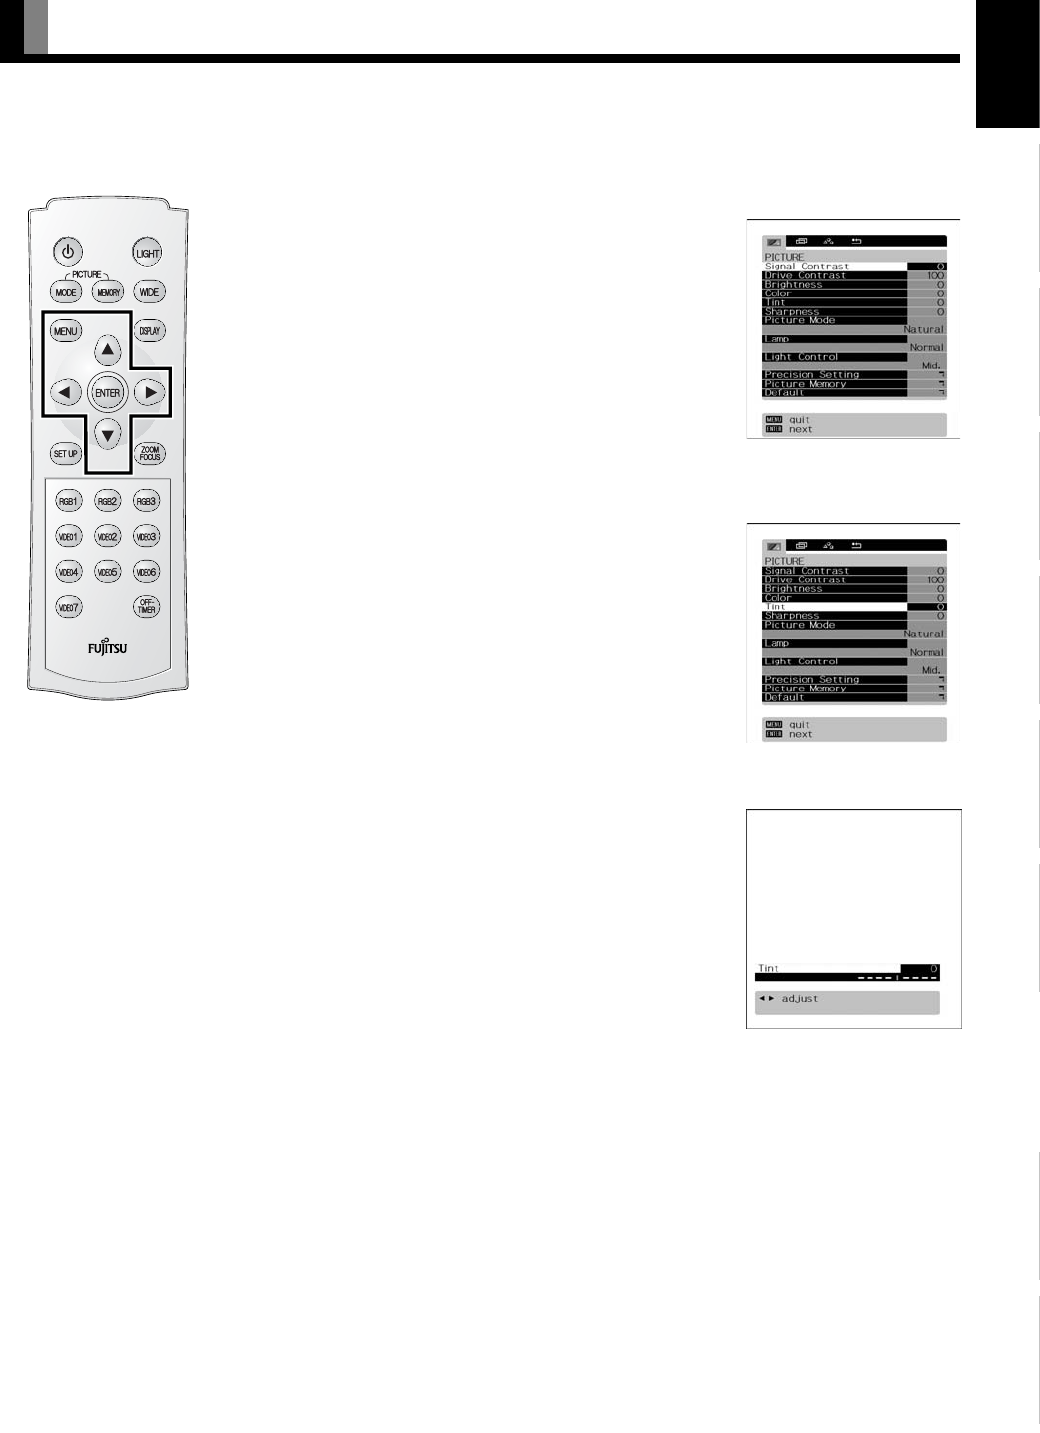
• Below is shown the basic procedure to make changes to the options in the ADJUSTMENT MENU. (Ex.: adjusting tint setting (Tint))
• Select an input mode to be set on the PICTURE screen. (Store adjustment contents to be set for each input mode.)
1
Press ;.
The main menu screen will appear.
2
Press E or F to select “PICTURE”.
Each time you press E or F, one of the available
menus appears in the following sequence:
PICTURE < POSITION/SIZE < AUDIO < FEATURES <
FACTORY DEFAULT
The PICTURE Menu screen will appear.
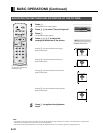
3
Press C or D to select “Tint”.
4
Press <.
The “Tint” adjustment screen will appear.
5
Press E or F to change tint values.
F: More greenish colors
E: More purplish colors
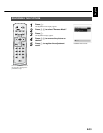
6
Press < to store.
7
Press ; when you finish.
* Repeat steps 3, 4, 5 and 6 when you wish to make
changes to other options.
* When
< is pressed after you have selected
“Default”, the settings are returned to those that
were valid when you purchased the set.
* Press
; to halt the operation in progress.
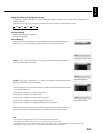
“PICTURE” selected in the main
menu screen
“Tint” selected in the PICTURE
Menu screen
“Tint” adjustment screen
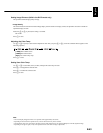
Note
• On-screen information disappears if you do not take any action for about 60 seconds.
• Functions may not be available with some models and some device options.
• The adjustment range varies with the display signal. You can adjust the display quality to the value you want within the adjustable range.
• Depending on the type of signal, it may not be possible to make some of the settings or adjustments.


