E-47
EnglishDeutschEspañolFrançaisItalianoPortuguês
ġུġࢊ
Póññêèé
Ё᭛
OTHER ADJUSTMENTS
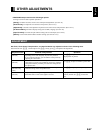
• FEATURES setup screen has the following 6 options.
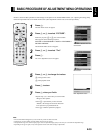
See Page E-39 for the basic operation procedures.
[Set Up]: Can make lens shift, screen reverse and keystone adjustments. (See P. E-35.)
[Zoom/Focus]: Can adjust the size and focus of the picture. (See P. E-35.)
[Adjustment]: Can make a fine adjustment of pictures such as Dot Clock, Clamp Position. (See P. E-47.)
[On Screen Menu]: Can make a display setting such as OSD, Language. (See P. E-48.)
[Input Terminal]: Can make an input terminal setting such as Video Input. (See P. E-49.)
[Others]: Used to make Screen Orbiter and other settings. (See P. E-50–E-52.)
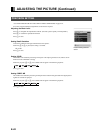
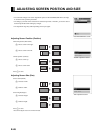
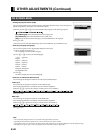
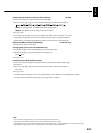
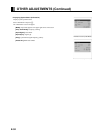
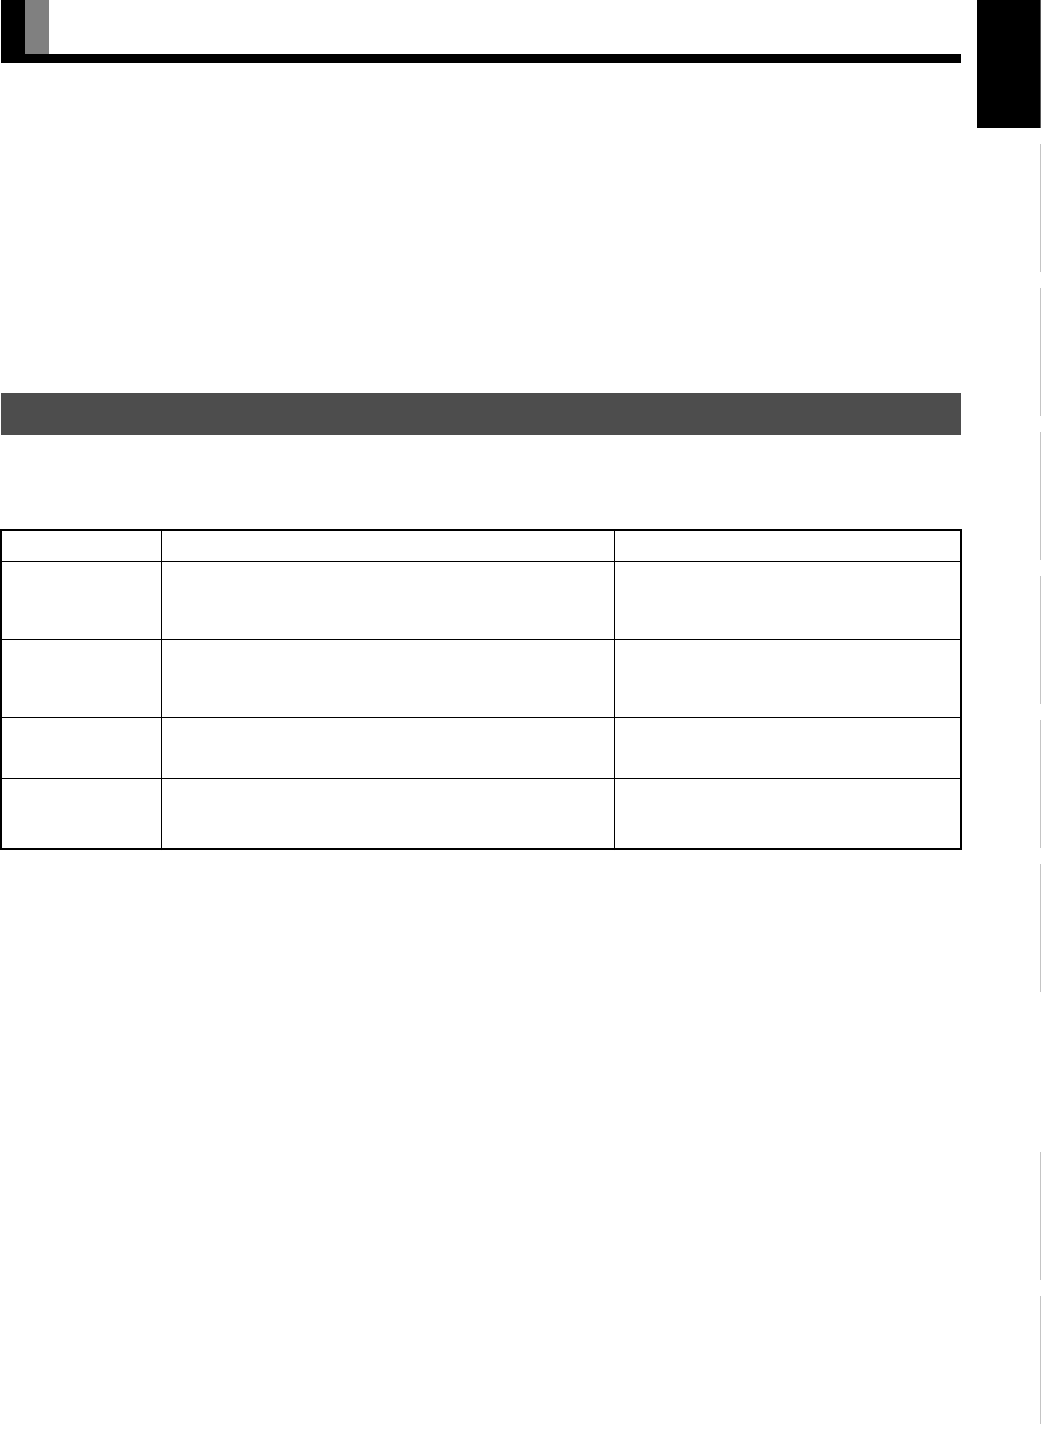
Dot Clock, Clock Phase, Clamp Position, and Auto Calibration are adjusted as shown in the following chart.
Select the item with
CD , and then adjust with EF. Finally, press < to implement the adjustments.
ADJUSTMENT
Adjustment Item Contents of Adjustments Operation
Dot Clock
(mD-sub)
You may find the vertically-striped pattern in pictures,
depending on the clock frequency of your PC’s processor.
If you experience blurring, you can obtain a clearer picture by
adjusting the “Dot Clock”.
Use
EF to adjust to minimize vertically-
striped pattern in pictures.
Clock Phase
(mD-sub)
Pictures and the outline of letters may blur or flicker as the
clock phase of your PC may be different. In this case, adjust the
clock phase manually. Normally, the automatic setting ensures
the optimal value.
Use
EF to adjust to minimize pictures blur.
Clamp Position
(mD-sub Comp.
video)
Adjusts the extremely dark or bright pictures. Normally, the
automatic setting ensures the optimal value.
Use
EF to adjust pictures optimally.
Auto Calibration
(mD-sub)
Adjusts the dynamic range of images to the optimum.
Performed while a white screen signal is received.
Display the Auto Calibration screen and select
Execute, and then use
CD to select the
item.


