


31
Saving and Resetting Menu Selections
Once you’ve adjusted the picture settings, you can save them as a group using the Memory
feature. This lets you easily recall them and switch from one group of settings to another. You
can save up to six groups of settings.
If necessary, you can use the projector’s reset options to restore its factory-default (original)
settings. You can clear all the settings or just the settings in a specific menu.
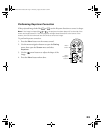
Creating Memory Settings
After adjusting the picture to your liking, you can save your settings as a group in the
projector’s memory. This stores all the image quality settings described on pages 27
through 30, plus the Aspect and Color Mode settings (pages 19 and 20).
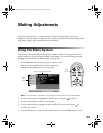
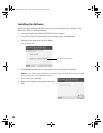
1. Press the
Menu button on the remote control.
2. Open the
Image menu, then select Memory: Standard.
3. Select the memory name you want to use, then press the button. Your settings are
saved.
Note: Saved settings are indicated by a green highlight next to the memory name. If you
select a name that is already in use, the existing contents will be erased and the new settings
saved in their place. You can use Cinema Color Editor to customize the names of the settings
(see page 47).
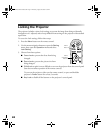
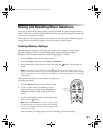
Once you have created one or more memory settings, you
can easily recall them:
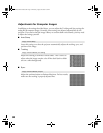
1. Press the
Memory button on the remote control.
2. If you’ve used Cinema Color Editor to create
advanced memory settings, choose
Standard or
Advance to select the type of setting you want
to use.
3. Use the arrow buttons to select the desired setting,
then press the button.
Note: Select Last Memory if you want to return to the
last standard memory setting that was used (available
only if you’ve created advanced memory settings using
Cinema Color Editor).
After a moment, the image appears on the screen using your selected setting.
Memory
button
PowerLite Cinema 200+.book Page 31 Thursday, August 18, 2005 2:37 PM