


www.gateway.com
43
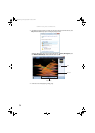
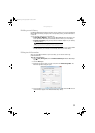
7 Click any of the following options to customize your video disc:
• Preview shows how your DVD’s opening menu will look using the current settings.
• Menu text changes the disc title, font, and button names.
• Customize menu changes the menu fonts, background and foreground videos, audio
track, and button styles.
• Slide show creates a slide show from photo files.
8 Click Burn. Your DVD is recorded.
Creating and copying data discs
You can burn two types of data discs:
• Live File System writes files immediately to the recordable disc, making it a one-step
process like copying files to a flash drive. Windows XP and later versions of Windows
support this feature.
• Mastered copies files to a temporary folder before you tell the computer to burn the files
to the disc. Although this is a slower process than Live File System, the resulting disc is
compatible with all operating systems.
The instructions below show you how to burn a disc using the Mastered format, which can be
read by all personal computers, regardless of the operating system installed.
Creating a data disc
To create a data disc:
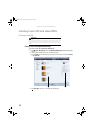
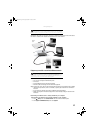
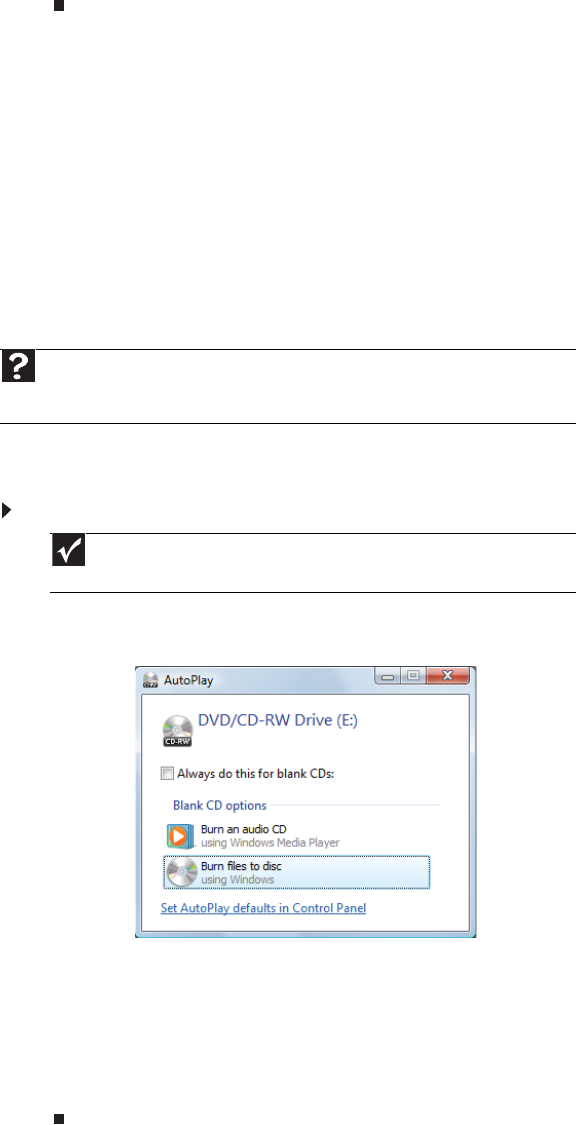
1 Insert a blank, writable optical disc into your optical disc drive. The Autoplay dialog box
opens.
2 Click Burn files to disc. The Prepare this blank disc dialog box opens.
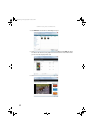
3 Type the title of the disc, then click Show formatting options.
4 Click Mastered, then click Next. An empty folder opens.
5 Open the folder that contains the files you want to burn to disc, then click and drag the
files to the empty disc folder.
6 Click Burn to disc. The files are burned to the disc.
Help
For information about burning a disc using the Live File System format, click Start,
then click Help and Support. Type live file system in the Search Help box, then
press E
NTER.
Important
Some CDs have copy protection software. You cannot create MP3 files from
these CDs and you may not be able to listen to these CDs on your computer.
8511856.book Page 43 Tuesday, November 21, 2006 5:14 PM