640t – Installation and Operating Instructions
Page 6-4
lo a d i n g fi l m on t o t h e su p p l y sh a f t s
If you are loading lm for the rst time, skip these
instructions and start with the instructions,
“To load
lms onto the supply shafts:” on page 6-5
. If you are
replacing existing lms, perform the following set of
instructions,
“To remove existing lms:” on page 6-4
.
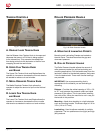
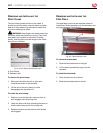
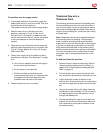
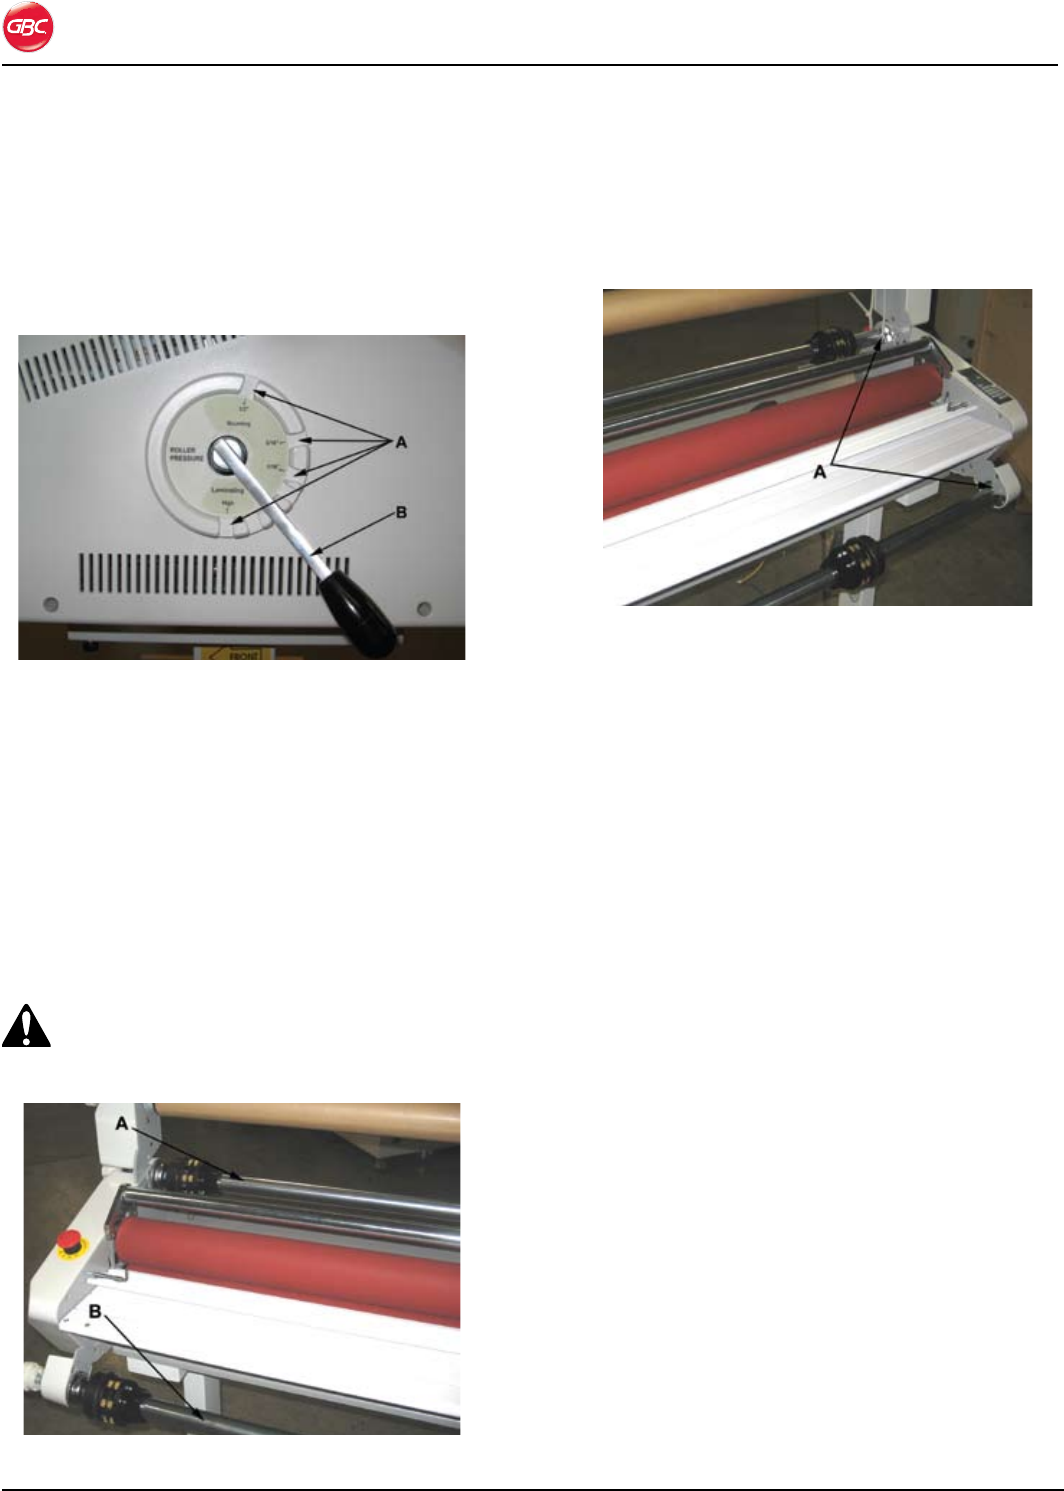
Fig. 6-6. Roller Pressure Handle.
To remove existing films:
Refer to Figs. 6-6 through 6-8.
Put the roller pressure handle to 1. 1/2”.
A in “Fig. 6-6. Roller Pressure Handle.”
Cut the remaining top and bottom films just 2.
ahead of the pressure rollers. Do not allow the
remaining film to pass through the laminator if
there is any exposed adhesive. Pull the remaining
film out the front of the machine.
CAUTION: Be careful to not cut the pressure
rollers. Failure to observe this notice can result in
damage to the rollers.
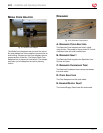
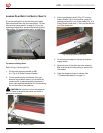
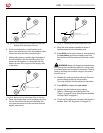
Fig. 6-7. Supply Shafts.
If the unwind/supply shaft (“Fig. 6-7. Unwind/3.
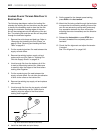
Supply Shafts.”) is on the machine, grasp the
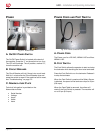
bearing end and lift it out of the cradle (“Fig. 6-8.
Supply Shaft Cradle End.”). Then pull the left end
out of the brake hub.
Fig. 6-8. Supply Shaft Cradle End.
Do the previous steps for the top and bottom 4.
supply shafts.
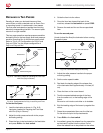
Slide the core off the shaft and core adaptors. 5.
Tip: Twist the shaft while pulling to remove the
core easier.
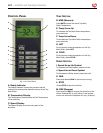
Clean the pressure rollers if needed. See 6.
“7. Operator Maintenance” on page 7-1
.


