115
Advanced Operations
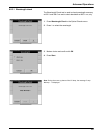
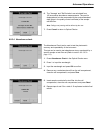
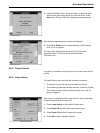
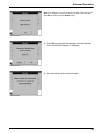
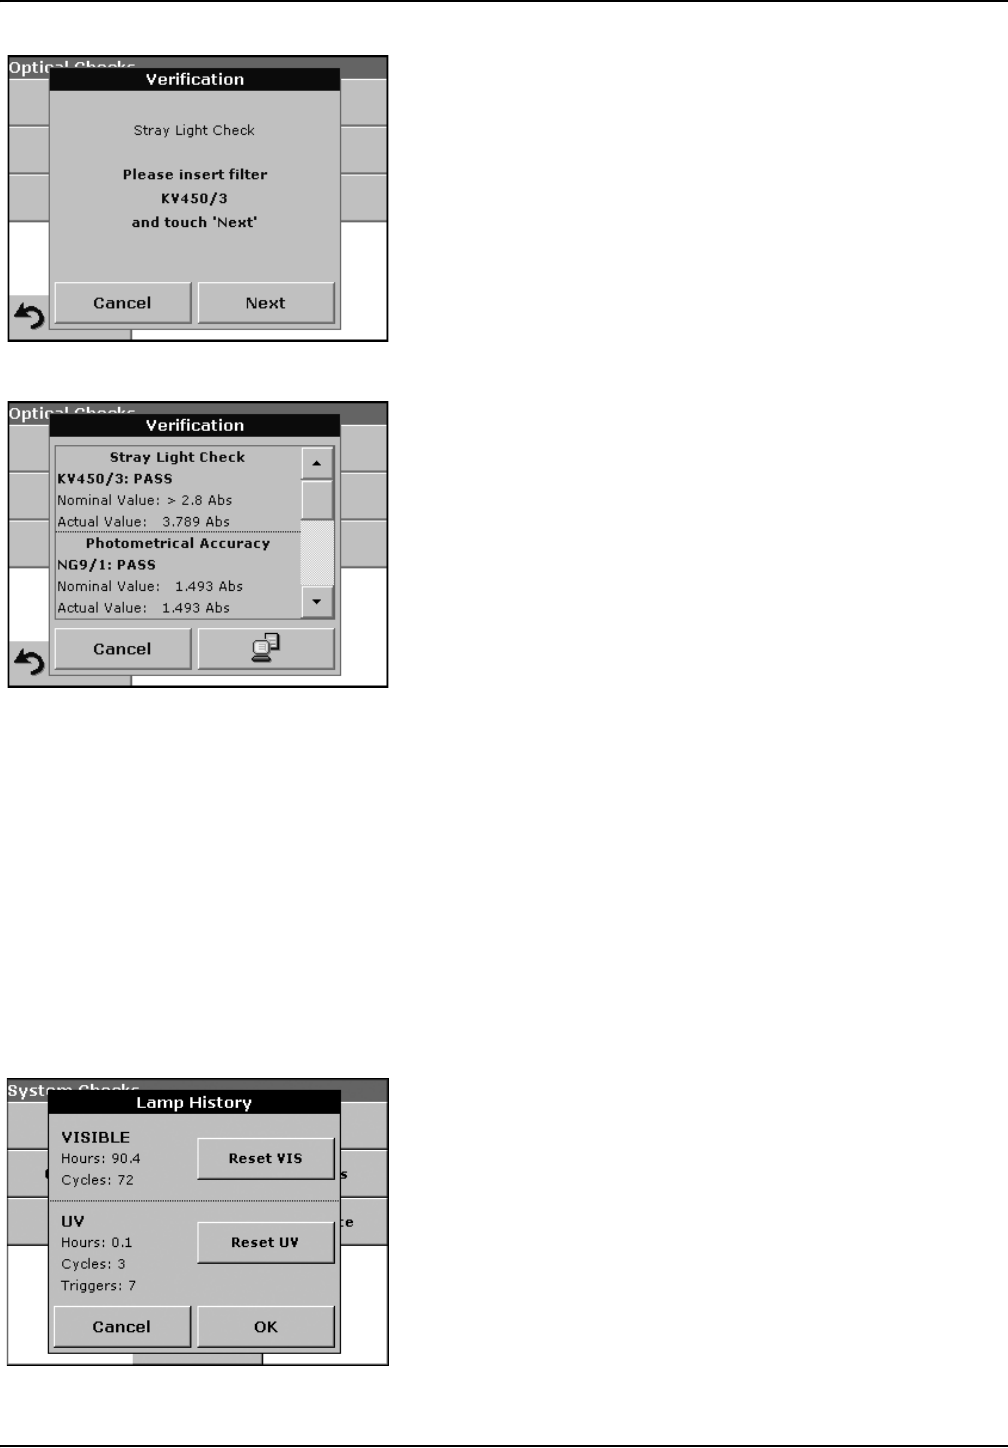
8. Insert the different filter in the given order one after the other
with the filter glass facing the front of the instrument. Press
Next after inserting a filter and closing the cell compartment
After the last measurement the results are displayed.
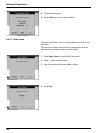
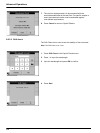
9. Press PC & Printer icon to send the data to a USB memory
stick, PC or to a printer.
The files will be stored automatically as CSV file (Comma
Separated Value). The file name will be formatted as
“Verification.csv“.
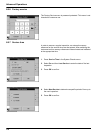
6.8.4 Output checks
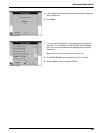
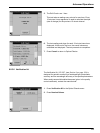
If a printer is connected a test printing of the current screen will be
printed.
6.8.5 Lamp history
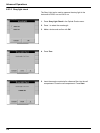
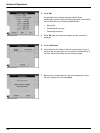
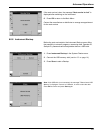
The Lamp History menu provides the following information:
• The amount of time that the lamp has been on (Hours)
• The number of times that the lamp has been turned on (Cycles)
• The number of times that the instrument tried to turn the UV
lamp on (triggers)
After a lamp is replaced and the Lamp History is reset, the display
of the total operating time is reset to 0.
1. Press Lamp History in the System Checks menu.
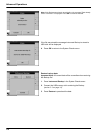
2. Press Reset VIS and the Visible Lamp will be reset.
3. Press Reset UV and the UV Lamp will be reset.
4. Press OK to return to System Checks.


