


(109 intentionally excluded)
5-24 Diagnostic Tests
110 Format Disk/Clear Error Log
• To format a disk, refer to the Guide to Operations manual.
5 To clear the error log, follow the procedure on clearing the log found in “Clearing the
Error Log” on page 1-24.
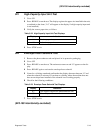
111 LED Printhead Test
1 Open the top cover.
2 Remove the photoconductor unit and place it in its protective packaging.
3 Remove the developer station.
4 To help you identify the LEDs, place a white sheet of paper in the photoconductor
cavity over the printhead’s fiber optics.
5 Go to: 111
6 Press: READY to run the test. The LED printhead turns on.
7 Verify that the LEDs cycle on and off from front to back.
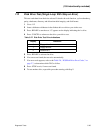
These codes may indicate specific error conditions:
8 Press: STOP to exit.
9 Reinstall the photoconductor unit.
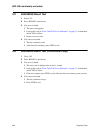
Table 5-26. LED Printhead Test Error Displays
Display Indication
4-1 You forgot to remove the photoconductor unit
040 Seam sensor (sender) short
When using the 110 function of the self-diagnostic mode,
any existing data on the specified disk is at risk!
Caution
If you access this function by mistake, do not proceed.
Press STOP immediately to exit the utility.
Caution