


Using IVI with Visual C++
23
•
•
•
•
•
•
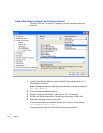
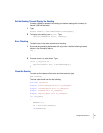
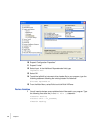
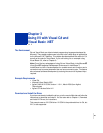
2 From the Tools menu select Options.
3 Expand “Projects and Solutions”, then click on “VC++ Directories”
4 Click on the “Show directories for” combo box and choose “Library files”
5 Add the following entry to your “Library files” path.
This entry points to the default directory for IVI drivers. This is typically:
“C:\Program Files\IVI\Lib\msc”
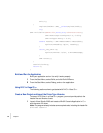
6 Click on the “Show directories for” combo box and choose “Include files”
7 Add the following entries to your “Include files” path.
The first entry will point to the default directory for IVI drivers. This is typically:
“C:\Program Files\IVI\include”
The second entry points to the VISA header files that IVI-C drivers require:
“$(VXIPNPPATH)WinNT\include”
8 Click OK
Note:
These initial steps need only be done once for each computer you use. All
subsequent Visual Studio projects will continue to use these settings and will be
able to locate your IVI-COM drivers.
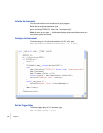
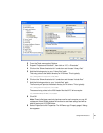
9 Select Project and click Properties. The IVIDemo.cpp “Property pages” dialog
box appears.