


Chapter 13 Alternative Rack Mounting
149
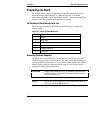
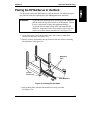
1. Find the rack-mounting template for the HP Systems rack.
If the HP NetServer is still in its box, the template should be in the
accessories tray sitting on top of the NetServer itself.
2. Hold the template alongside the outside face (front) of the left front rack
column.
3. Line up the bottom of the template with the lower line of space the
NetServer will occupy.
The template covers a span of 5 EIA units, which is the height requirement
of the NetServer.
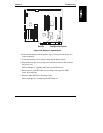
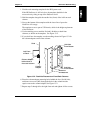
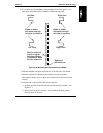
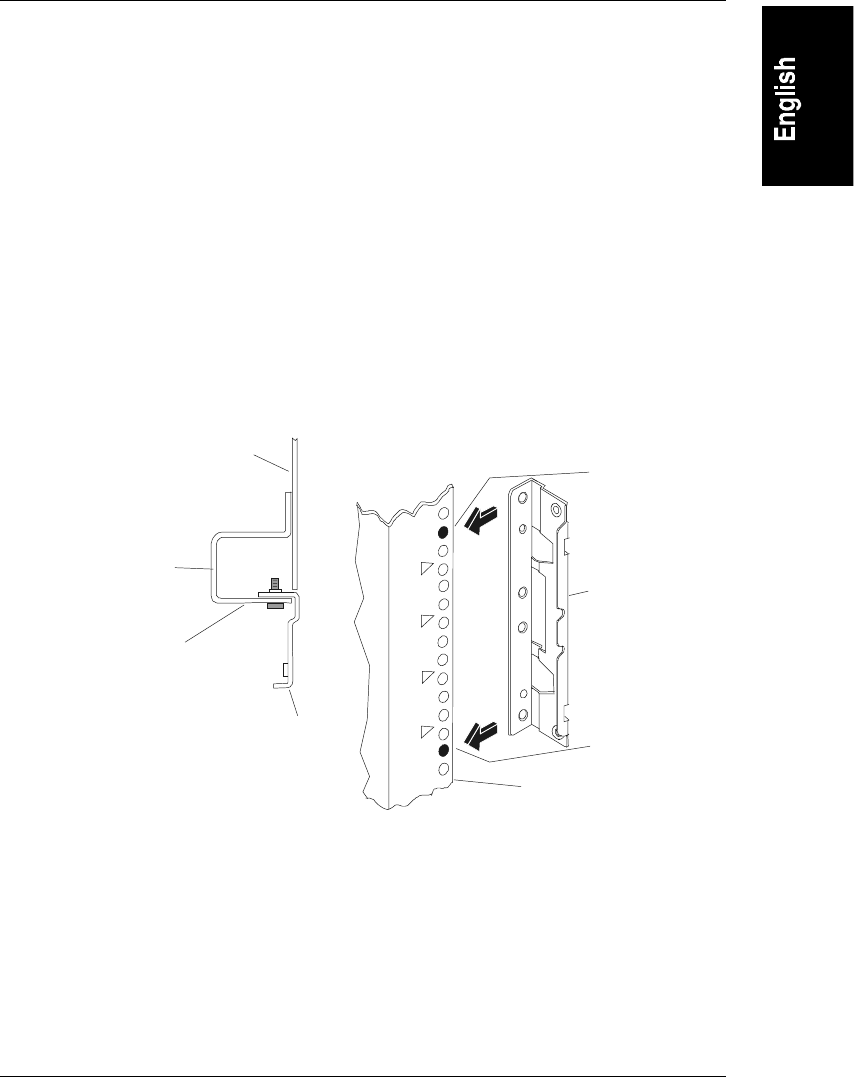
4. Use the marking pen to mark the 2nd and 14th holes on both front
columns, as shown on the template. See Figure 13-2.
5. If you don’t have the template, use the markings shown in Figure 13-2 for
the column adapters on the front columns.
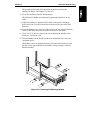
14th Hole
From Bottom
2nd Hole
From Bottom
Column Adapter
behind face of
front rack column
Column
Adapter
Bottom of
HP NetServer
Slide
Column
Adapter
Left Front
of Rack
Figure 13-2. Rack Nut Placement on Front Rack Columns
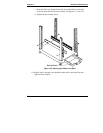
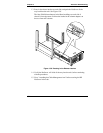
6. Place the column adapter mounting holes behind the face (2nd & 14th),
and insert two screws (M5) through the holes in the column into the
captive nuts on the column adapter. See Figure 13-2.
7. Repeat steps 2 through 6 for the right front rack and tighten all four screws.