


12 - 6
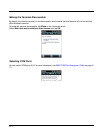
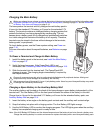
Charging the Main Battery
Before you attempt to use, charge, or change the battery in the terminal carefully read all the information under
Equipment Intended for Use in Potentially Explosive Atmospheres, starting on page 2-1 and the Guidelines
for Battery Pack Use and Disposal on page 3-13.
The base powers the terminal and fully charges its main battery pack in
4 hours for the standard 3.7V battery or 6 hours for the extended 3.7V
battery. The terminal contains an intelligent battery charging system that
protects the battery from being damaged by overcharging. The unit
senses when a battery pack is fully charged and automatically switches
to a trickle charge that maintains the battery at full capacity. Therefore,
terminals may be stored in the base without damage to the terminals,
battery packs, or peripherals.
To check battery power, use the Power system setting; see Power on
page 7-16.
For more information about Honeywell batteries, see Batteries on page
3-11.
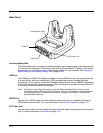
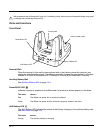
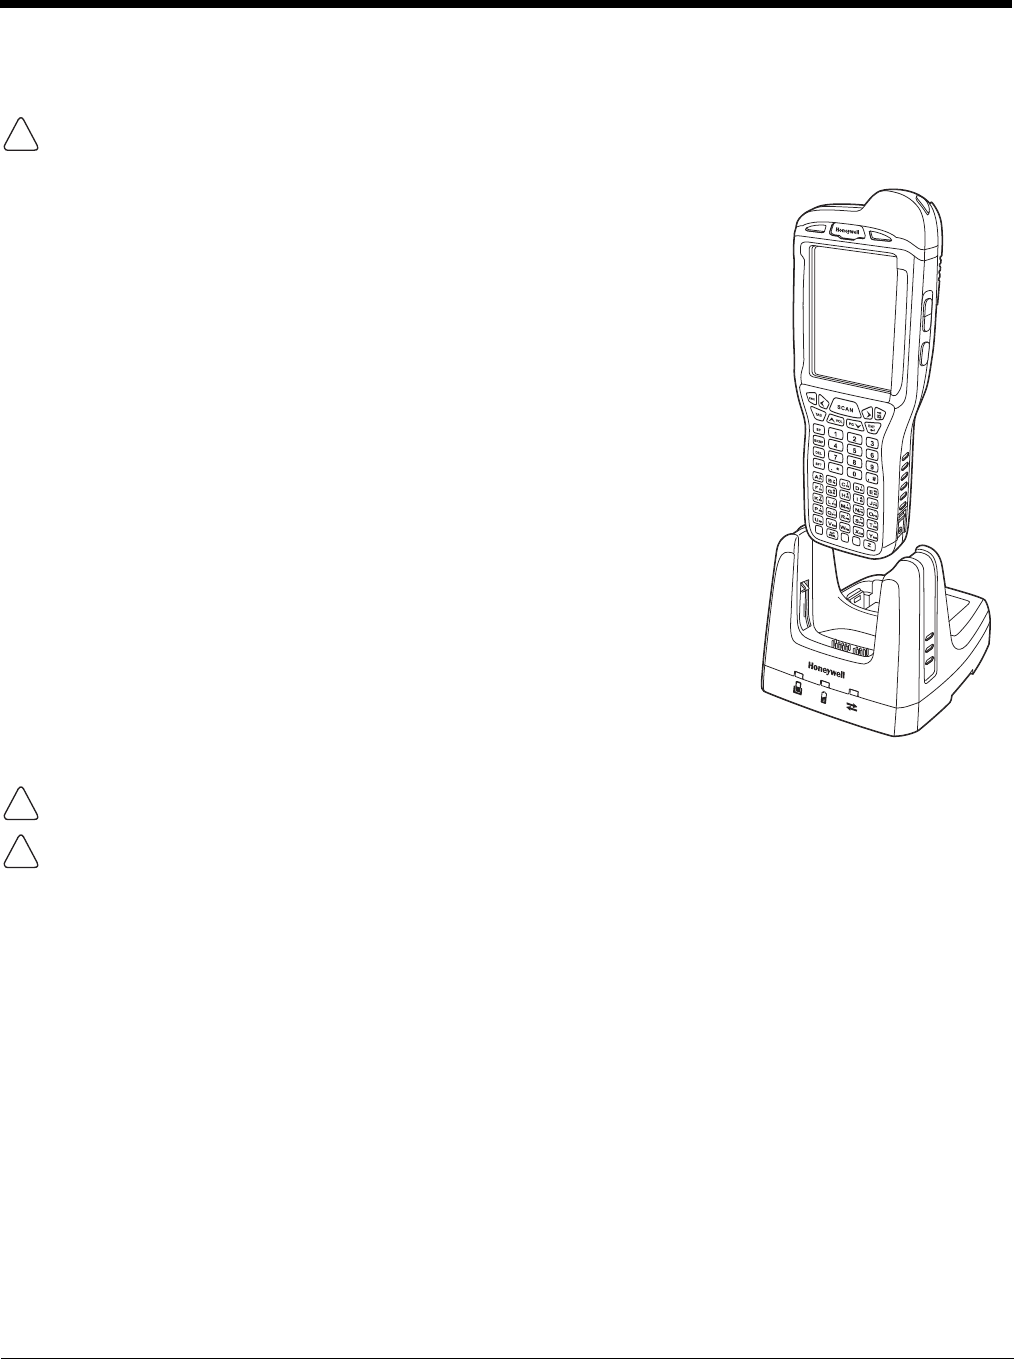
To Power a Terminal and Charge its Main Battery
1. Install the battery pack in the terminal; see Install the Main Battery
Pack on page 2-3.
2. Verify the base has power. If the Power/Dock LED is not
illuminated, see Connecting Power to the HomeBase on page 12-5.
3. Slide the terminal into the terminal well. The Power/Dock LED
changes to green. The charging begins immediately if required by
the Dolphin terminal.
Ensure all components are dry prior to mating terminals/batteries with peripheral devices. Mating wet
components may cause damage not covered by the warranty.
We recommend use of Honeywell Li-Ion or Li-poly battery packs. Use of any non-Honeywell battery may result
in damage not covered by the warranty.
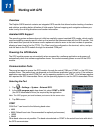
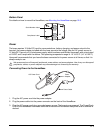
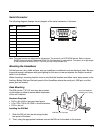
Charging a Spare Battery in the Auxiliary Battery Well
The auxiliary battery well located on the back of the base charges a spare battery independently of the
terminal well. The Aux Battery LED on the front panel indicates the status of the battery in this well.
Charge time is 4 hours for the standard 3.7V battery or 6 hours for the extended battery pack; see
Auxiliary Battery Well on page 12-4.
1. Insert the battery at an angle so the battery pack contacts and the auxiliary well contacts align.
2. Snap the battery into place with a hinging motion. The Aux Battery LED lights orange.
3. Use the AUX Battery LED to monitor the charging progress. The LED lights green when the auxiliary
battery has completed charging and is ready for use.
Note: If the AUX Battery LED flashes red, the internal temperature of the battery is too hot or there is a battery error.
Charge the auxiliary battery in a cooler environment or replace the battery with a new Honeywell battery pack.
!
!
!