


13 - 8
Establishing USB Communication
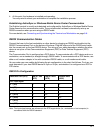
Dolphin terminal’s support USB communication out of the box. The eBase also supports USB communi-
cations using the USB port located on the back panel of the eBase. The eBase acts as a USB device by
interfacing the USB signals of the Dolphin terminal to the USB of the host workstation. Using a standard
USB cable, the ebase’s USB interface allows the Dolphin terminal to communicate with a host worksta-
tion.
Setting Up and Connecting the Dolphin Terminal to the eBase
1. Verify the base has power. If the Power/Dock LED is not illuminated, see Connecting Power to the
eBase on page 13-5.
2. Plug the USB communication cable into the USB port on the back of the eBase.
Note: The Dolphin terminal should always be removed from the eBase when connecting or disconnecting the
USB cable.
3. Connect the other end of the USB cable to the host workstation.
4. Insert the Dolphin terminal in the eBase terminal well. The Power/Dock LED changes to green and
the COMM LED illuminates red.
5. The Dolphin terminal activates and automatically opens ActiveSync to establish a connection.
6. The connection icon in the Dolphin’s navigation bar changes from to it indicate a successful
connection. The eBase can now transfer data between the terminal and the host device.
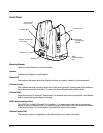
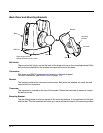
Mounting the eBase
Set the eBase on a dry, stable surface, such as a desktop or workbench near an electrical outlet. Be sure
to provide enough workspace with good lighting for the user to view and operate the Dolphin terminal
while it is in the eBase.
When choosing a location, bear in mind that:
• the mounting location must allow users easy access to the Auxiliary Battery Well, and
• the Ethernet and USB ports as well as the power jack face straight out of the rear panel, and you will
most likely want easy access to them in the future.
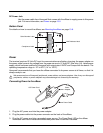
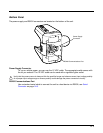
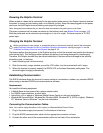
Desk Mounting
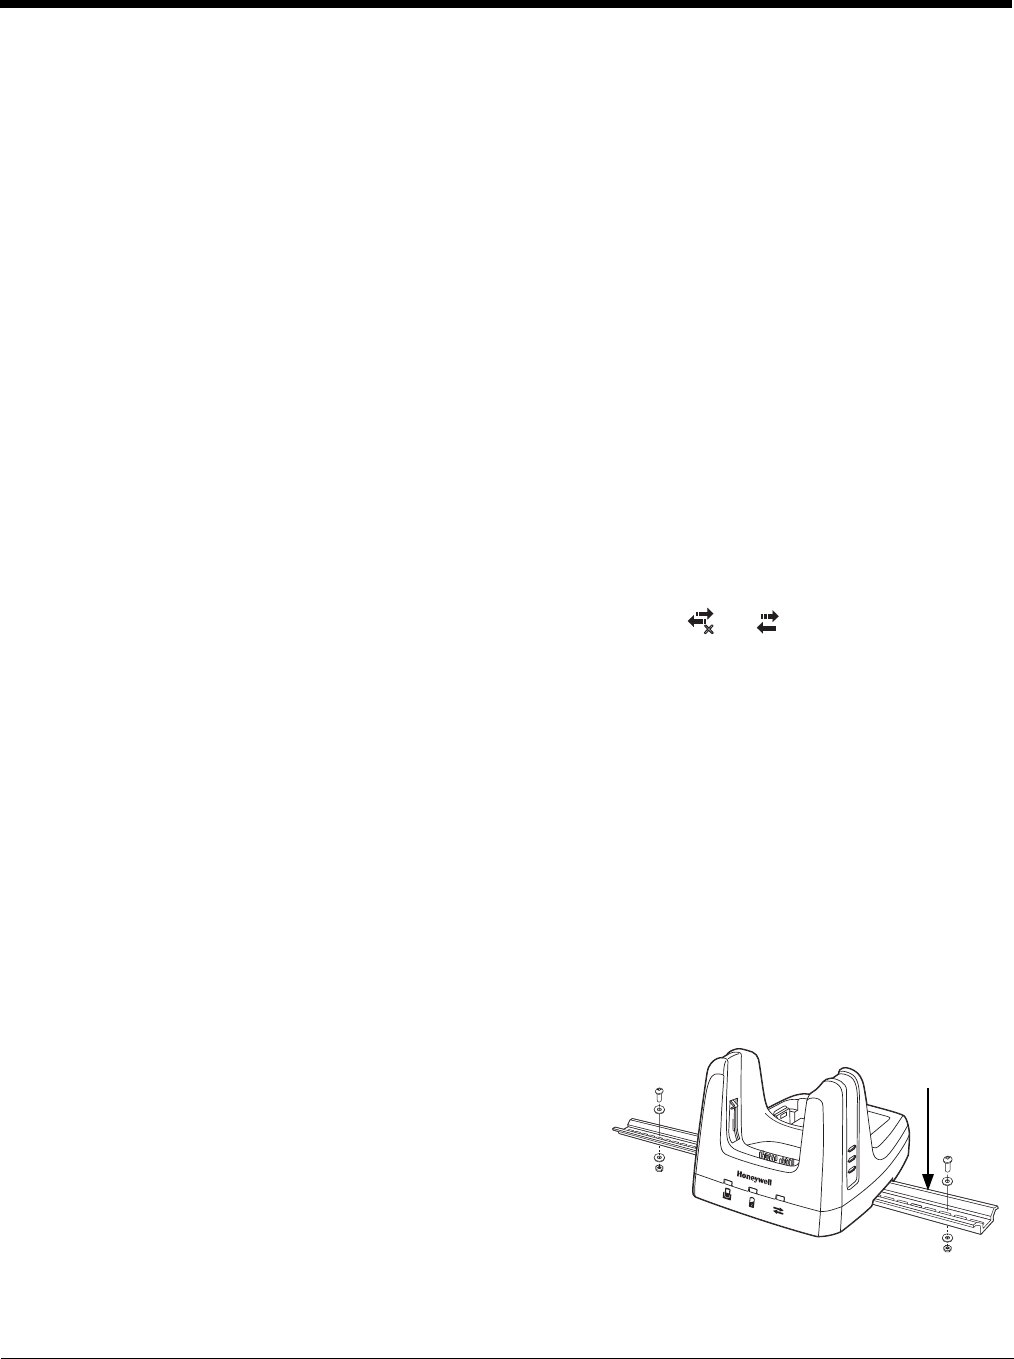
The DIN rail slot (7.5 X 35 mm) may be mounted on the bottom
to allow for secure desk attachment of the unit if desired.
Hardware Required
• 3/16 in. dia x 5/8 in. long pan head screw
• 1/2 in. OD x 7/32 in. ID x 3/64 in. thick flat washer
• 3/16 in. dia nut
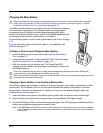
Installing the DIN Rail
1. Slide the DIN rail slot along the bottom panel.
2. Then, using the appropriate hardware, secure the DIN rail to the desk or flat surface.
x
DIN Rail
(7.5 X 35 mm)