STEP 3: CONNECTING THE SATELLITE IP MODEM TO YOUR PC
1. Place Satellite IP Modem outside on a flat
surface with a clear view of the sky.
2. Power up Satellite IP Modem by pressing
the Power button.
3. Choose one of the following options to
connect your PC to the Satellite IP Modem:
USB
Ethernet
Bluetooth
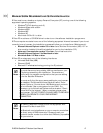
IMPORTANT: You must disconnect any
existing LAN connections on your PC before
proceeding with installation. You must verify
that the proxy server settings in your browser are disabled. For Microsoft Internet Explorer, select
Tools / Internet Options / Connections / LAN Settings and uncheck the box labelled 'Use a proxy
server for your LAN'. For Netscape, go to Advanced Preferences and select 'Direct connection
to the Internet'. When complete please close your browser. DO NOT FORGET YOU MAY NEED TO
RECHECK THIS BOX ON RETURN TO YOUR OTHER INTERNET CONNECTION.
S
TEP 4: CONNECTING USING USB
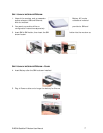
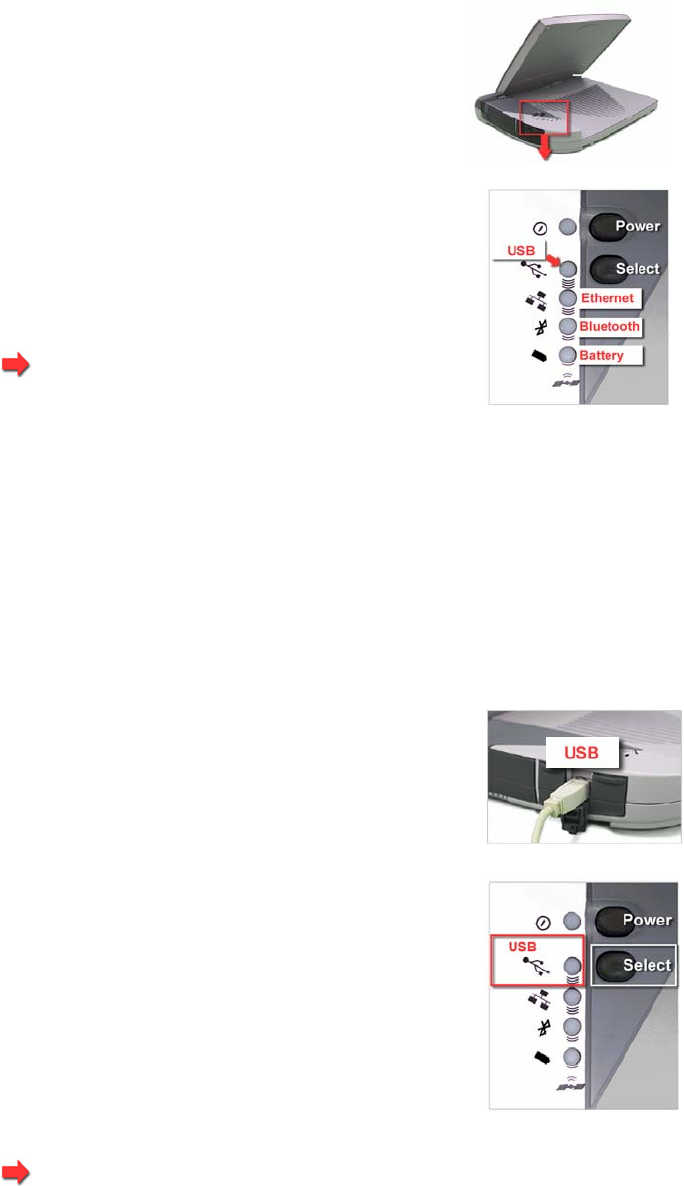
1. Connect the white USB cable to your
computer, and insert the other end of the
connector into the Satellite IP Modem.
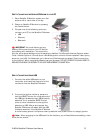
2. To check the active interface, press and
hold the SELECT button for a few seconds. If
the USB light flashes red then USB is already
selected. If not, press the SELECT button
once or twice as needed to change the
selection to USB. After a short pause, the
Satellite IP Modem will restart with the USB
interface selected. If the Satellite IP Modem
is under battery power it will power down; press and hold power button to reapply power.
Note: When plugging in the USB cable for the first time, you will see Windows installing a new
driver for the device.
R-BGAN Satellite IP Modem User Manual 8


