


Getting Started - RAID Array 410 for Windows NT – Intel
3–2 EK–SMRAC–IG. C01
• Identify the controller as Model SWXRC-04.
• Set up your initial RAID configuration using the RAID Manager.
3.3 Installing the RAID Manager Software
Locate the diskette, RAID 300, 400 Series for Windows NT RAID Manager, and insert it in
your disk drive.
Access
Program Manager in Windows NT.
From the Program Manager, click on
File and select Run from the pull-down menu.
At the
Run command line, enter the name of the disk drive you inserted the disk in, followed
by this command: SETUP.EXE (i.e., A:\SETUP.EXE)
Doing so will load the RAID Manager software in your system, creating the necessary direc-
tories and icons. The default directory into which the software is loaded is RAID (e.g.,
C:\RAID).
3.4 Setting Controller Communications
The following procedures set the communications parameters for the serial link to the
SWXRC-04 maintenance port and identify the controller as SWXRC-04. To do so, perform
the following steps:
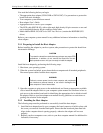
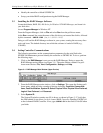
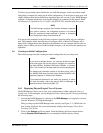
1. Click on the
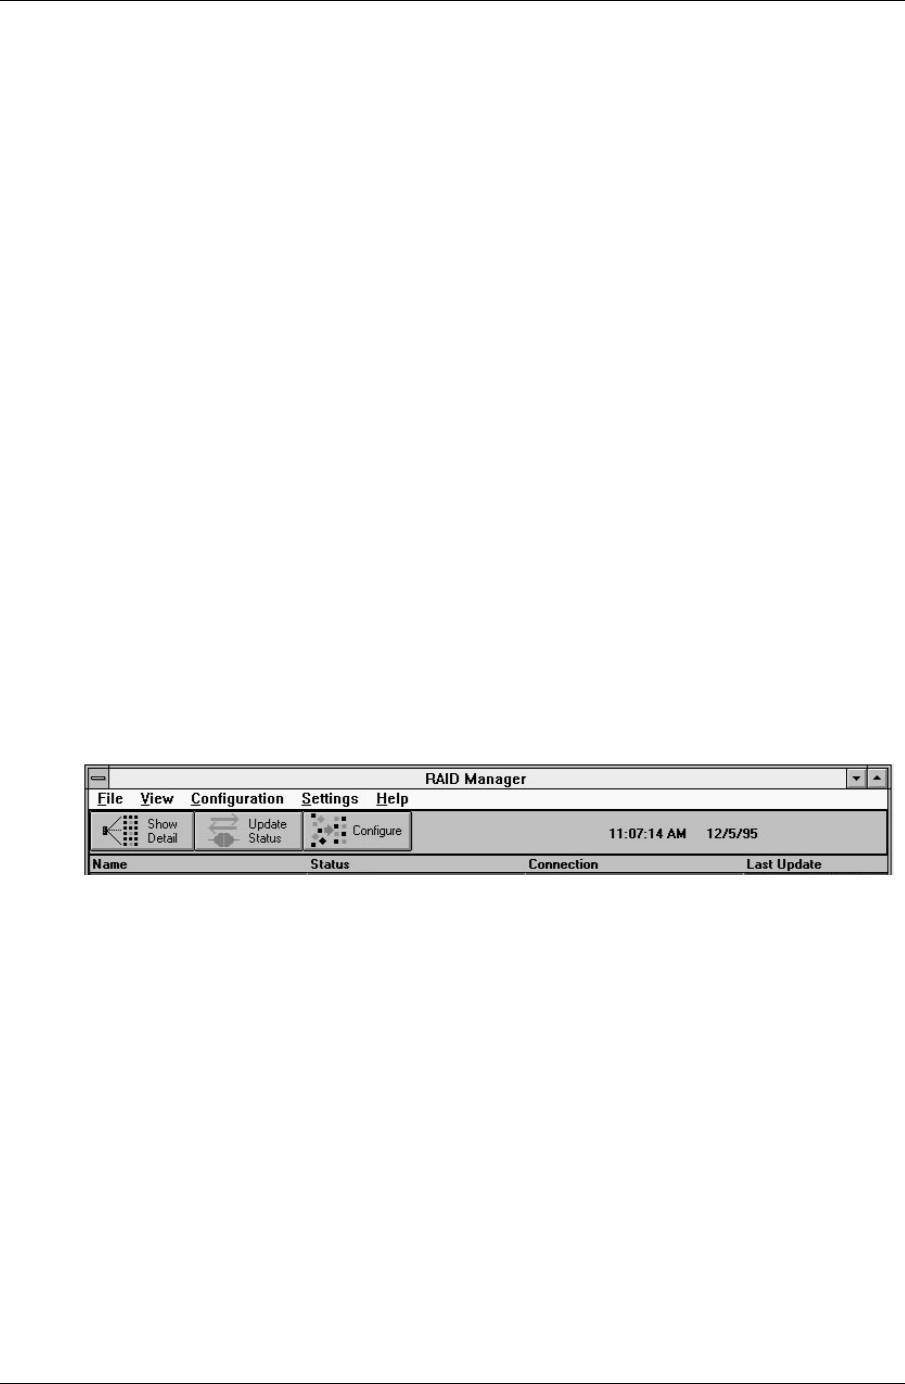
RAID Manager icon to access the RAID Manager. Doing so opens the
RAID Manager main window (see Figure 3–1). The main window contains five pull-
down menu choices:
File, View, Configuration, Settings, and Help.
Figure 3–1 RAID Manager Main Window (Upper Portion)
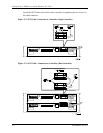
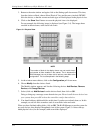
2. From the RAID Manager main window, click on Settings. This opens the Settings pull-
down menu, which provides a number of choices including:
Controller Communica-
tions
, Fault Notification, System ID, Select Physical View, Physical View Preferred,
Logical View Preferred, and Password.
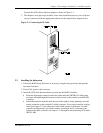
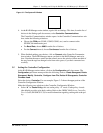
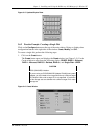
3. Select
System ID.
The System ID window contains two fill-in boxes, as shown in Figure 3−2. Verify that
the field labeled System Name for the 6 channel RAID Controller identifies SWXRC-04
as the 6-channel RAID Controller. If not, type: SWXRC-04 in that field. Click OK when
you finish.