Chapter 4. Completing Your Configuration Setup Under Windows NT
4–4 EK–SMRAC–IG. C01
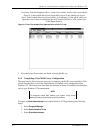
The figure also shows the corresponding free space for each entity. There should be an entry
(device) shown for each disk (JBOD) or storageset created.
Before proceeding, you should verify the following:
1. There should be an entry in the Disk Administrator display for each of your disks or
RAID Array 410 logical disks.
If there is not, you should go back and recheck your configuration. You may need to
verify either the logical or physical (or both) configuration of your RAID Array 410.
2. The capacity shown for each device should match the size of the physical disk or the
RAID Array 410 storageset.
NOTE
Disk Administrator displays the “usable” capacity of a RAIDset and
Mirrorset, not the combined total of the physical members.
If it does not, you should recheck the logical configuration for the RAID Array 410
and its members.
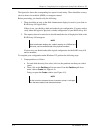
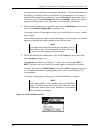
To complete your configuration under Windows NT, perform the following steps:
1. Create partitions as follows:
• For each disk shown by first select (click on) the partition area that you wish to
create.
• Then, click on the
Partition pull-down menu. From the Partition pull-down
menu, choose
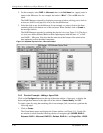
Create (see Figure 4–4).
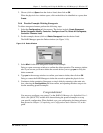
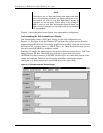
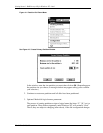
Doing so opens the
Create window (see Figure 4–5).
NOTE
A disk cannot be accessed unless it contains at least 1 valid parti-
tion that was created under disk administrator.


