


Installing a memory module
Attention: Do not open your server or attempt any repair before reading and understanding the “Safety information”
on page iii and “Guidelines” on page 83.
This topic provides instructions on how to install a memory module.
Before you begin, print all the related instructions or ensure that you can view the PDF version on another
computer for reference.
Notes:
1. To optimize system performance, make sure that you consider and follow the memory module
installation rules when performing the operation. See “Memory module installation rules” on page 90.
2. Use any documentation that comes with the memory module and follow those instructions in addition to
the instructions in this topic.
To install a memory module, do the following:
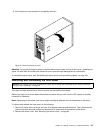
1. Remove all media from the drives and turn off all attached devices and the server. Then, disconnect all
power cords from electrical outlets and disconnect all cables that are connected to the server.
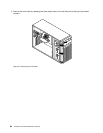
2. Remove the server cover. See “Removing the server cover” on page 85.
3. Lay the server on its side for easier operation.
4. Locate the memory slots on the system board. See “System board components” on page 42.
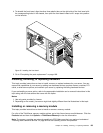
5. Remove any parts or disconnect any cables that might prevent your access to the memory slots.
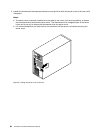
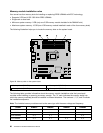
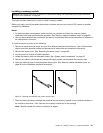
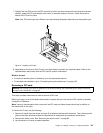
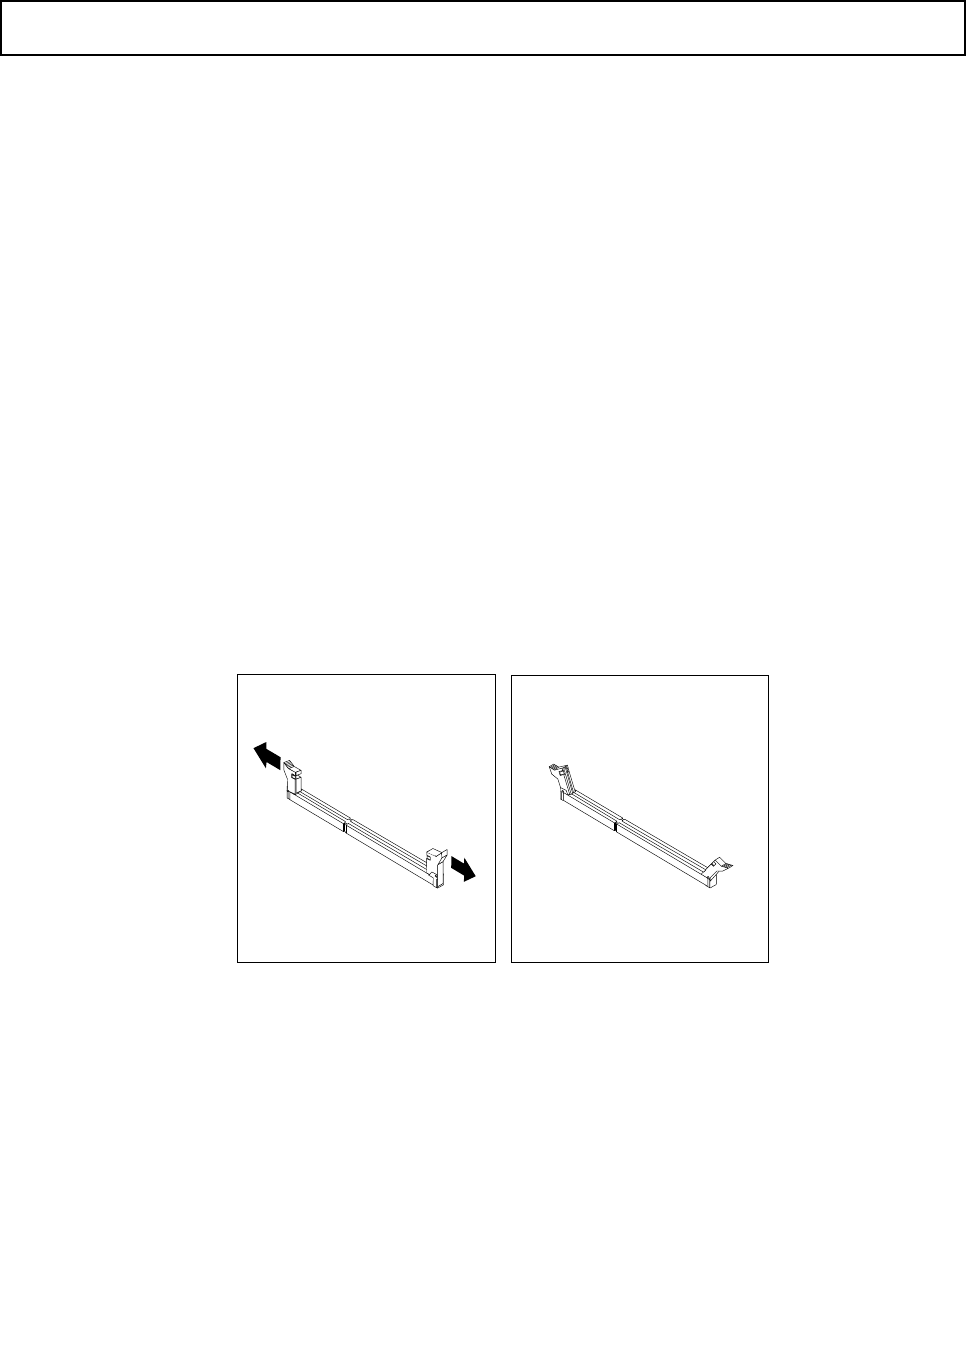
6. Open the retaining clips of the appropriate memory slot. See “Memory module installation rules” on
page 90 for the installation sequence information.
Figure37. Opening the retaining clips of the memory slots
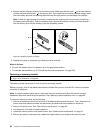
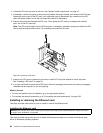
7. Touch the static-protective package that contains the new memory module to any unpainted surface on
the outside of the server. Then, take the new memory module out of the package.
Note: Carefully handle the memory module by its edges.
Chapter 6. Installing, removing, or replacing hardware 91