


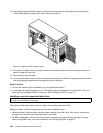
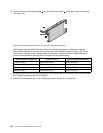
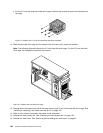

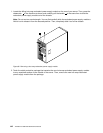

• For the 2.5-inch hot-swap hard disk drive cage, install the six screws to secure the backplane on
the cage.
Figure75. Installing the 2.5-inch hot-swap hard disk drive backplane
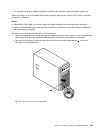
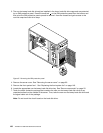
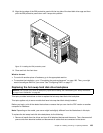
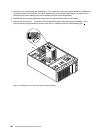
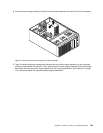
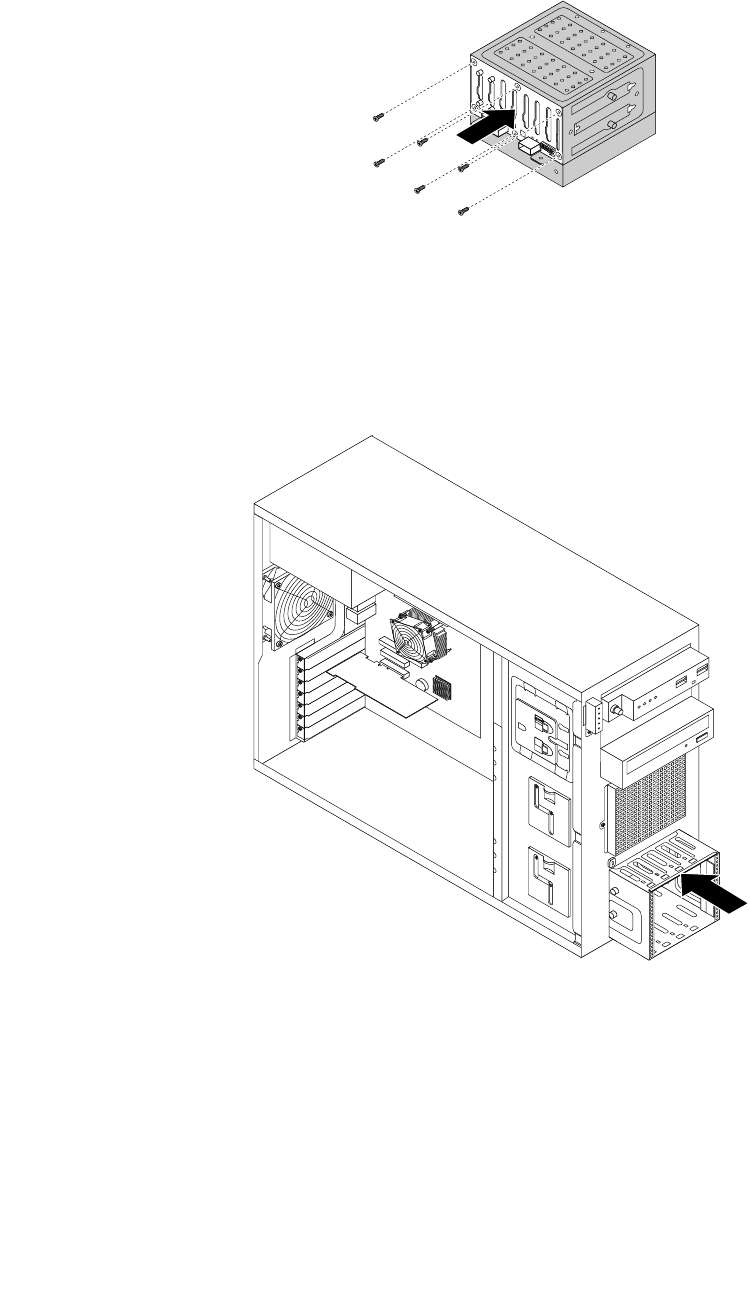
12. Slide the hard disk drive cage into the chassis from the front until it snaps into position.
Note: The following illustration shows the 3.5-inch hard disk drive cage. For the 2.5-inch hard disk
drive cage, the installation procedure is the same.
Figure76. Installing the hard disk drive cage
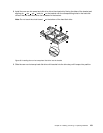
13. Reinstall all the hot-swap hard disk drives and dummy trays (if any) in the hard disk drive cage. See
“Installing or replacing a hot-swap hard disk drive” on page 119
.
14. Refer to your note and reconnect the cables to the backplane.
15. Reinstall the front system fan. See “Replacing the front system fan” on page 149.
16. Reinstall the front bezel. See “Removing and reinstalling the front bezel” on page 87.
136 ThinkServer Hardware Maintenance Manual