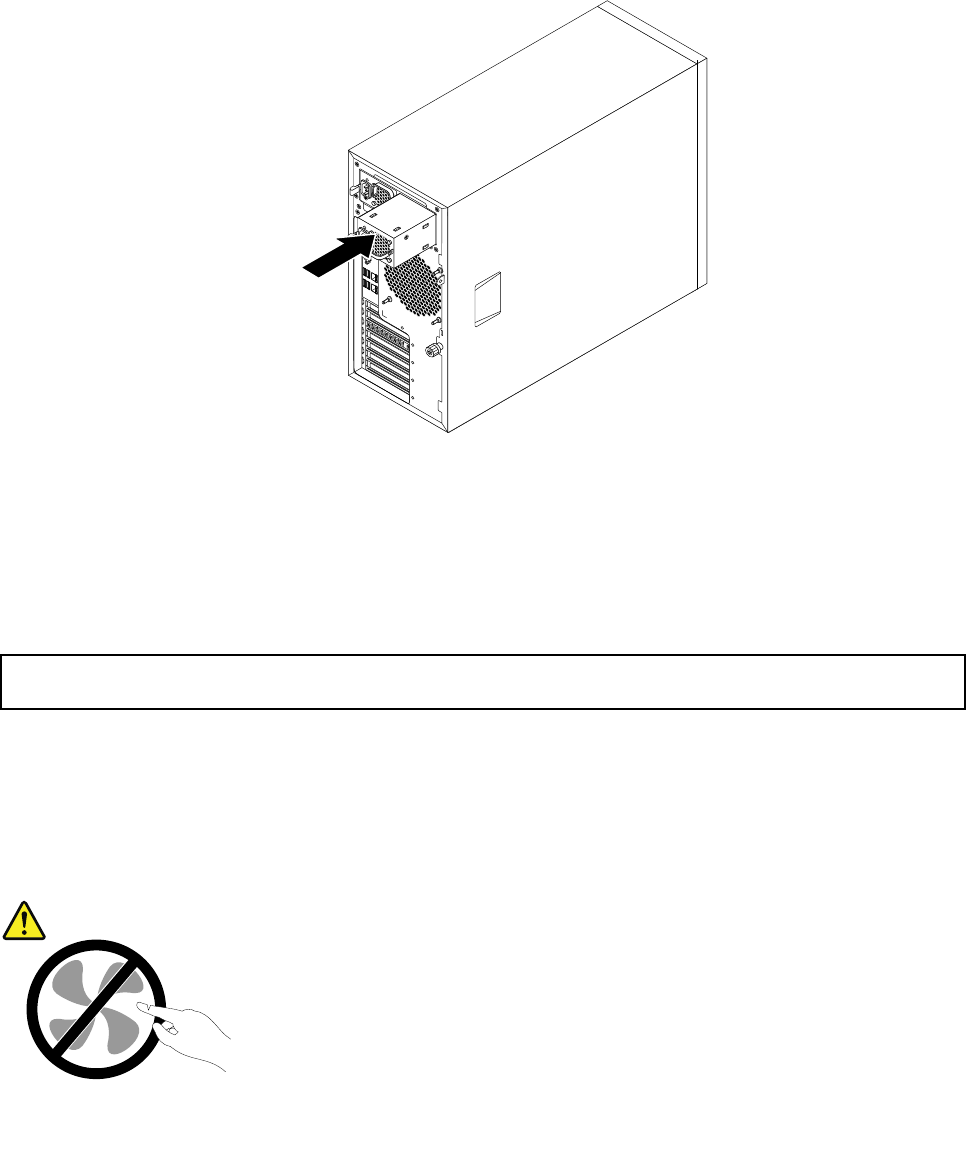
3. Note the orientation of the hot-swap redundant power supply module and then slide the new hot-swap
redundant power supply module into the chassis until it snaps into position.
Note: If your server comes with one hot-swap redundant power supply module installed in the
redundant power supply module bay 1 (the bay number is marked on the rear of the chassis) and you
are installing a secondary hot-swap redundant power supply module to provide redundant power, you
need to remove the shield that protects the bay 2 rst. Save the shield for future use.
Figure81. Installing a hot-swap redundant power supply module
4. If you are instructed to return the old hot-swap redundant power supply module, follow all packaging
instructions and use any packaging materials that are supplied to you for shipping.
5. To work with another piece of hardware, go to the appropriate section.
Replacing the power distribution board and cage assembly
Attention: Do not open your server or attempt any repair before reading and understanding the “Safety information”
on page iii
and “Guidelines” on page 83.
This topic provides instructions on how to replace the power distribution board and cage assembly.
This topic applies only to server models that come with hot-swap redundant power supply modules.
CAUTION:
Hazardous moving parts. Keep ngers and other body parts away.
Chapter 6. Installing, removing, or replacing hardware 143


