Note: For information about the RDX USB drive bundle and instructions on how to install it, refer to the
documentation that comes with the RDX USB drive bundle. You can purchase this option directly from
Lenovo. The option name is Lenovo Removable Disk Technology (RDX) USB Drive Bundle.
Before you begin, print all the related instructions or ensure that you can view the PDF version on another
computer for reference.
Notes:
1. Depending on the model, your server might look slightly different from the illustrations in this topic.
2. Use any documentation that comes with the optical drive and follow those instructions in addition to
the instructions in this topic.
To install or replace an optical drive, do the following:
1. Remove all media from the drives and turn off all attached devices and the server. Then, disconnect all
power cords from electrical outlets and disconnect all cables that are connected to the server.
2. Remove the server cover. See “Removing the server cover” on page 85.
3. Locate the optical drive bays. See “Server components” on page 25.
4. Depending on whether you are installing or replacing an optical drive, do one of the following:
• If you are installing a secondary optical drive in the upper optical drive bay, remove the front bezel.
See “Removing and reinstalling the front bezel” on page 87
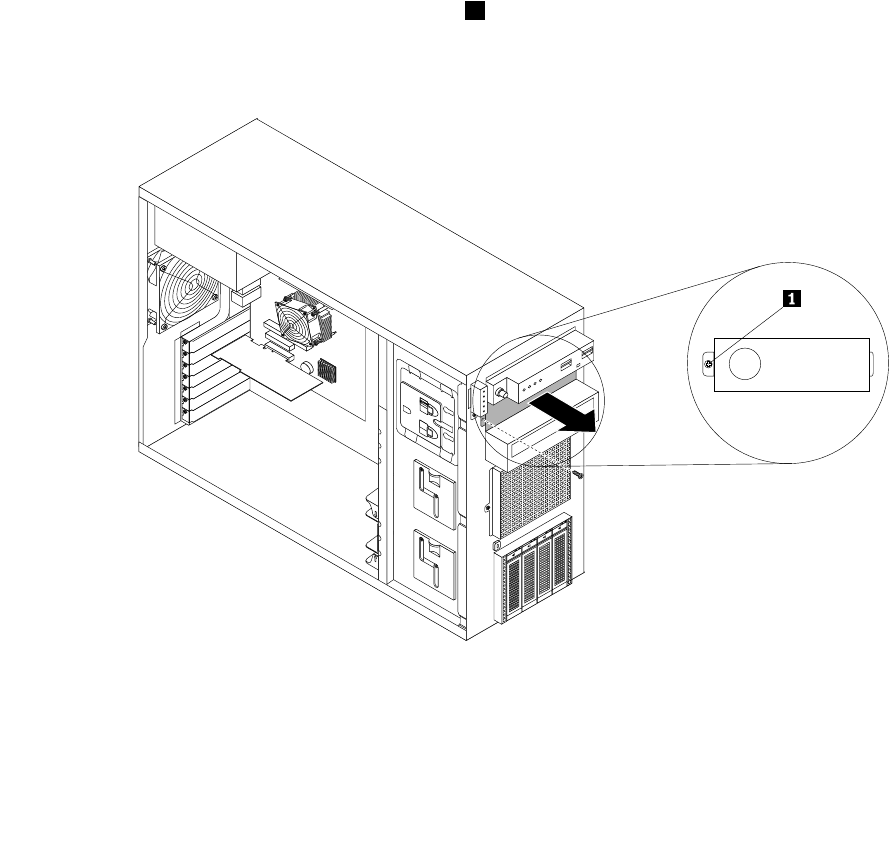
. Then, remove the plastic shield for the
bay from the front panel. Remove the screw 1 that secures the metal EMI shield covered on the
upper optical drive bay. Insert a nger into the hole in the EMI shield and carefully pull the EMI
shield out of the front of the chassis.
Figure54. Removing the EMI shield for the upper optical drive bay
116 ThinkServer Hardware Maintenance Manual


