Using the Solution Center
The Solution Center provides help, as well as information about the printer status and ink level.
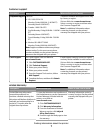
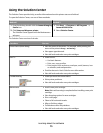
To open the Solution Center, use one of these methods:
Method 1 Method 2
1 From the desktop, double-click the Lexmark Imaging
Studio icon.
2 Click Setup and diagnose printer.
The Solution Center appears with the Maintenance
tab open.
1 Click Start Programs or All Programs
Lexmark 2500 Series.
2 Select Solution Center.
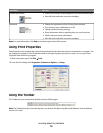
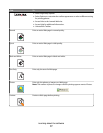
The Solution Center consists of six tabs:
From here You can
Printer Status (Main dialog)
• View the status of the printer. For example, while printing, the
status of the printer is Busy Printing.
• View paper type detected.
• View ink levels and order new print cartridges.
How To
• Learn how to:
– Use basic features.
– Print, scan, copy, and fax.
– Print projects such as photos, envelopes, cards, banners, iron-
on transfers, and transparencies.
• Find the electronic User's Guide for more information.
• View ink levels and order new print cartridges.
Troubleshooting
• Learn tips about the current status.
• Solve printer problems.
• View ink levels and order new print cartridges.
Maintenance
• Install a new print cartridge.
Note: Wait until scanning is complete before installing a new print
cartridge.
• View shopping options for new cartridges.
• Print a test page.
• Clean to fix horizontal streaks.
• Align to fix blurry edges.
• Troubleshoot other ink problems.
• View ink levels and order new print cartridges.
Learning about the software
15


