


23
ProConnect II
®
Series
22
Layer 2 Management 4-Port Gigabit Ethernet Switch
Returning to the Basic Management Screen
After completing the general management activities, press the Esc key to exit
the General screen and return to the Basic Management screen. You can then
select another option from the Basic Management screen or press Esc to
return to the Switch Management screen.
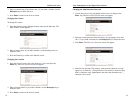
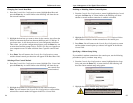
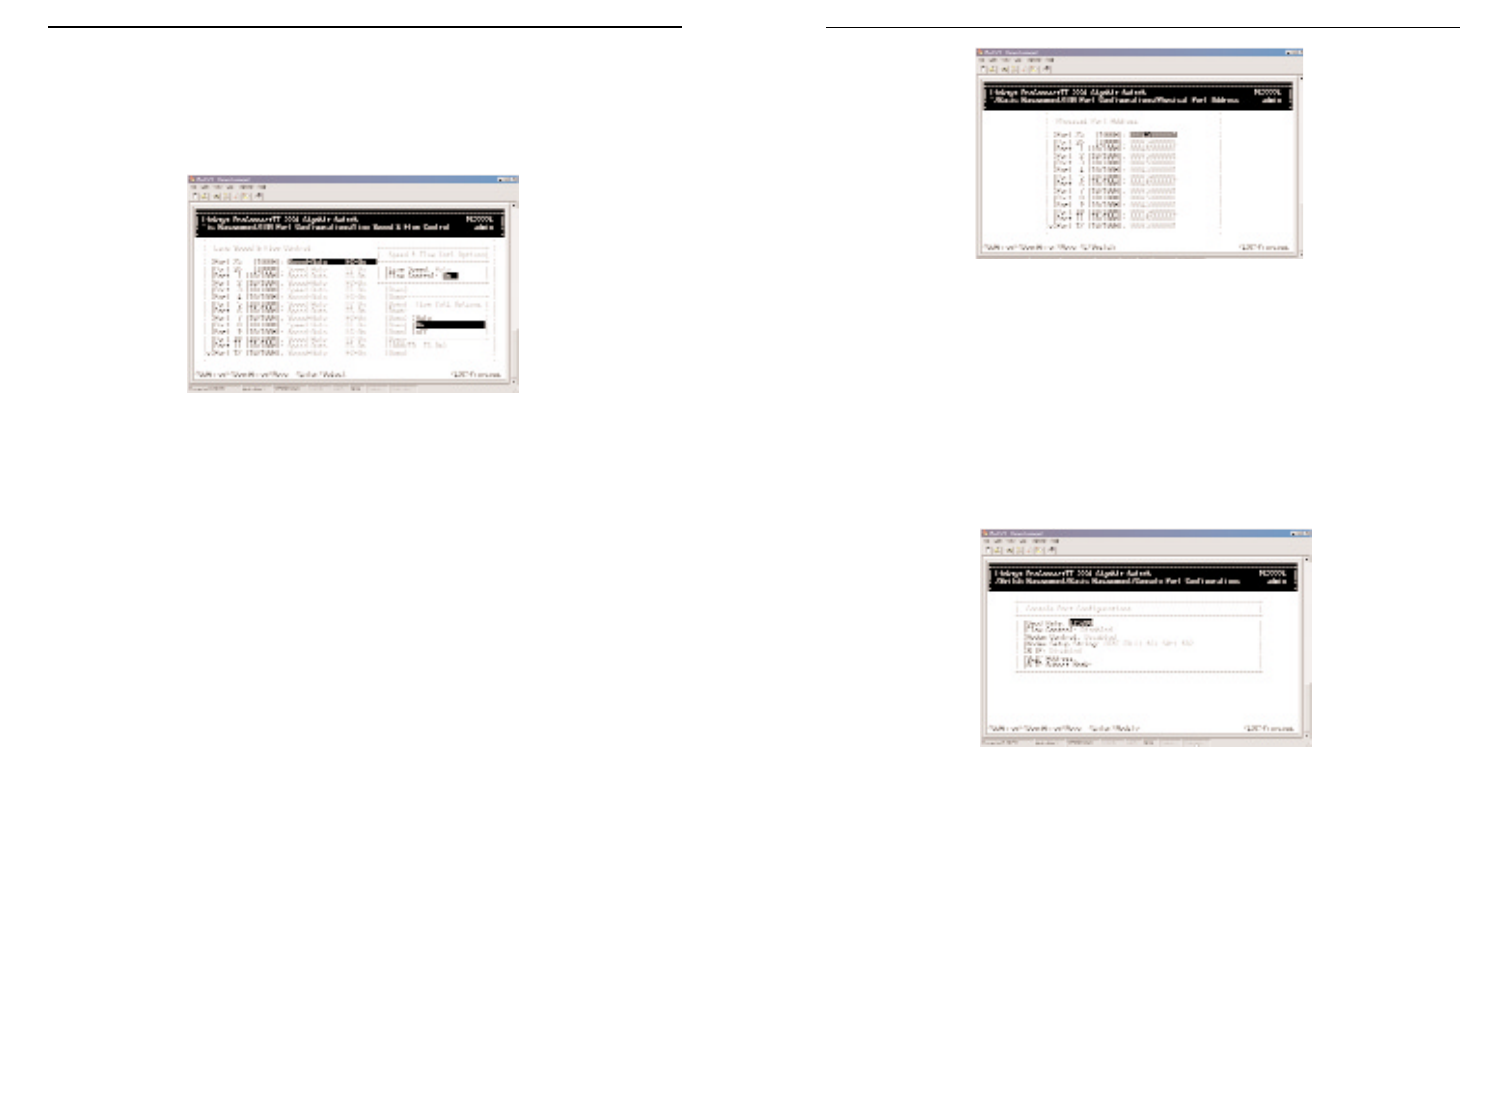
Console Port Configuration
Select Console Port from the Basic Management screen, the Console Port
Configurations screen will appear, with the Baud Rate value highlighted.
Use the procedures in this section to configure the Console Port
Configurations options for one or more settings, including:
• Specifying Baud Rate
• Specifying Flow Control
• Enable or Disable Modem Control
• Enter Modem Setup String
• Enable or Disable SLIP
• Specify a Slip Address
• Specify a SLIP Subnet Mask
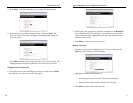
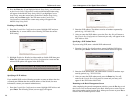
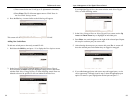
Changing the Flow Control
1. With the Speed & Flow Cntl Options screen displayed, press the Down
Arrow key to highlight Flow Control and press Enter. The Flow Cntl
Options screen will appear.
2. Highlight the desired flow control option for the port. Auto allows the
Switch to automatically determine whether or not to use flow control. On
enables flow control at all times. Off disables flow control at all times.
3. Press Enter. You will return to the Speed & Flow Cntl Options screen,
and the selected flow control setting will appear next to Flow Control.
4. To configure the flow control for additional ports, press Esc to remove
the Speed & Flow Cntl Options screen. Highlight the desired port then
press Enter. Highlight Speed and Flow Control, then press Enter. Repeat
steps 1 through 3 for each additional port.
5. When you are finished, press the Esc key from the Line Speed & Flow
Control screen to return to the LAN Port Configurations screen.
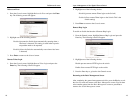
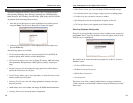
Admin Control
1. From the Port Settings Options menu, select Admin Control and press
the Enter key.
2. The Admin Status Options menu will appear.
3. Select Up to allow administration of the Switch per port or Down to disallow.
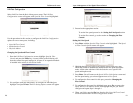
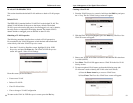
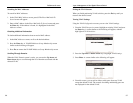
Displaying Physical Port Address
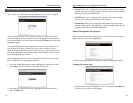
The following procedure describes how to display the physical address of the Switch.
1. From the LAN Port Configurations screen, highlight Physical Address and press
the Enter key. A screen similar to the following (see next page) will appear.