


Creating a New VLAN
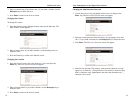
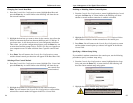
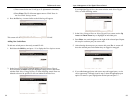
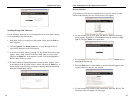
1. From the VLAN Perspective screen in, hold down the Shift key and press
the “+” key. The New VLAN Settings screen will appear.
.
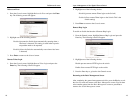
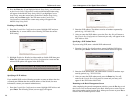
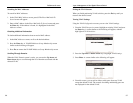
2. With the VLAN ID field highlighted, press the Enter key. The Enter New
VLAN ID screen will appear.
3. Enter a new VLAN ID as either a decimal or hexadecimal ID value from
1 to 4094 (0xFFE).
4. Press Enter. The VLAN ID appears next to VLAN ID in the New VLAN
Settings screen.
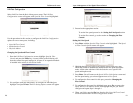
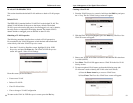
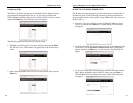
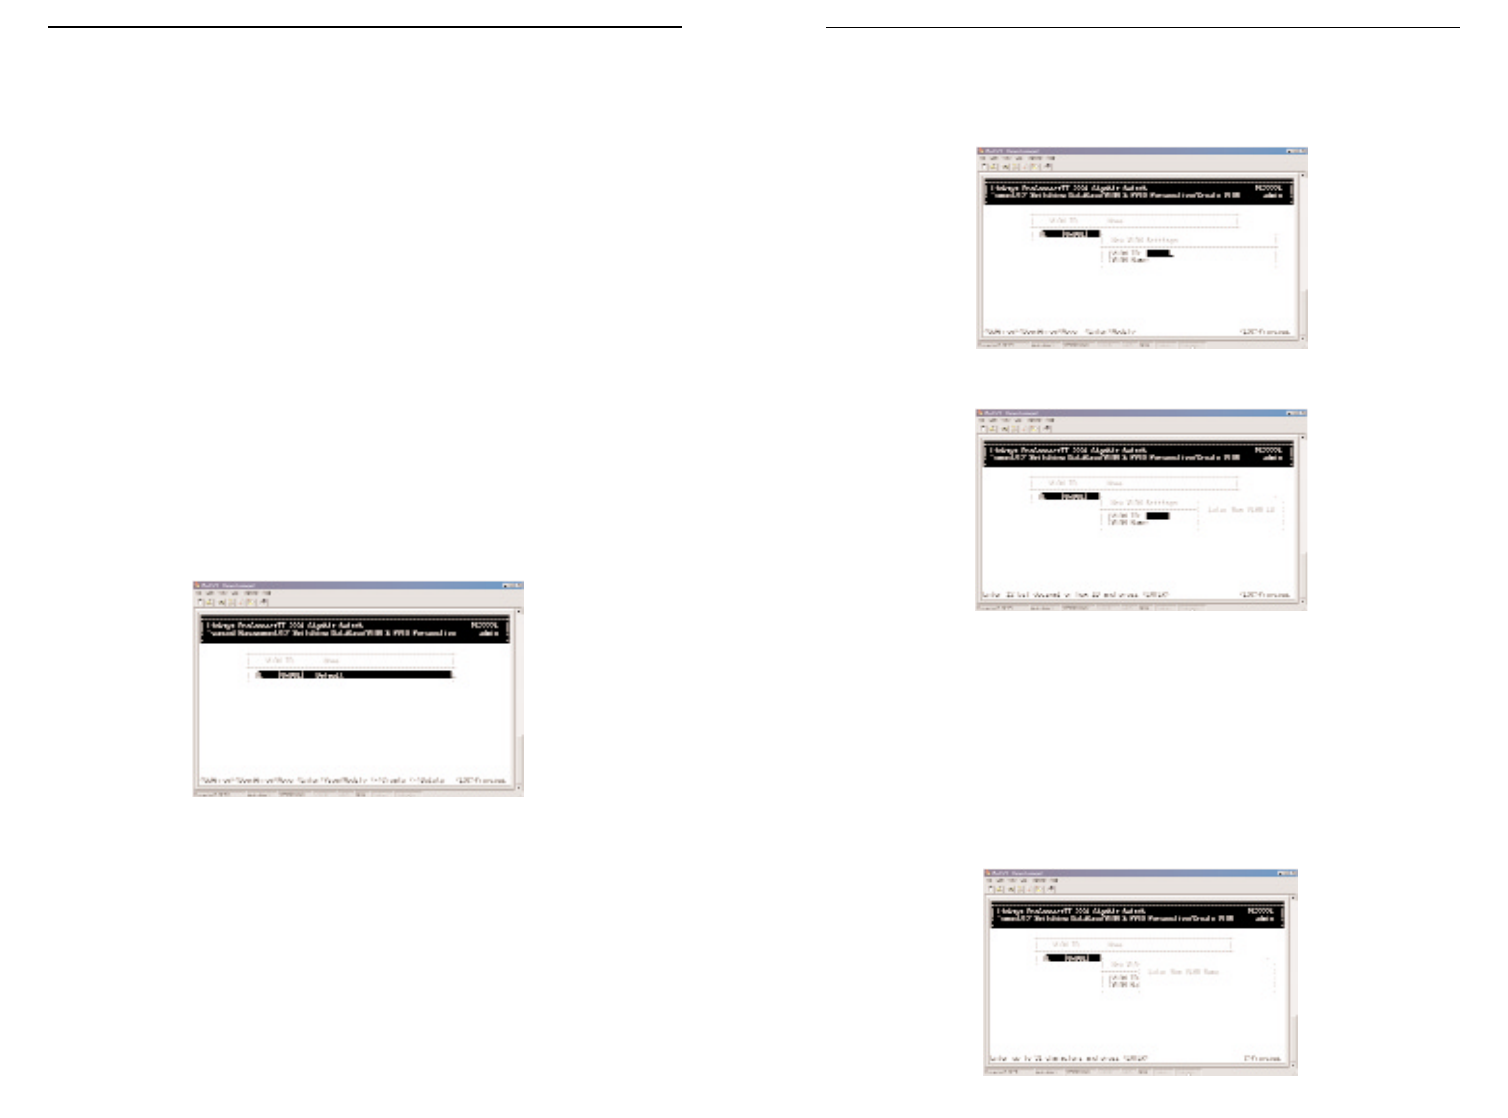
5. To enter an optional VLAN name, perform the following steps (the
VLAN name is used to identify the VLAN at the local switch).
a) Press the Down Arrow key to move to VLAN Name.
b) Press Enter. The Enter New VLAN Name screen will appear.
31
ProConnect II
®
Series
30
Layer 2 Management 4-Port Gigabit Ethernet Switch
VLAN & PVID PERSPECTIVE
This section describes the default VLAN and how to obtain a VLAN perspec-
tive.
Default VLAN
The IEEE 802.1Q standard defines VLAN ID #1 as the default VLAN. The
default VLAN includes all the ports as the factory default. The default
VLAN’s egress rule restricts the ports to be all untagged, so it can, by default,
be easily used as a simple 802.1D bridging domain. The default VLAN’s
domain shrinks as untagged ports are defined in other VLANs.
Obtaining a VLAN Perspective
The following procedure describes how to obtain a VLAN perspective.
For convenience, the VLAN ID appears as both decimal and hexadecimal
values side by side in the VLAN Perspective screen.
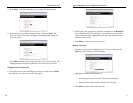
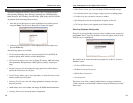
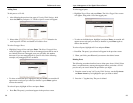
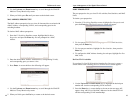
1. From the L2 Switching DataBase screen, highlight VLAN & PVID
Perspective and press the Enter key. The VLAN & PVID Perspective
screen will appear. Select VLAN settings.
From this screen you will be able to:
• Create a new VLAN
• Delete a VLAN ID
• View VLAN activities
• View or change a VLAN Configuration
To return to the VLAN & PVID Perspective screen, press the Esc key.