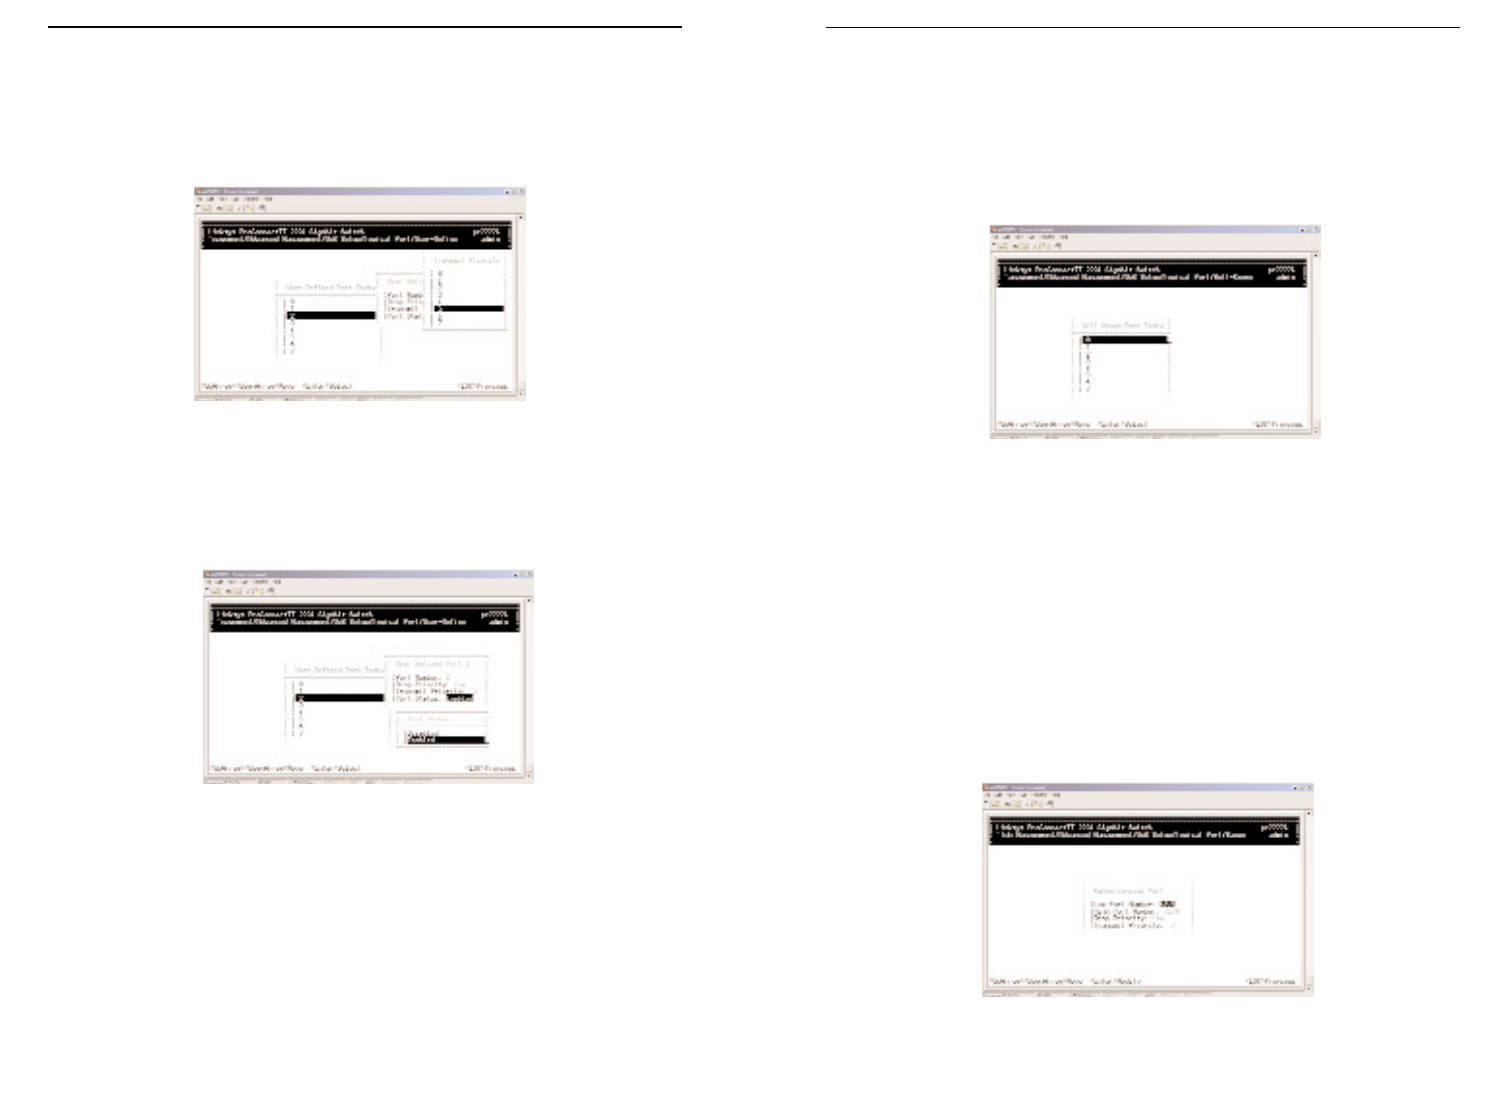
Well-Known Port
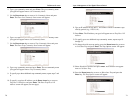
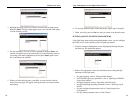
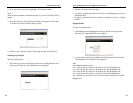
To set well-known port settings:
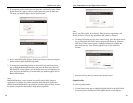
1. From the Logical Port menu, highlight Well-Known Port and press the
Enter key. The Well-Known Port Index menu appears.
2. The Well-Known Port Index screen works the same way the User-Define
Port Index Screen works, except that the well-known port number is pre-
configured and cannot be changed. For more information, refer to "User-
Defined Port".
Range Port
To select a port range:
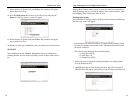
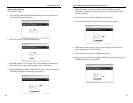
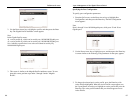
1. From the Logic Port menu, press the Down Arrow key to highlight Range
Port, and then press the Enter key. The Range Logic Port screen appears.
87
Layer 2 Management 4-Port Gigabit Ethernet Switch
ProConnect II
®
Series
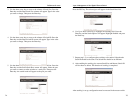
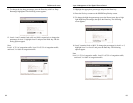
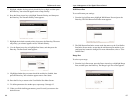
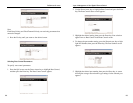
5. Highlight whether the drop priority should be low or high, and then press
the Enter key. Your selection appears next to Drop Priority.
6. Press the Down Arrow key to highlight Transmit Priority, and then press
the Enter key. The Transmit Priority menu appears.
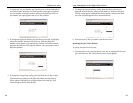
7. Highlight the desired transmit priority, then press the Enter key. The trans-
mit priority you selected appears next to Transmit Priority.
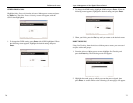
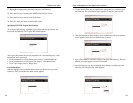
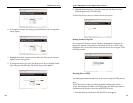
8. Use the Down Arrow key to highlight Port Status, and then press the
Enter key. The Port Status menu appears.
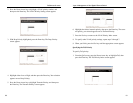
9. Highlight whether the port status should be enabled or disabled, then
press the Enter key. Your selection appears next to Port Status.
10. Press the Esc key to return to the User-Define Port Index Screen.
11. To define parameters for another port, repeat steps 3 through 12.
12. When you finish defining parameters, press Esc until you return to the
desired screen.
86


