Note
Ports Using This Profile, Strict Priority, Delay Sensitive Application, and
Profile Status are all read-only parameters that cannot be changed.
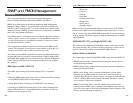
6. To change the setting for QoS flow control setting, press the Down Arrow
key to select QoS with Flow Control and press the Enter key. When the
QoS Flow Control screen appears, highlight Disabled or Enabled and
press the Enter key. Your selection appears next to QoS with Flow
Control.
7. Press the Esc key until you return to the desired screen.
Gigabit Profiles
To select a gigabit profile:
1. Use the Down Arrow key to highlight Gigabit Profile in the QoS Profile
screen, then press the Enter key. The Gigabit Profile screen appears.
95
Layer 2 Management 4-Port Gigabit Ethernet Switch
ProConnect II
®
Series
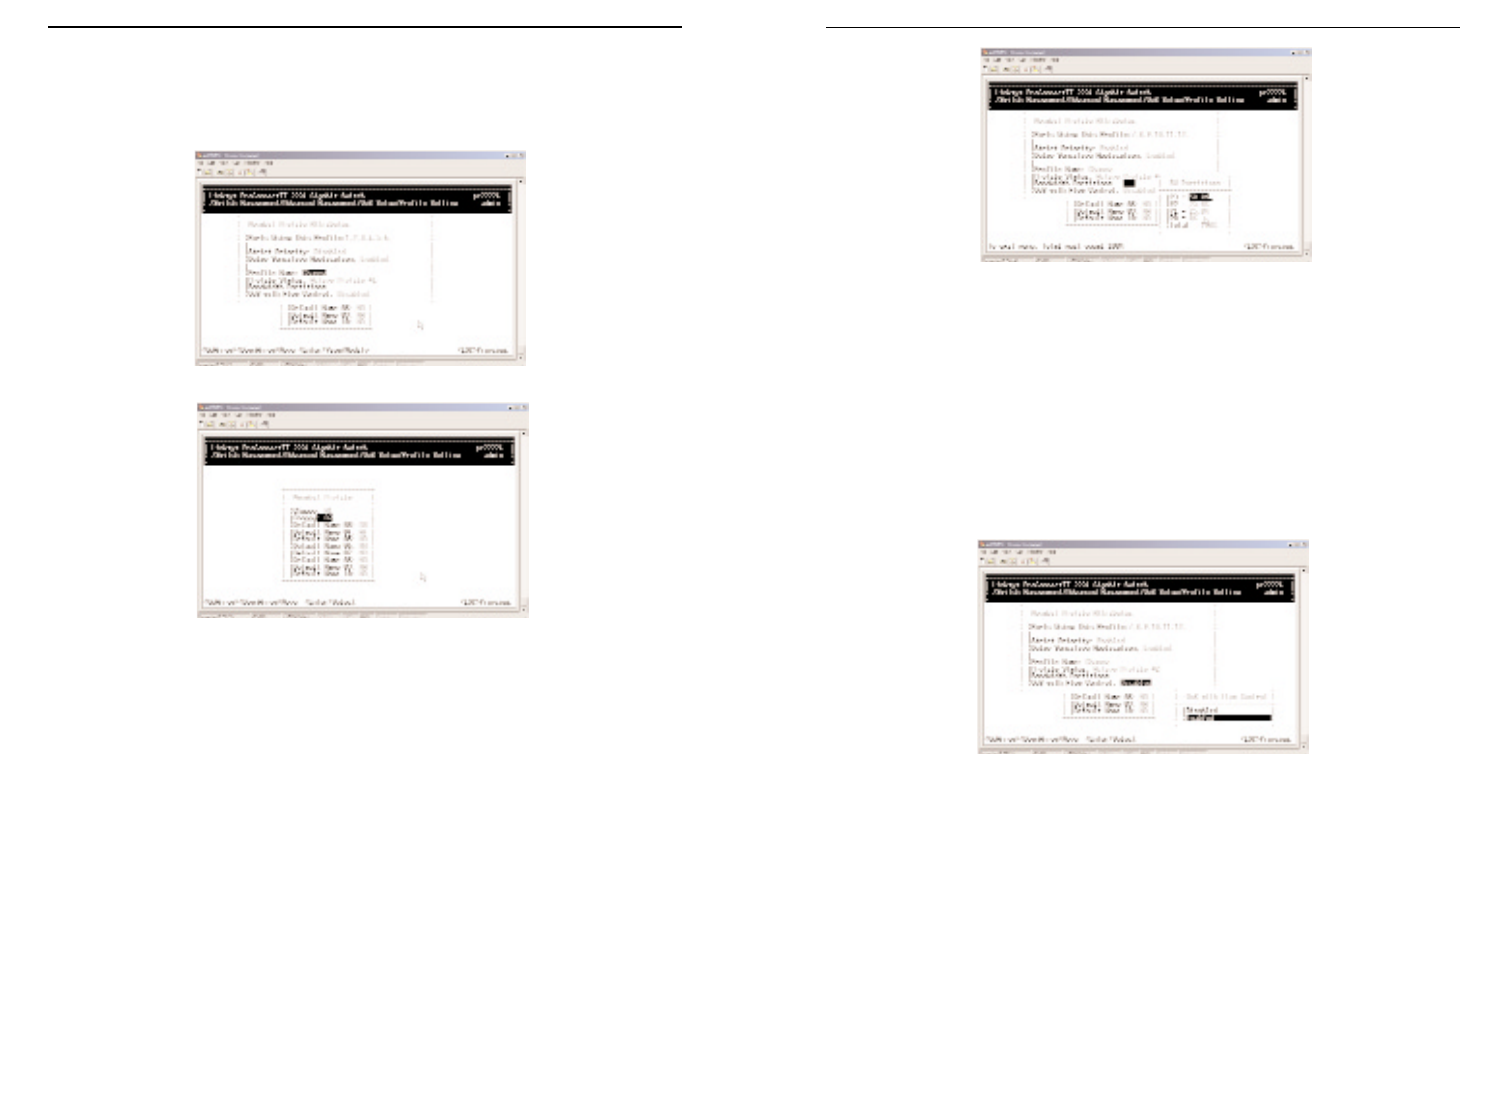
3. To change the profile name, press the Enter key with Profile Name. When
Profile Name box appears, enter a profile name and press the Enter key.
The name you entered appears next to Profile Name.
4. Ports Using This Profile displays all the ports that are currently using this
profile for their QoS scheduling algorithm.
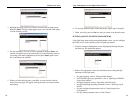
5. To change the bandwidth partition for this profile, use the Down Arrow
key to highlight Bandwidth Partitions and press the Enter key. When the
BW Partitions screen appears, use the Down Arrow key to highlight a par-
tition and press the Enter key. The bandwidth you entered appears next to
Bandwidth Partitions.
Note:
Bandwidth Partition is more accurate for profiles when Delay Sensitive
Application is disabled. For profiles that have Delay Sensitive Application
enabled, Bandwidth Partition is provided for reference purposes only, because
the packet is dispatched based on the delay-bound algorithm.
94


