


79
ProConnect II
®
Series
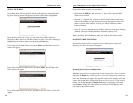
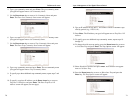
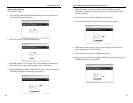
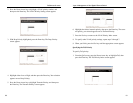
3. Highlight the range of ports you want to associate with the trunk group,
then press Enter. The port range appears next to the selected trunk group,
as in the following screen.
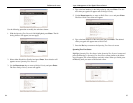
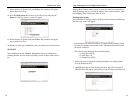
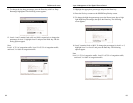
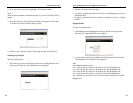
4. For each trunk port you want to select, highlight it and press Enter. An
asterisk will appear next to the selected port as in the following screen (if
you change your mind, highlight the port and press Enter again to dese-
lect it and remove the asterisk.)
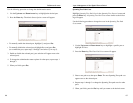
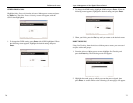
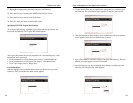
5. When you finish selecting ports, press Esc. A screen similar to the fol-
lowing (see next page) will appear, showing the ports associated with the
trunk group.
78
Layer 2 Management 4-Port Gigabit Ethernet Switch
6. To associate additional ports with trunk groups, repeat steps 2 through 5.
7. When you finish, press the Esc key until you return to the desired screen.
SETTING QUALITY OF SERVICE PARAMETERS
Using QoS Setup from the Advanced Management screen, you can configure
the switch to use various Quality of Service (QoS) parameters.
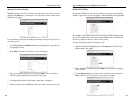
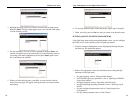
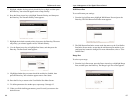
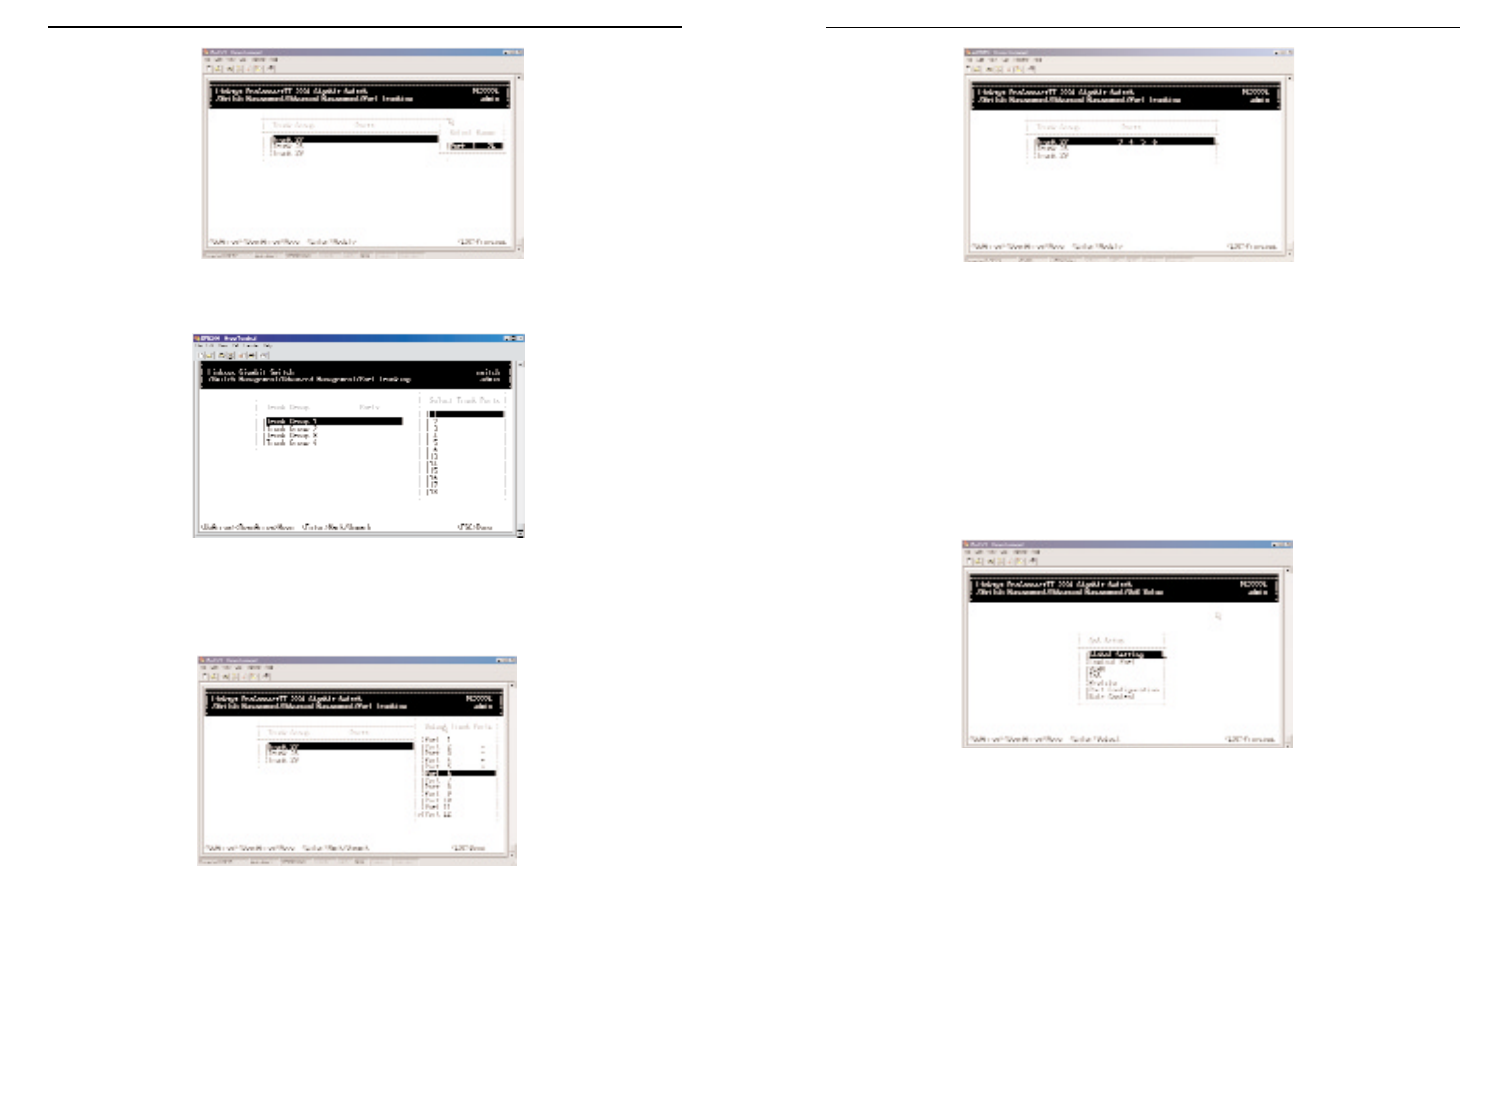
1. From the Advanced Management screen, highlight QoS Setup and press
the Enter key. The QoS menu appears.
2. Refer to the appropriate section for information about setting the QoS
parameters in the QoS menu.
• For global settings, refer to "Setting Global Settings".
• For TCP/UDP logical port parameters, refer to "Specifying TCP/UDP
Logical Port Settings".
• For QoS parameters, refer to "Specifying the ToS Priority".
• For QoS scheduling algorithm parameters, refer to "Selecting a QoS
Profile".
• For port configuration parameters, refer to "Specifying the Port
Configuration".
• For rate control parameters,refer to "Rate Control".