


2-4 Smartio C168H/HS User’s Manual
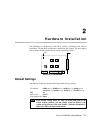
Because the ASIC-designed Smartio C168 Series has no switch and no jumper for
configuring manually the I/O address, IRQ, INT vector, etc. of the boards, you
must
run the software utility, Io-irq.exe, in the driver diskette under DOS system to
change the hardware configuration.
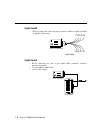
1. Choose a PC that has DOS system inside.
2. Power off the PC.
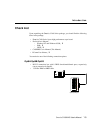
3. Make sure no hardware conflict and plug the board in a free 16-bit slot of the PC,
one board at a time with JP1 open.
+ If you are installing multiple boards, insert one board at a time and
configure it using the Io-irq program before inserting the next board.
This is to prevent conflict between two boards with same default
hardware settings.
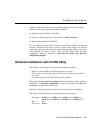
The
Smartio C168 Series has the following default (factory) settings,
I/O address:
0x180 (Port 1), 0x188 (Port 2), 0x190 (Port 3), 0x198 (Port4)
0x1A0 (Port 5), 0x1A8 (Port 6), 0x1B0 (Port 7), 0x1B8 (Port 8)
IRQ: 10
INT Vector: 0x1C0
Configuration Access Port (CAP): 0x180
4.
Power on the PC and enter into DOS system.
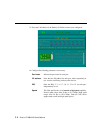
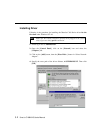
5. Run the utility “Io-irq.exe” contained in the driver diskette to set up I/O address,
IRQ and INT vector of the board. Please refer to the next section, “IO-IRQ
Utility and Hardware Configuration” for more details. Or follow the on-line help
to configure the
Smartio C168 Series board.
After completing the hardware configuration, the board is ready for use under
operating systems, such as Windows NT and 95/98, DOS, UNIX etc.
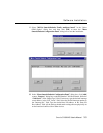
IO-IRQ Utility and Hardware Configuration
Note that the CAP address, e.g. 0x180, is identical to the first port's I/O address
except in one case that the JP1 jumper is installed before powering on the PC. In
this case, the CAP address will be forced to
0xA700. The CAP address must be