8-19
Status
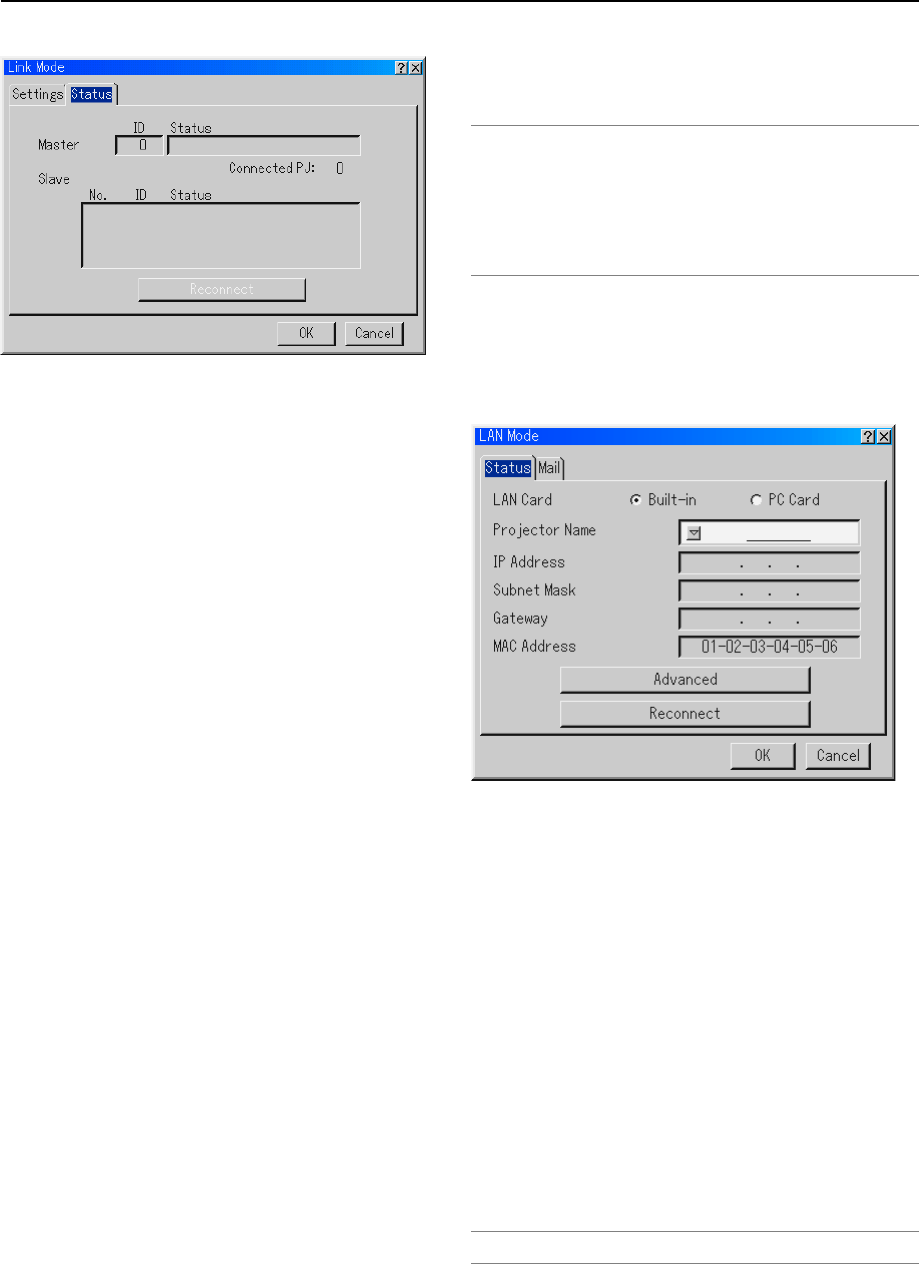
Displaying Current Status of Link Mode
When selecting the tab "Status", you will get the following dia-
log box.
Master ID................. Indicates the Master projector
Status ...................... Indicates the status of the master pro-
jector
Connected PJ.......... Indicates number of connected slave
projectors
Slave No .................. Indicates serial number of the slave pro-
jector
ID............................. Indicates ID of a slave projector
Status ...................... Indicates the status of the slave projec-
tor
Reconnect button .... Confirms connection of all linked projec-
tors
Status items
Running ................... The projector is now working
Cooling Lamp .......... The fan is now cooling the lamp
Standby ................... The projector is in stand-by or idle.
Communication Error ...
A communication error has occurred
Connecting .............. The projector is now verifying for con-
nection
Error Standby .......... An error caused the projector to enter
the stand-by mode.
LAN Mode
This feature allows you to set various setting items when the
projector is used on your network.
Consult with your network administrator about these settings.
NOTE:
• Connect an Ethernet LAN cable to the LAN port (RJ-45) of the projector for net-
work connection.
• NEC's optional wireless LAN card is available. For more information on inserting
or ejecting a LAN card, see page 5-2.
• Either PC Card Slots 1 or 2 can accept LAN card. If two LAN cards are inserted
into both PC card slots, the first inserted one is effective.
• The standard built-in LAN feature and a commercially LAN card are available for
network connection, but only one can be used at a time (mutual exclusion).
CAUTION: Make sure that the LAN card is removed during
Standby mode (NOT Idle mode)or with the main power off.Failure
to do so may cause damage to the LAN card,or may cause the
projector to malfunction.Should a malfunction occur, turn off the
main power and turn it back on.
Status
LAN Card
This option selects either the standard LAN port (RJ-45) or an
optional LAN card inserted in the PC CARD slot.
Projector Name
Specify a unique projector name. Press ̄ to display the soft-
ware keyboard and type in. Up to 16 alphanumeric characters
can be used.
IP Address............... Indicates the IP address of the projec-
tor.
Subnet Mask ........... Indicates the subnet mask of the projec-
tor.
Gateway .................. Indicates the gateway of network con-
nected to the projector.
MAC Address .......... Indicates the MAC address of the LAN
card.
Advanced ................ Displays the IP Address setting window.
Reconnect ............... Use this button to connect the projector
to a network.
NOTE: Once you have selected "OK" on the Advanced screen, you cannot cancel the
changes using "Cancel" on the LAN Mode screen.
8. Using On-Screen Menu


