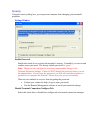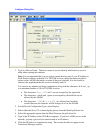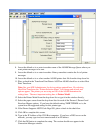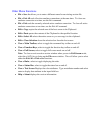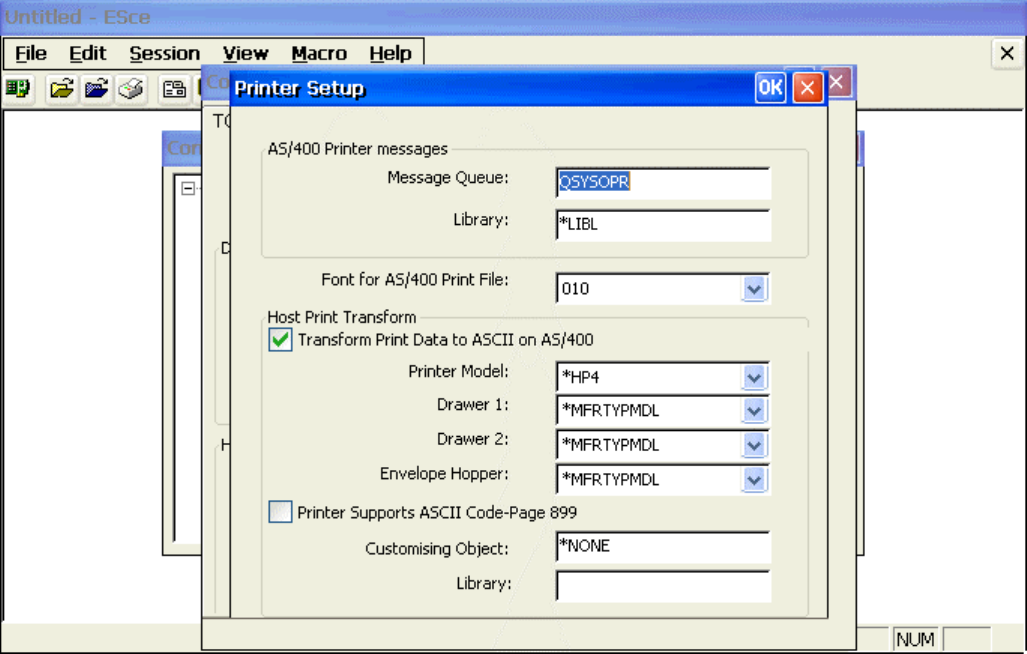
8. Leave the default as is or enter in another name of the AS/400 Message Queue where you
want printer messages to be sent.
9. Leave the default as is or enter in another Library name that contains the list of printer
messages.
10. Leave the default as is or select another AS/400 printer font file from the drop down list.
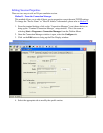
11. Place a check in the Transform Print Data to ASCII on AS/400 check box to select Host
Print Transform.
Note: See your MIS Administrator for device settings entered here. By selecting
Host Print Transform, the “Printer Selection Menu” will change and several new
options appear. The printer you are using and OS of the AS/400 determine the
settings here. The most important setting here is Printer Model.
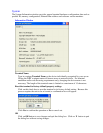
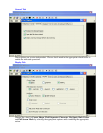
12. Select the Printer Model from the drop down list or type it in the window directly.
13. Select the paper source from the drop down lists for each of the Drawer1, Drawer2 and
Envelope Hopper options. If you leave the default setting *MFRTYPMDL as is, the
system uses the suggested setting for this printer type.
14. If the Printer Supports ASCII Code-Page 899, place a check in the check box.
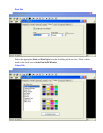
15. Click OK to complete this screen.
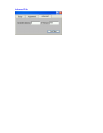
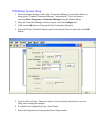
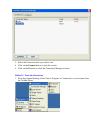
16. Type in the IP Address of the 5250 Host computer. If you have a DNS server on the
network, you may type in a host name instead of an IP address.
17. Click the OK button to complete the setup. The session should now appear in the
Connection Manager window.


