


59
CrossFire 8600/8605 Token-Ring Switches v. 1.2, P/N: 710001641 Installation
Mounting the Chassis
The switch can be mounted in a standard 19-inch rack or cabinet, or can be mounted
on any flat surface such as a tabletop. The installation area should be near a power
source and should have enough room around the front and back panels for cabling
and access to controls. Use the following procedures for the installation of the
switch.
➽ Warning:
Only trained and qualified personnel should be allowed to install or
replace this equipment.
Rack or Cabinet Mounting
If you install the equipment in a closed or multi-unit rack, observe the
environmental guidelines from the previous chapter, Chapter 3, “Preparing for
Installation”.
➽ Caution:
The following rack mounting instructions need to be observed to ensure
that the switch and any other equipment are mechanically stable.
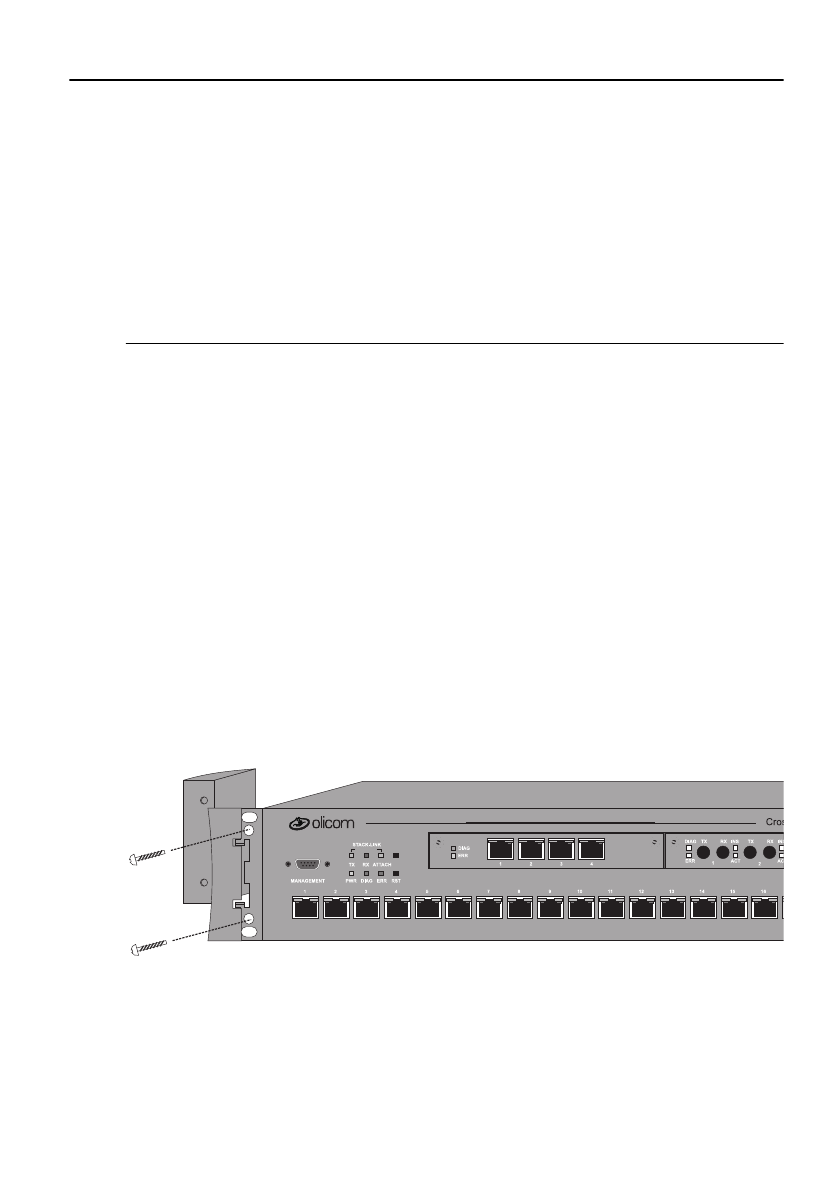
The following steps describe how to mount the switch in a rack or cabinet:
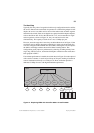
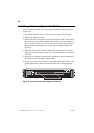
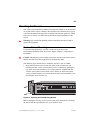
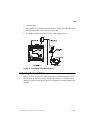
1. Remove the bracket covers on each side of the switch to expose the rack
mounting brackets. Access to the retaining screws is obtained by opening the
cap on the front of each bracket cover. Use the Allen key supplied with the
switch to remove the two 6 mm Allen screws. When you have removed the
screws, push the bracket cover towards the back of the switch and lift the cover
off. Keep the screws for later use.
Figure 15. Exposing the Rack Mounting Bracket
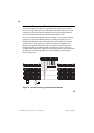
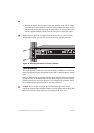
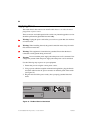
Before starting the next step, be sure you have the proper hardware for mounting
the chassis with the exposed brackets to your cabinet or rack.