366
Using the Relay Terminal Block Appendix C
4. Attach the terminal block cover to the communications terminal block on the Controller Link Unit.
Replacing a Controller Link Unit with a Relay Terminal Block
Use the following procedure to replace a Controller Link Unit with a Relay Terminal Block. The communications
cables are left connected to the Relay Terminal Block during the procedure, and only the Relay Terminal Block
itself must be disconnected from the Controller Link Unit and then connected to the new Controller Link Unit.
The following procedure describes only steps required for the Relay Terminal Block. Refer to
9-6-1 Replacing
the Unit
for details on the replacement operation.
1. Turn OFF the power supply to the PLC with the Unit to be replaced.
2. Remove the communications terminal block cover from the Unit.
3. Loosen the three screws on the communications terminal block. (If adjacent Units are close enough to in-
terfere with work, remove the three screws.)
4. Remove the Relay Terminal Block with the communications cables still attached to it.
!CautionDo not allow the metal portions of the Relay Terminal Block or the communications cable crimp ter-
minals to come into contact with any conductive material.
5. Replace the Controller Link Unit. Set the node number, baud rate, operating level, and terminating resis-
tance switches on the new Unit to the same settings as the previous Unit. With the C200HX/HG/HE or
CQM1H PLC, turn ON the power to the PLC, download the data that was backed up from the previous Unit
to EEPROM in the new Unit, and then turn OFF the power again.
6. Remove the communications terminal block cover from the new Unit.
7. Loosen the three screws on the communications terminal block on the new Unit. (If adjacent Units are close
enough to interfere with work, remove the three screws.)
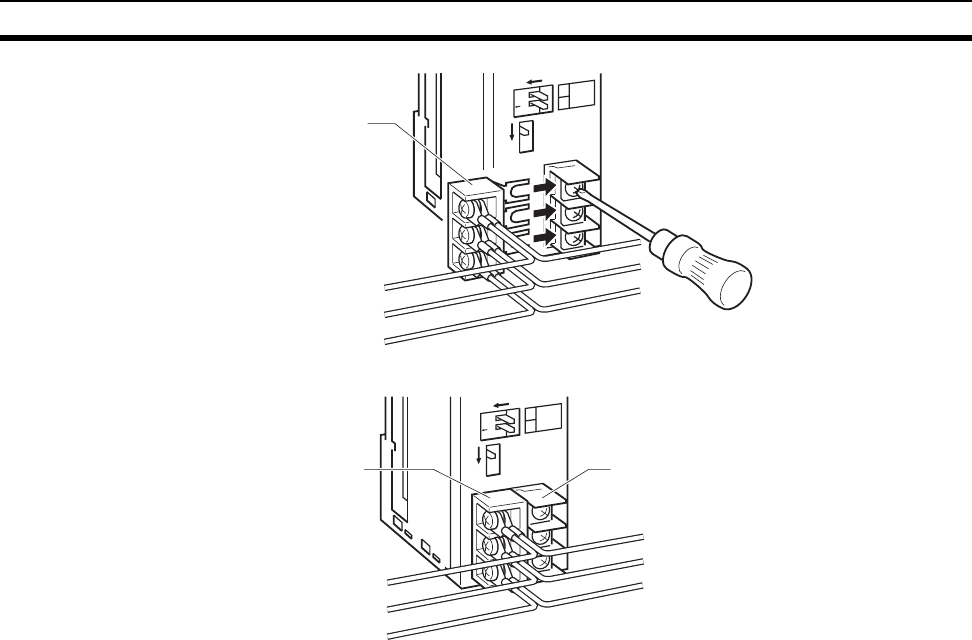
8. Attach the Relay Terminal Block to the new Unit with the communications cables still attached to it, making
sure to align the signal lines and shield line with the markings on the Controller Link Unit.
9. Tighten the screws on the communications terminal block to secure the Relay Terminal Block. The tighten-
ing torque for the three communications terminal block terminal screws is 0.5 N·m.
10. Attach the terminal block cover to the communications terminal block on the Controller Link Unit.
11. Turn ON the power supply to the new Unit. (The power supply to other nodes should still be ON.)
BAUD
RATE
1
2
ON
SW1
ON
TER SW
O
N
1
2
Relay Terminal Block
Connect the Relay
Terminal Block.
BAUD
RATE
1
2
ON
SW1
ON
TER SW
BD H
BD L
SHLD
O
N
1
2
Relay Terminal Block
Connect the Relay
Terminal Block.


