1-2 Operating Instructions
Unpacking the Verifier
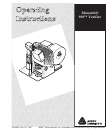
After you unpack the verifier, you should have the following:
♦ 938 verifier
♦ I/O cable
♦ 9-pin communications cable
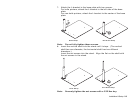
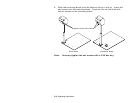
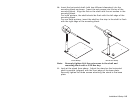
♦ base plate (with two shafts, stand, mounting block, L-bracket, and
attaching parts)
♦ calibration label
♦ SV Series Operator’s Guide (You will need to refer to this manual).
Note: Do not lose the calibration label! You need it to configure the
verifier.
Keep the box and packaging material in case the verifier ever needs
repair.
Before Installing the Verifier
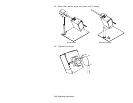
♦ You need a 3/32 Hex key (wrench) to install and tighten the verifier’s
stand.
♦ Install the ScanVision software. The ScanVision software is found on
the Tabletops Documentation CD-ROM. Run the file, setup.exe and
follow the prompts as necessary.
♦ Install the Monarch Paxar Verifier Configuration Tool. This tool
can be downloaded from our Web site. To install, run the .exe file
and follow the prompts as necessary.


