DM1100™ Digital Mailing System Operating Guide
SV62146 Rev. D 7-5
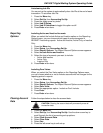
a. Type in the start date of your fiscal year.
b. Press Enter to save the date. The Accounting Periods screen reap-
pears.
4. Select Number of Periods.
a. Select the number periods for your fiscal year. Use the down arrow
key to scroll through the list, if necessary.
b. b.If you select one of the preset periods, press Enter to return to the
Accounting Set Up menu, then press the left arrow key to exit the
set up.
c. If you select Custom period, the Custom Period screen appears.
Go to step 5.
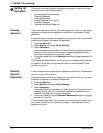
5. You can set up two custom periods. The start date for both periods is
the date you activate the custom periods. You cannot change the start
date.
a. Select End Date 1 to set the end date for the first custom period.
Key in the date and press Enter.
b. Select End Date 2 and set the end date for the second custom
period. The end date for the second period must always be the
same as, or after the end date for the first period. Press Enter.
6. Press the left arrow key to exit set up.
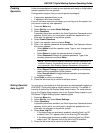
NOTES:
• You can enter a start d2ate that is within the current year. For exam-
ple, if today's date is 1/0/2009, you can enter a start date back to
1/20/2008. When you enter the year, be sure to enter the full 4-digit
year (e.g., 2008 or 2009).
• Once you run a transaction you cannot change the start date of the
fiscal year until you clear the accounting data, or the fiscal year ends.
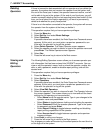
NOTES for Custom Periods:
• For custom periods only, you can extend the end dates at any time dur-
ing the period. The end date for custom period 2 must always be the
same as custom period 1, or after custom period 1.
• Once the end date is reached, you must clear the account data, extend
the end date, or both. You will be prompted to print the data before it is
cleared.
• When the period expires, you will not be allowed to run mail until you
either clear the data or extend the period.


