E – 15
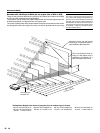
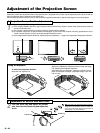
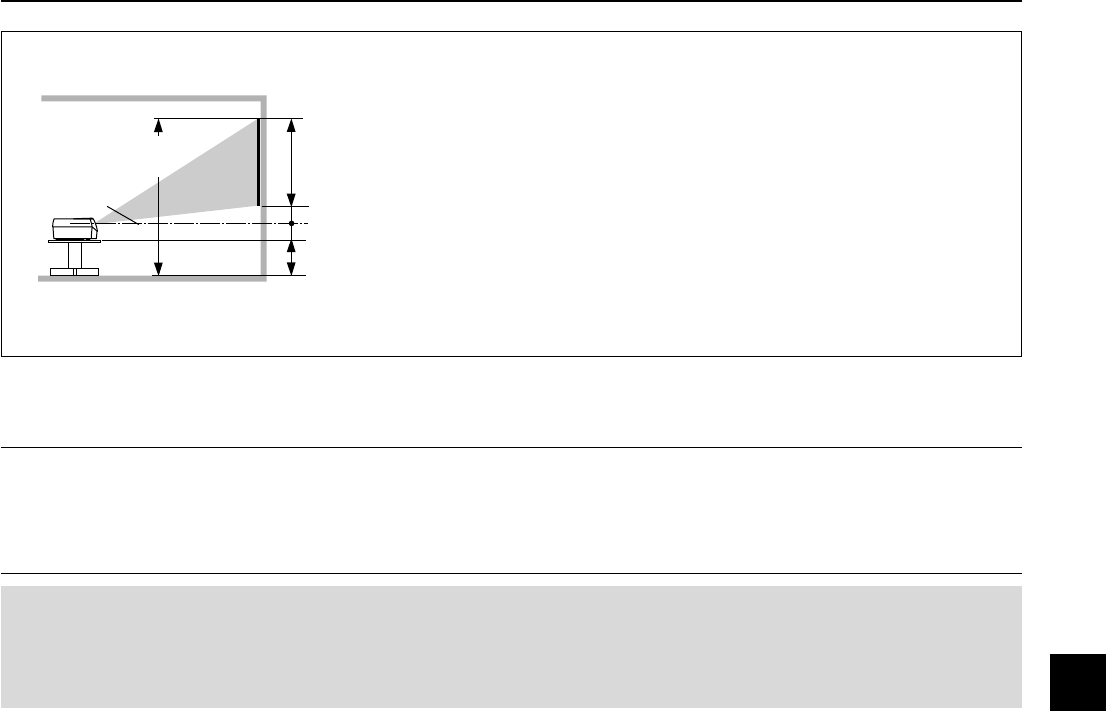
Installation Height of Projection Screen [Reference]
Once the installation location and position have been decided, the projection
height should be checked. In the case of large screen sizes, there are instances
where the image cannot be projected within the floor to ceiling height.
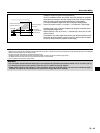
The required installation height can be found using the following formula:
Screen size vertical cm(inch) + H cm(inch) + 7.2 cm(2.8 inch) + Stand height
Example: Using a 150" 4:3 screen and placing the projector horizontally, the re-
quired installation height will be
228.6 cm(90 inch) + 45.5 cm(17.9 inch) + 7.2 cm(2.8 inch) = 281.3 cm(110.7 inch)
(without a stand)
An installation room with a height of 240 cm(94.5 inch) will have insufficient room
height even when the projector is placed on the floor. (Note that the rear adjust-
ers can be raised to lower the projection screen image.)
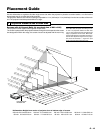
Placement Guide
Screen size vertical
dimension
H dimension
7.2 cm(2.8 inch)
Screen size top edge dimension
measured from floor
Lens center
Stand dimension
Note:
* Determine the screen size after checking the height and width of the room in which the screen will be installed as well as checking that there are no obstacles
located in the path between the lens and the screen.
* The larger the screen size becomes, the darker the image will be.
Placing the projector to the rear of the screen to project the image will require the use of a translucent type screen.
* The height from the feet of the main unit to the center of the lens is 7.2 cm (2.8inch).
* There is a tolerance of ±5% due to design values.
Attention!
• Do not install in location that will reach high or low temperatures. (Operation temperature: within 5°C (41°F) to 35°C (95°F))
•To raise the projection screen position, place the unit on a stable and strong support.
• Make efforts to ensure that sunlight or room illumination does not strike the screen. The more such extraneous light is
shielded, the higher the contrast and more attractive the image that will be obtained.


