Chapter 3 SCT 320 Operation 25
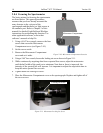
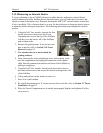
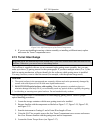
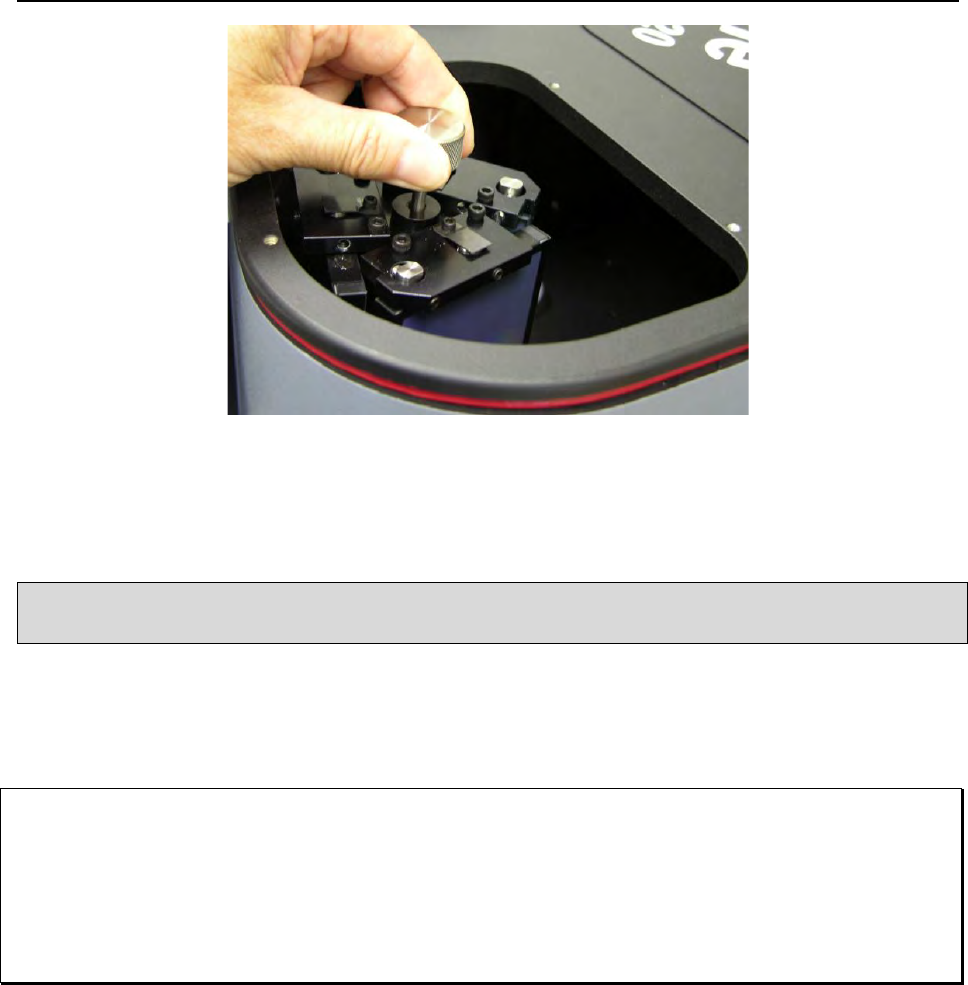
Figure 2-16. Lift Turret up out of the Turret Compartment
6. If you are not installing/removing a shutter assembly or installing a different turret, replace
and secure the Turret Compartment cover.
2.15 Turret Interchange
Read and follow the instructions in this section only if you have ordered more than one turret for the
IsoPlane. Otherwise, you never have to interchange turrets.
The IsoPlane is supplied with one on-axis mounted triple grating turret assembly, but you may
order up to three (3) grating turrets for the spectrograph. If you have multiple turrets (2 or 3), the
built-in sensing mechanism will auto-identify for the software which grating turret is installed.
You may, however, want to label the turrets (for example, with the spectral range used).
CAUTION
1. The optical surfaces in the spectrograph are extremely delicate and can be permanently damaged by
contact with solid objects as well as with most liquids and aerosols.
2. DO NOT TOUCH optical surfaces with anything. Wear thin protective powderless gloves to
minimize damage from body oils if you accidentally touch any optical surface, especially the grating.
3. Avoid talking or sneezing near optical surfaces. Do not breathe directly on them.
The following procedure is recommended for interchanging grating turrets. Observe proper
optical handling procedures.
1. Locate the storage container with the new grating turret to be installed.
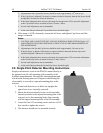
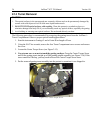
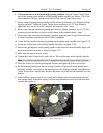
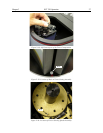
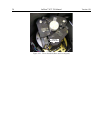
2. Become familiar with the components as labeled on Figure 2-17, Figure 2-19, Figure 2-20,
and Figure 2-21.
3. Scan the instrument to Grating #1 and a Center Wavelength of 0 nm.
4. Using the 9/64” hex wrench, remove the four Turret Compartment cover screws and remove
the cover. Become familiar with the grating turret and its components.
5. Loosen the Center Torque Screw (see Figure 2-17).


