26 IsoPlane
®
SCT 320 Manual Version 1.B
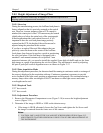
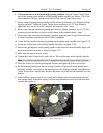
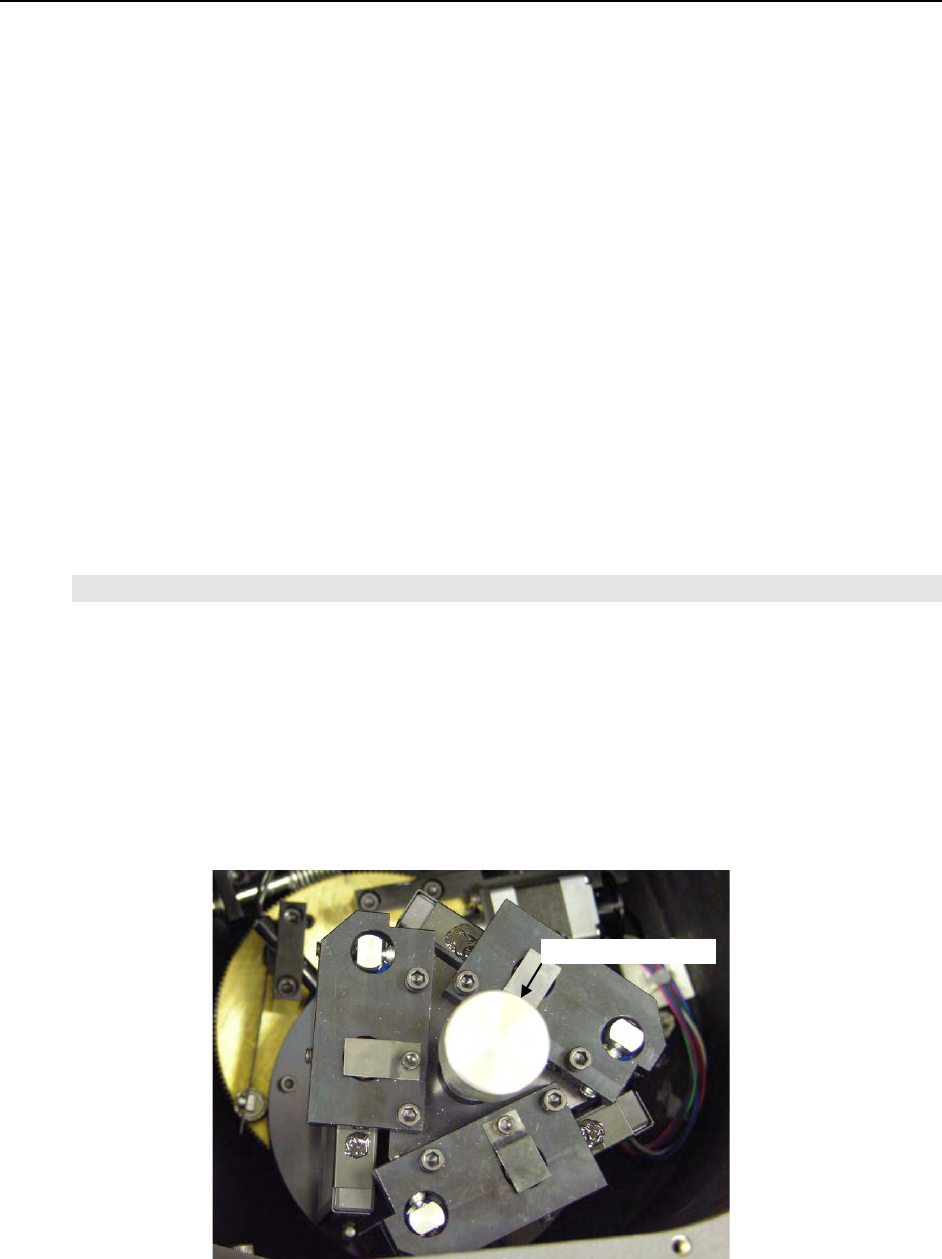
6. Use extreme care so as not to touch the grating surfaces. Grasp the Center Torque Screw
and lift the grating turret straight up off the grating spindle assembly (see Figure 2-18). If the
turret cannot be lifted up, you may need to loosen the Center Torque Screw more.
7. Put the removed grating turret assembly into the protective container it was shipped in (align
the post and hole). Tighten the Center Torque screw and then use a 3/32” hex wrench to
tighten the three set screws on the bottom of the container (about 1 turn).
8. Before removing the replacement grating turret from its shipping container, use a 3/32” hex
wrench to loosen the three set screws on the bottom of the container (about 1 turn).
9. Then remove the cover from the shipping container, grasp the Center Torque Screw and turn
it counter-clockwise until the turret can be lifted straight up.
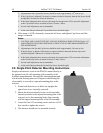
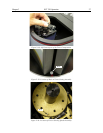
10. Locate the hole near the edge between gratings on the grating turret assembly (see Figure 2-19).
11. Locate the vertical post on the Grating Spindle Assembly (see Figure 2-20).
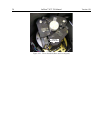
12. Position the grating turret on the grating spindle so the hole in the turret assembly aligns with
the post in the turret assembly as shown in Figure 2-21.
13. Make sure the turret is properly seated.
14. Tighten the Center Torque Screw until it clicks. This sets the torque on the spindle correctly.
Note: You cannot overtighten this screw. It designed to slip once the correct torque is attained.
15. Place the Turret Cover on the spectrograph. Replace and tighten all of the cover screws.
16. Put the removed grating turret into the storage container: align the hole in the grating turret
assembly with the vertical post on the bottom plate of the shipping container, and tighten the
Center Torque Screw until it clicks. Replace the plastic cover and store the container in a safe
location.
17. If the IsoPlane’s power supply is on, re-start the IsoPlane to allow auto-identification of the
new grating turret. If the power supply is off, the auto-identification will occur the next time
you turn the supply on.
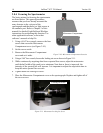
Figure 2-17. Center Torque Screw
Center Torque Screw


