Document Server
216
3
Note
❒ To change the number entered, press the [Clear] or {
{{
{Clear/Stop}
}}
} key and
enter a new number.
C Press the [OK] or {
{{
{#}
}}
} key.
E
EE
E
Set your originals either on the exposure glass or into the document feeder.
Reference
For more information on the types of originals that can be set and how to
set them, see ⇒ p.33 “Setting Originals”.
F
FF
F
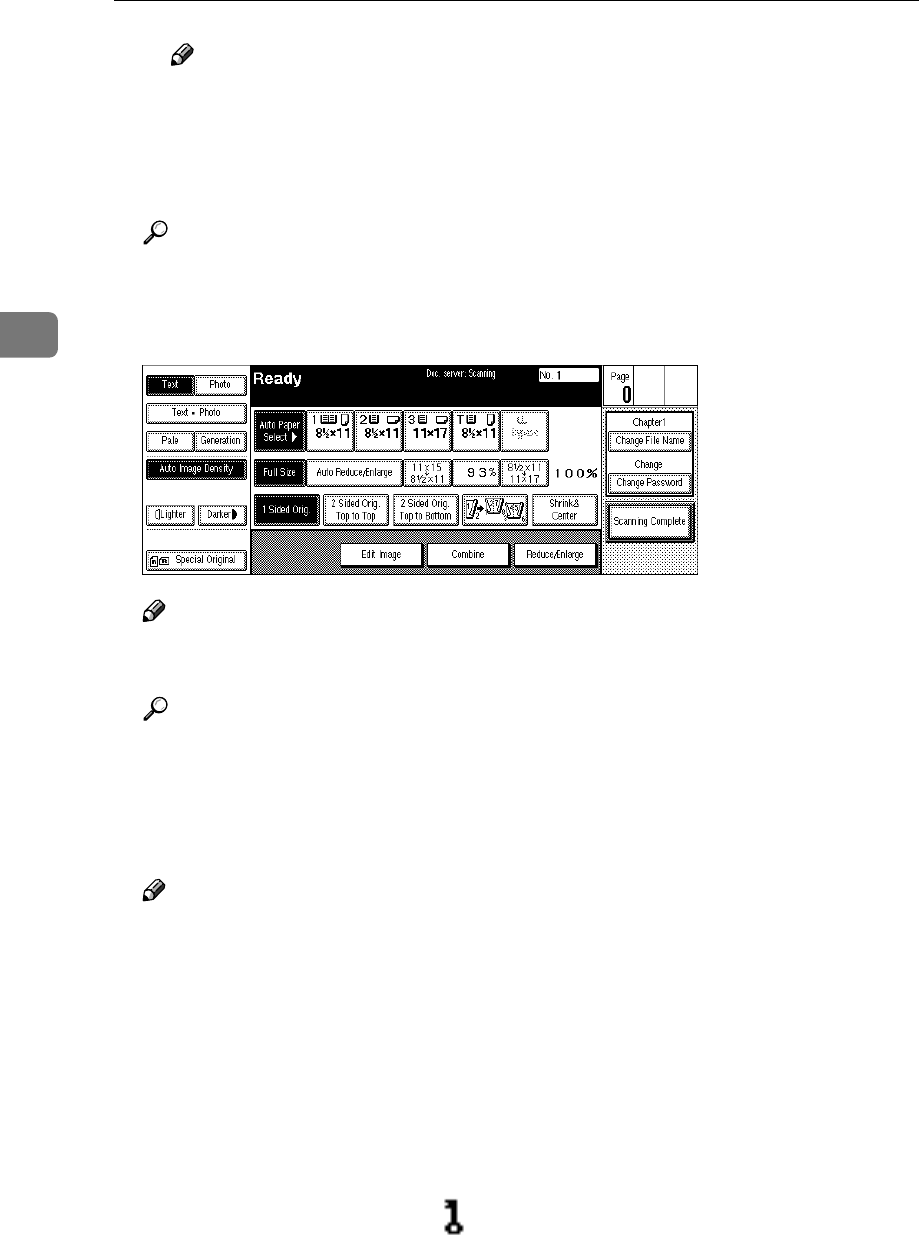
Make any desired settings.
Note
❒ Press the [Scanning Complete] key to cancel the file name, password, or print
settings and return to the “Document Server: Files” display.
Reference
For details, see the explanations of each function in this manual.
G
GG
G
Press the {
{{
{Start}
}}
} key.
The document is saved in the Document Server. The saved documents are
displayed on the “Document Server: Files” display.
Note
❒ If you have set your originals in the document feeder, the “Document Serv-
er: Files” display appears automatically after all originals have been
scanned.
❒ If you have set your originals on the exposure glass, press the [Scanning
Complete] key after all originals have been scanned. The “Document Server:
Files” display appears.
❒ To stop scanning, press the {
{{
{Clear/Stop}
}}
} key.
❒ To resume the paused scanning job, press the [Resume] key in the confir-
mation dialog box. To delete the saved images and cancel the job, press the
[Cancel] key.
❒ When storing a password, appears on the left side of the file name.
