Replacing Parts
145
7
Preparing to replace the parts
You should replace all the parts included in Maintenance Kit at the same time.
Be sure to replace them in the following order:
A
AA
A
Check the contents of the box for the following items:
• Friction pad for the paper tray (Tray 1)
• Friction pad for the Paper Feed Unit (Tray 2, 3)
• Paper feed roller for the paper tray (Tray 1)
• Paper feed roller for the Paper Feed Unit (Tray 2, 3)
• Transfer roller
• Fusing Unit
• Gloves
B
BB
B
Confirm that the followings are true:
• The power switch is turned off.
• The power cord is unplugged from the wall outlet.
• The interface cable is unplugged from the printer.
Replacing the Friction Pad
Replace all friction pad of the tray.
There are two kinds of friction pads.
One is for the paper tray (Tray 1), and
the other are for the Paper Feed
Unit(s) (Tray 2, 3). The following pro-
cedure shows how to replacing fric-
tion pad of the paper tray (Tray1).
A
AA
A
If the optional Duplex Unit, the
Mailbox or the 1–bin Shift Sort
Tray are installed, uninstall them
from the printer.
B
BB
B
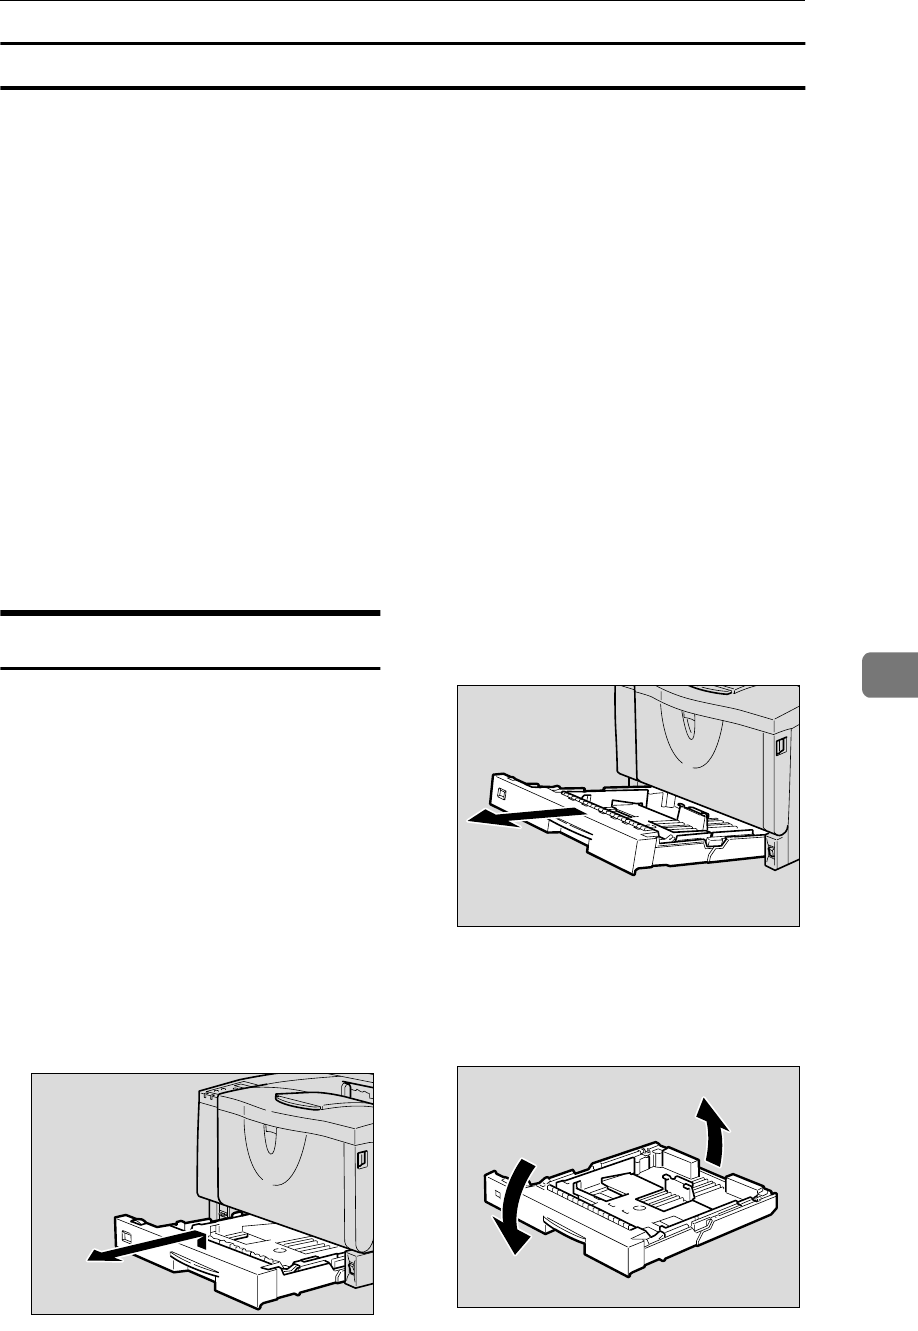
Lift the paper tray slightly then
pull it out until it stops.
C
CC
C
While lifting the front side of the
tray, pull it out of the printer.
D
DD
D
Remove paper from the paper
tray. Place the tray upside down
on a flat surface.
ZCEY430J
ZCEY140J
ZCEM160J


