KVM Switch KVM2132P, KVM2116P, KVM1116P User Manual 26
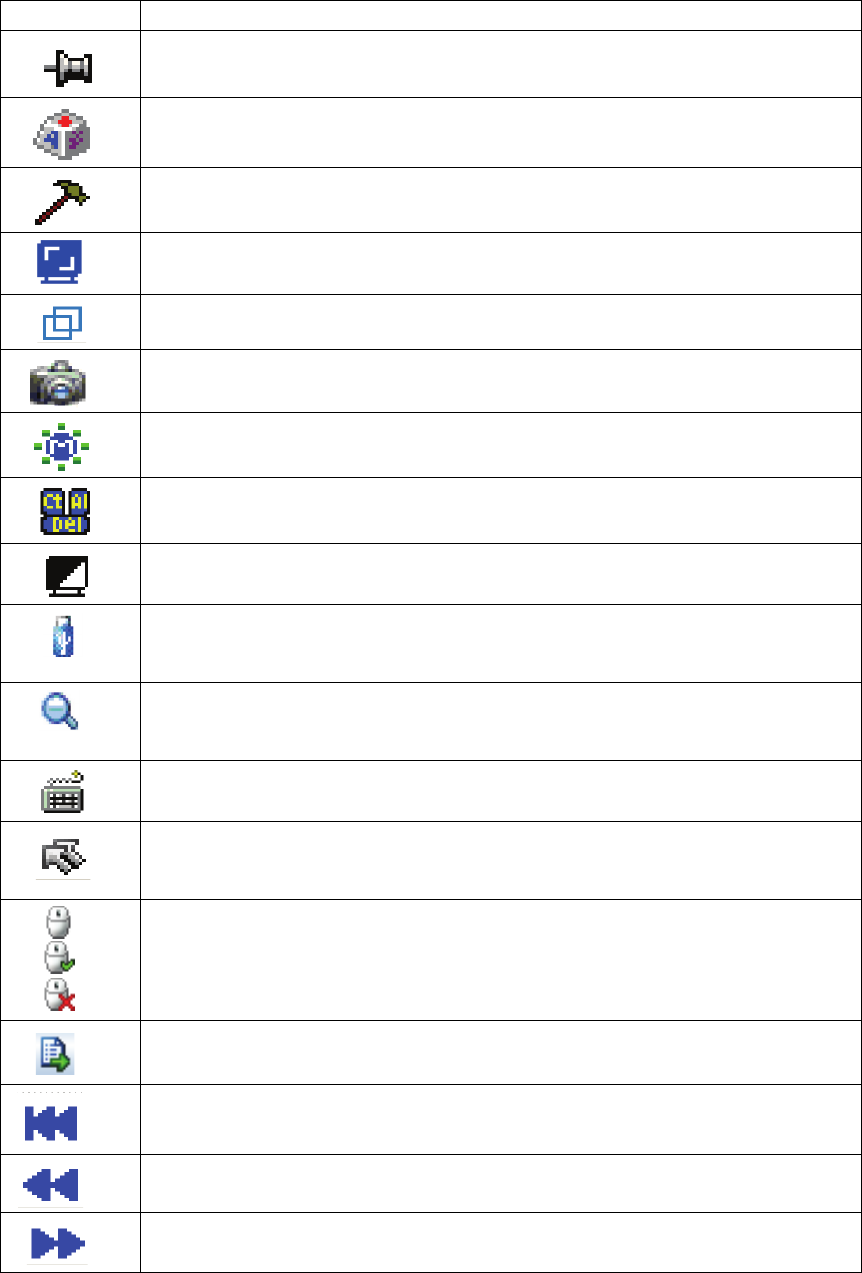
WinClient Control Panel Functions
Icon Function
Toggle icon. Click to make the Control Panel always display on top of other screen
elements. Click again to have it display normally.
Macro icon.Click to open the Macros dialog box (see page 30 for details).
Hammer icon. Click to open the Video Options dialog box. Right-click to perform a quick
Auto Sync (see “Video Settings” on page 30 for details).
Click to perform a video and mouse autosync operation. It is the same as clicking the
Auto-sync button in the Video Options dialog box (see “Video Settings” on page 30).
Toggle the display between Full Screen Mode and Window Mode.
Click to take a snapshot (screen capture) of the remote display. See “Snapshot” on
page 35 for details.
Click to open the Message Board (see “The Message Board” on page 31).
Click to send a Ctrl+Alt+Del signal to the remote system.
Click to toggle the remote display between color and gray scale views.
Click to open the Virtual Media dialog box. See “Virtual Media” on page 32 for details.
Note: 1. This icon is displayed on the switches only.
2. This icon displays in gray when the function is disabled or not available.
Click to zoom the remote display window.
Note: This feature is only available in windowed mode (Full Screen Mode is off). See
“Zoom” on page 33 for details.
Click to open the on-screen keyboard (see “The On-Screen Keyboard” on page 33).
Click to select the mouse pointer type.
Note: This icon changes depending on which mouse pointer type is selected (see “Mouse
Pointer Type” on page 34)
Click to toggle Automatic or Manual mouse sync.
• When the selection is Automatic, a green V appears on the icon.
• When the selection is Manual, a red X appears on the icon.
See “Mouse DynaSync Mode” on page 34 for details.
Click to open a list of User macros in order to access and run macros more conveniently
than using the Macros dialog box.
Under an accessed port, click to skip to the first port accessible to the user on the entire
installation without going to the Port Access page.
Under an accessed port, click to skip to the first port accessible to the user that is previous
to the current one without going to the Port Access page.
Under an accessed port, click to skip to the first port accessible to the user that is after the
current one without going to the Port Access page.
