39
4
USING THE PRINTER MODE
The procedure for loading paper is the same as for loading copy paper. See "LOADING PAPER". (p.13)
BASIC PROCEDURE FOR PRINTING
The basic procedure for printing is explained in the following. To use convenient printer functions, see the "Online
Manual" or the printer driver help file.
1
Make sure that paper is loaded in the
tray.
The procedure for loading paper is the same as for
copying. See "LOADING PAPER" (p.13) and make
sure the paper that you wish to use is loaded.
2
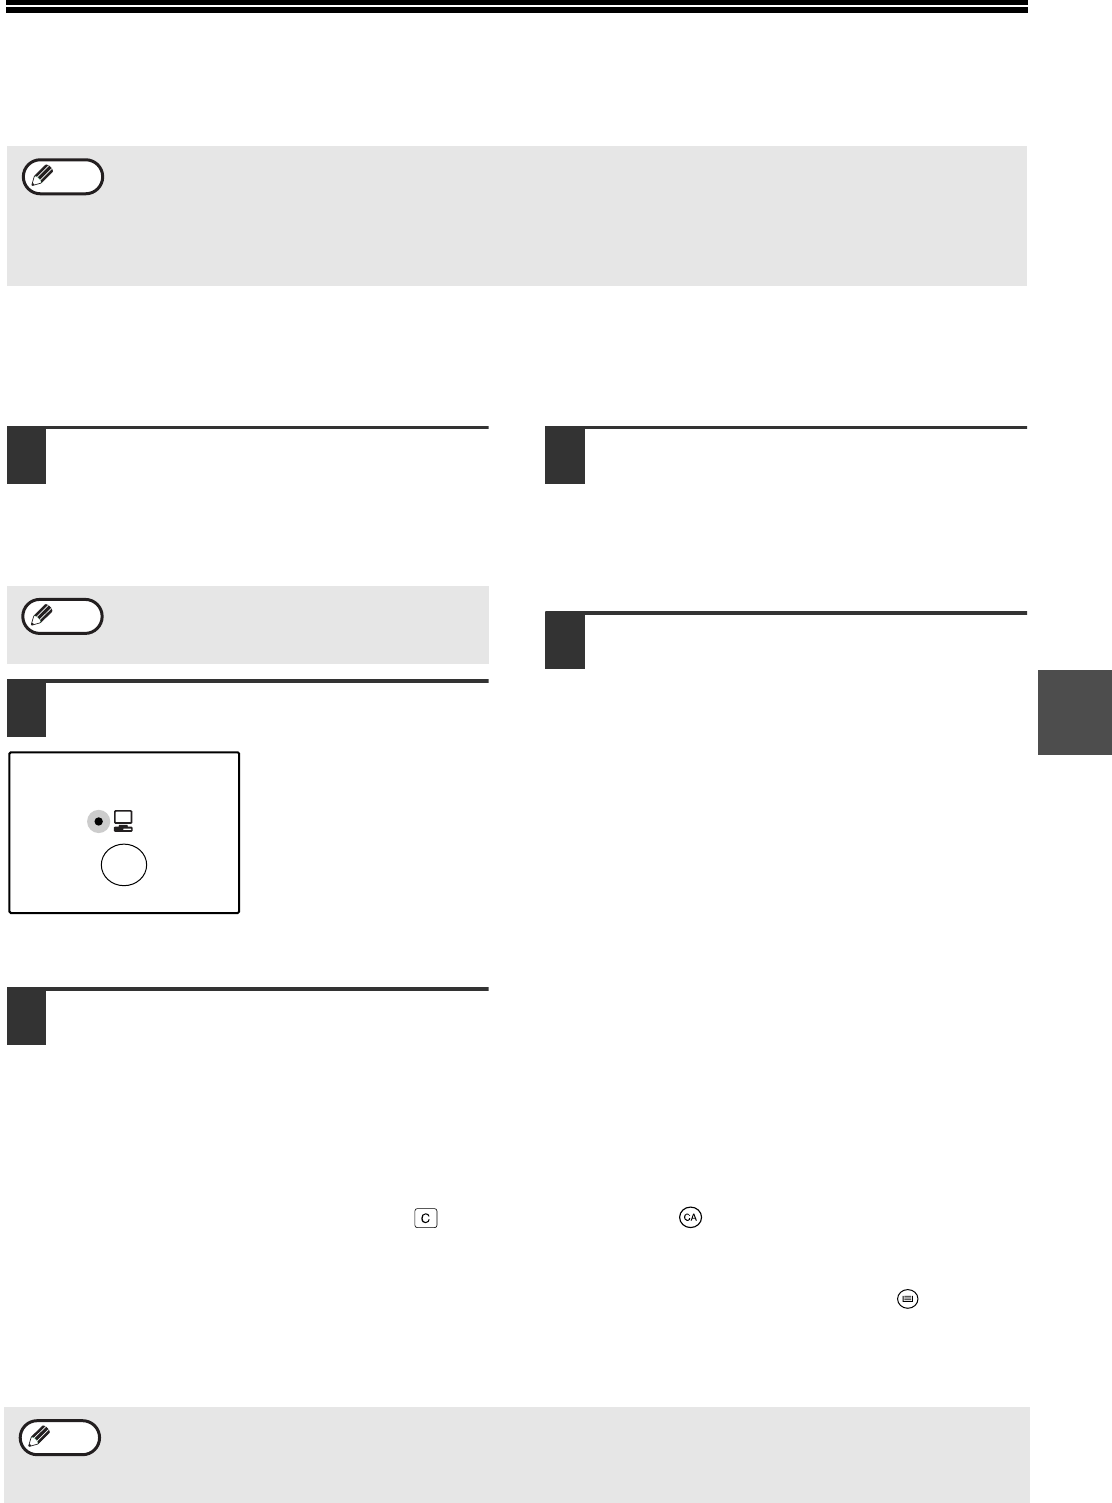
Make sure that the ON LINE indicator
on the operation panel is lit.
If the ON LINE indicator
is not lit, press the [ON
LINE] key. When the
indicator is not lit, the
machine is off-line and
cannot print. When the
indicator is blinking, the
machine is printing a
print job from memory.
3
Open the file that you wish to print
and select "Print" from the File menu.
4
Make sure that the printer driver for
the machine is selected, and select
print settings in the printer driver.
For information on the settings in the printer
driver, see the "Online Manual", the Software
Setup Guide, or the printer driver help file.
5
Click the "Print" button or the "OK"
button to begin printing.
The print job will be delivered to the paper output
tray.
Important points when setting the paper size
• Make sure that the tray's paper size setting is the
same as the tray's paper size setting in the printer
driver. For example, if the tray's paper size setting is
8-1/2" x 11"R, set "Setting Paper Size" to "Letter-R".
For more information, see "CONFIGURING THE
PRINTER DRIVER" (p.11) in the "Software Setup
Guide".
• If the dual function board is not installed, printing will
not take place correctly if the tray paper size setting
is 8-1/2" x 11"R. To prevent incorrect printing when
the tray paper size setting is 8-1/2" x 11"R, specify
Pausing a print job
To pause a print job during printing, press the [ON LINE] key on the operation panel to switch the machine off-line.
Printing will be paused and the ON LINE indicator will blink.
To cancel a print job, press the [CLEAR] key ( ) or the [CLEAR ALL] key ( ).
To resume printing, press the [ON LINE] key to switch the machine online.
When "Use close paper size" is disabled
The PAPER SIZE indicator on the operation panel will blink. You can press the [TRAY SELECT] key ( ) to select a
tray manually, or load paper in the bypass tray and press the [ON LINE] key to begin printing.
When "Use close paper size" is enabled
Printing will take place using a size of paper that is close to the size of the print image.
• Print jobs received while the machine is copying or being used in scanner mode will be stored in memory. When
the copy job is finished or scanner mode is exited, the print jobs will begin printing.
• Printing is not possible when the front or side cover is opened for machine maintenance, or when a misfeed
occurs or the machine runs out of paper or toner, or when the drum cartridge reaches its replacement time.
• If an original misfeed occurs in the SPF/RSPF, printing will not be possible until the misfed original is removed
and the SPF/RSPF is restored to a usable state.
Note
Make sure that the paper size setting on the
machine is the same as the paper size set in
the printer driver.
Note
ON LINE
• When the dual function board is installed, the print image is automatically rotated to fit the paper in the event that
the paper is loaded in an orientation different from the print image.
•
For limitations on copying in print mode, scanner mode limitations, and print mode limitations in copy and scanner
mode, see "OPERATION IN COPY, PRINTER, AND SCANNER MODES". (p.41)
Note


