


3-4
ERASING EDGE SHADOWS (EDGE ERASE)
The erase function is used to erase the shadow lines on copies produced when copying thick originals or books. The
erase modes that can be selected are shown below. The erase width is approximately 10 mm (1/2") in it’s initial
setting.
USING EDGE ERASE
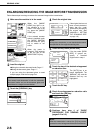
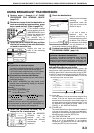
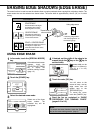
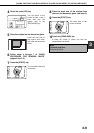
1
In fax mode, touch the [SPECIAL MODES]
key.
If the address book screen
appears, touch the
[CONDITION SETTINGS]
key to display the
condition settings screen
(page 1-5).
2
Touch the [ERASE] key.
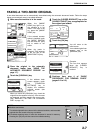
3
Select the desired erase mode.
Select one of the three
erase modes. The
selected key will be
highlighted.
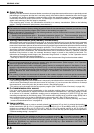
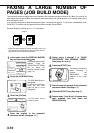
4
If desired, set the width of the edge to be
erased (touch the key or the key to
set the width).
The erase width can be
set from 0 to 20mm in
1mm (0" to 1" in 1/8")
increments.
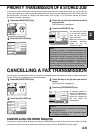
5
Touch the outer [OK] key.
You will return to the
screen of step 1 and an
edge erase icon will
appear next to the
[EXPOSURE] key.
To cancel the erase,
touch the [CANCEL] key.
6
Send the fax as explained in "BASIC
PROCEDURE FOR SENDING FAXES"
(pages 2-2 to 2-3).
EDGE ERASE
Erases shadows at edges
that appear when faxing
thick originals or books.
CENTRE ERASE
Eliminates shadow lines
produced by the bindings
of bound documents.
EDGE + CENTRE ERASE
Eliminates shadow lines around
the edges of copies and
eliminates the shadow at the
centre of copies.
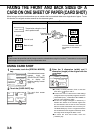
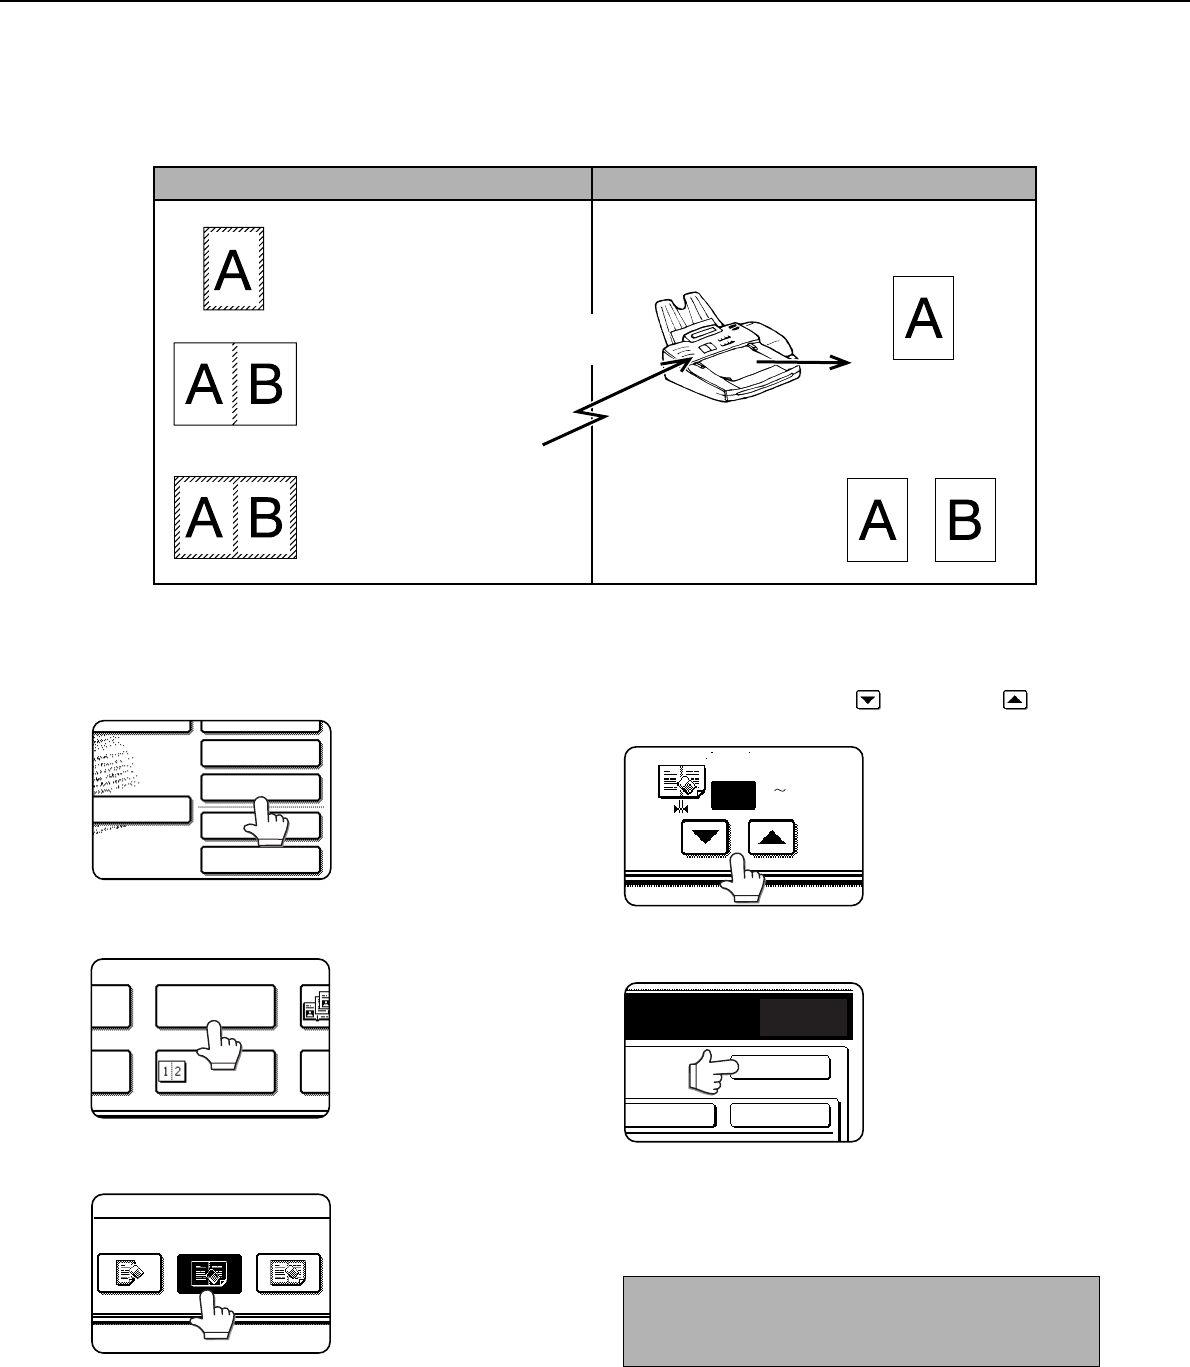
Using edge erase
Combining "edge erase"
with "Dual page scan" on
the following page
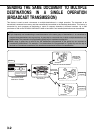
Your machine The other machine
Transmission to
other machine
TO RECEPTION
MEMORY:100%
QUICK FILE
ADDRESS REVIEW
SPECIAL MODES
FILE
SUB ADDRESS
MODE SWITCH
ERASE
2in1
R CA
AM
EDGE
ERASE
ERASE
CENTRE
ERASE
EDGE+CENTRE
ERASE
NOTE
To cancel the erase function, touch the [CANCEL]
key on the erase setting screen. (step 4)
(0 20)
mm
CENTRE
10
OK
OK
CANCEL