User’s Guide 4-7
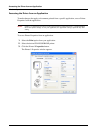
Navigating the Printer Properties Window
Windows Operations
Navigating the Printer Properties Window
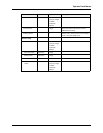
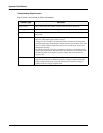
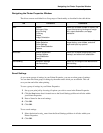
The driver screens are divided in to five groups of functionality as described in the table below.
Saved Settings
As you create groups of settings in your Printer Properties, you can save that group of settings.
You can then select that group of settings by the name under which you saved them. This can
save you time and effort when printing.
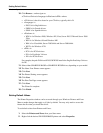
To save a group of settings in your Printer Properties:
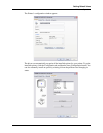
1. Set up your print job by choosing all options you wish to reuse in the Printer Properties.
2. Click the Save button that is located next to the Saved Settings pulldown in all tabs within
your Printer Properties.
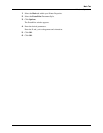
3. Enter a Name for the saved settings.
4. Click OK.
5. Click OK.
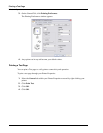
To use saved settings:
1. Select the desired setting_name from the Saved Settings pulldown in all tabs within your
Printer Properties.
2. Click OK.
Tab Functions Comments
Main Copies
Document Style
N-up Printing
Finishing
Output
Image Orientation
Allows you to select number of copies, one
or two-sided printing, binding and margin
shift, output destination, and page
orientation.
Paper Paper Size
Paper Selection
Zoom Settings
Cover Sheet Selection
Options
Allows you to choose paper size and type,
image scaling, cover sheets, and other
paper and input tray options.
Advanced Manual Adjustment
Overlay Options
Font Substitution
Quality
Allows you to adjust image quality, print
overlays, and control font substitution.
Job Handling Retention Settings
Job Accounting
Allows you to configure Job retention and
Job Handling.
Watermark Watermark Allows you to configure watermarks.


