


98
4
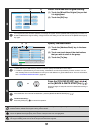
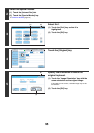
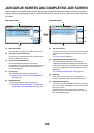
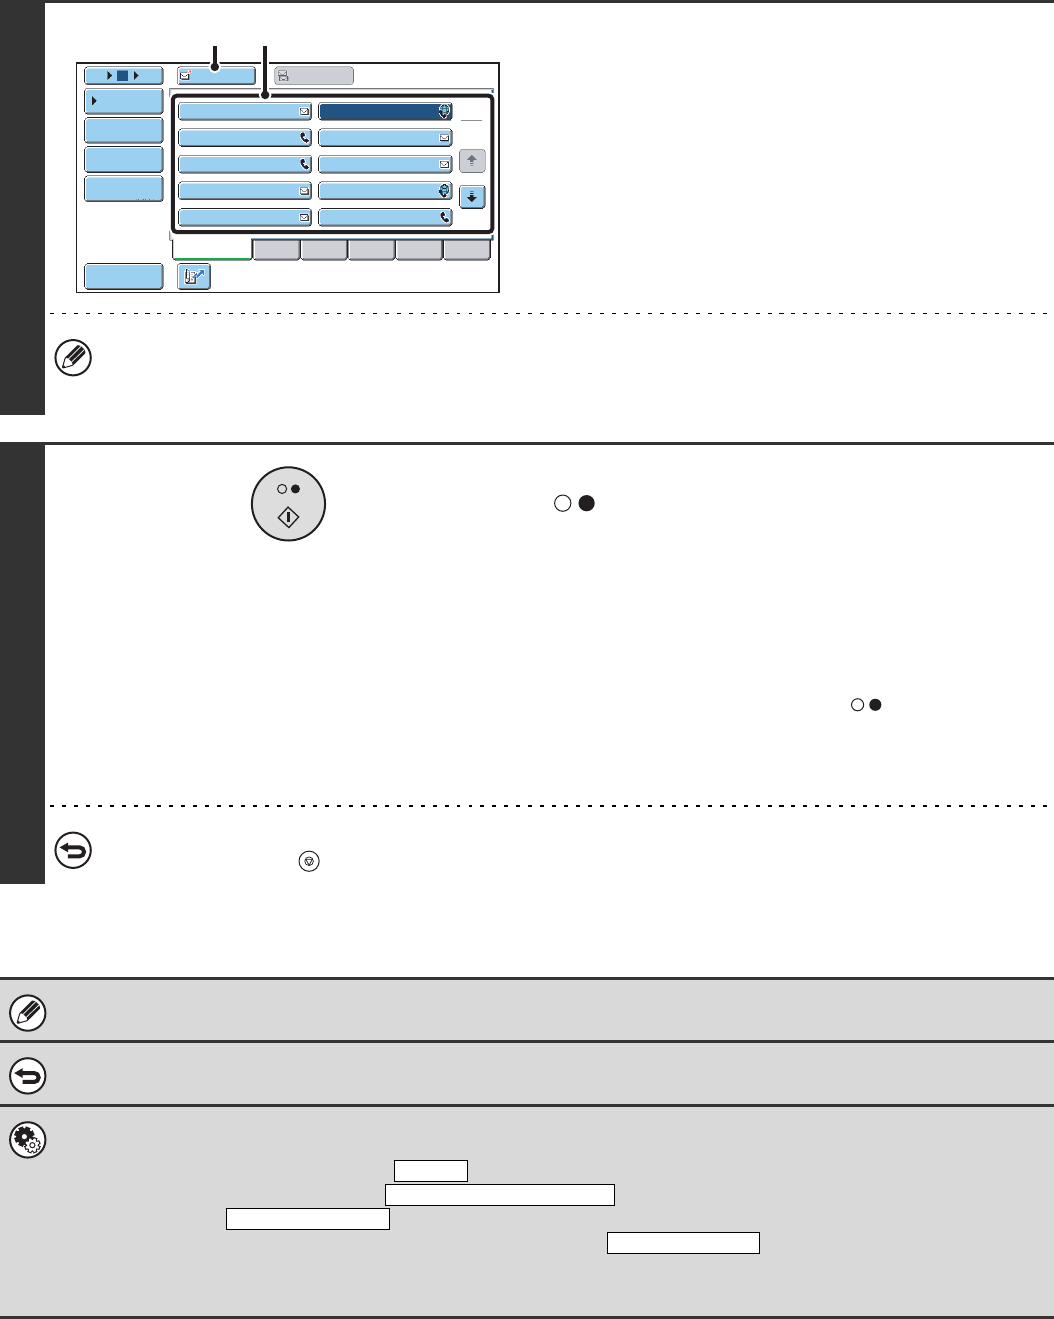
Specify the destination.
(1) Touch the [Address Book] key in the base
screen.
(2) Touch one-touch keys of the destinations
that you wish to store in the group.
(3) Touch the [To] key.
In addition to specification by a one-touch key, a destination can also be specified by a search number. You can also
manually enter an e-mail address or look up an e-mail address in a global address book. For more information, see "2.
ENTERING DESTINATIONS" (page 20).
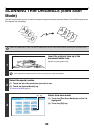
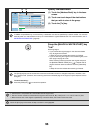
5
Press the [BLACK & WHITE START] key
().
Scanning begins.
• If you inserted the original pages in the document feeder
tray, all pages are scanned.
A beep will sound to indicate that scanning is finished.
• If you are scanning the original on the document glass, scan
each page one page at a time.
When scanning finishes, place the next original and press
the [BLACK & WHITE START] key ( ). Repeat until all
pages have been scanned and then touch the [Read-End]
key.
A beep will sound to indicate that scanning is finished.
To cancel scanning...
Press the [STOP] key ( ) to cancel the operation.
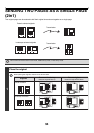
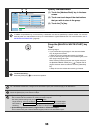
For a broadcast transmission, changes to the transaction report print conditions apply to all destinations.
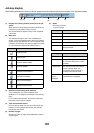
To cancel the transaction report setting...
Touch the [Cancel] key in the screen of step 3.
• System Settings (Administrator): Transaction Report Print Select Setting
This is used to set the conditions for printing transaction reports.
The factory default settings are print at below.
Single Sending: Print Out All Report/ /No Printed Report
Broadcasting: /Print Out Error Report Only/No Printed Report
Receiving: Print Out All Report/Print Out Error Report Only/
• System Settings (Administrator): Original Print on Transaction Report
This is used to have part of the transmitted original printed on the transaction report.
III III
GGG GGG
EEE EEE
CCC CCC
AAA AAA
JJJ JJJ
HHH HHH
FFF FFF
DDD DDD
BBB BBB
To Cc
ABCD
Frequent Use
EFGHI JKLMN OPQRST UVWXYZ
1
2
5
15
10
Global
Address Search
Address Entry
Sort Address
Address Review
Condition
Settings
(3) (2)
Print Out Error Report Only
Print Out All Report
No Printed Report