


Setting Up the 4000i 21
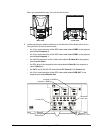
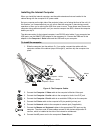
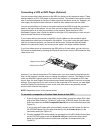
15. Turn the projector adjustment knob on the mounting bracket until the projector has
moved about 3/8" (1 cm). (You’ll fine-tune this setting on page 32.)
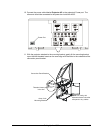
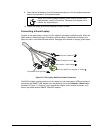
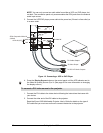
16. Tighten the four mounting screws that hold the projector to the mounting bracket using
the M4 hex key.
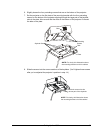
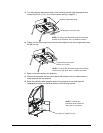
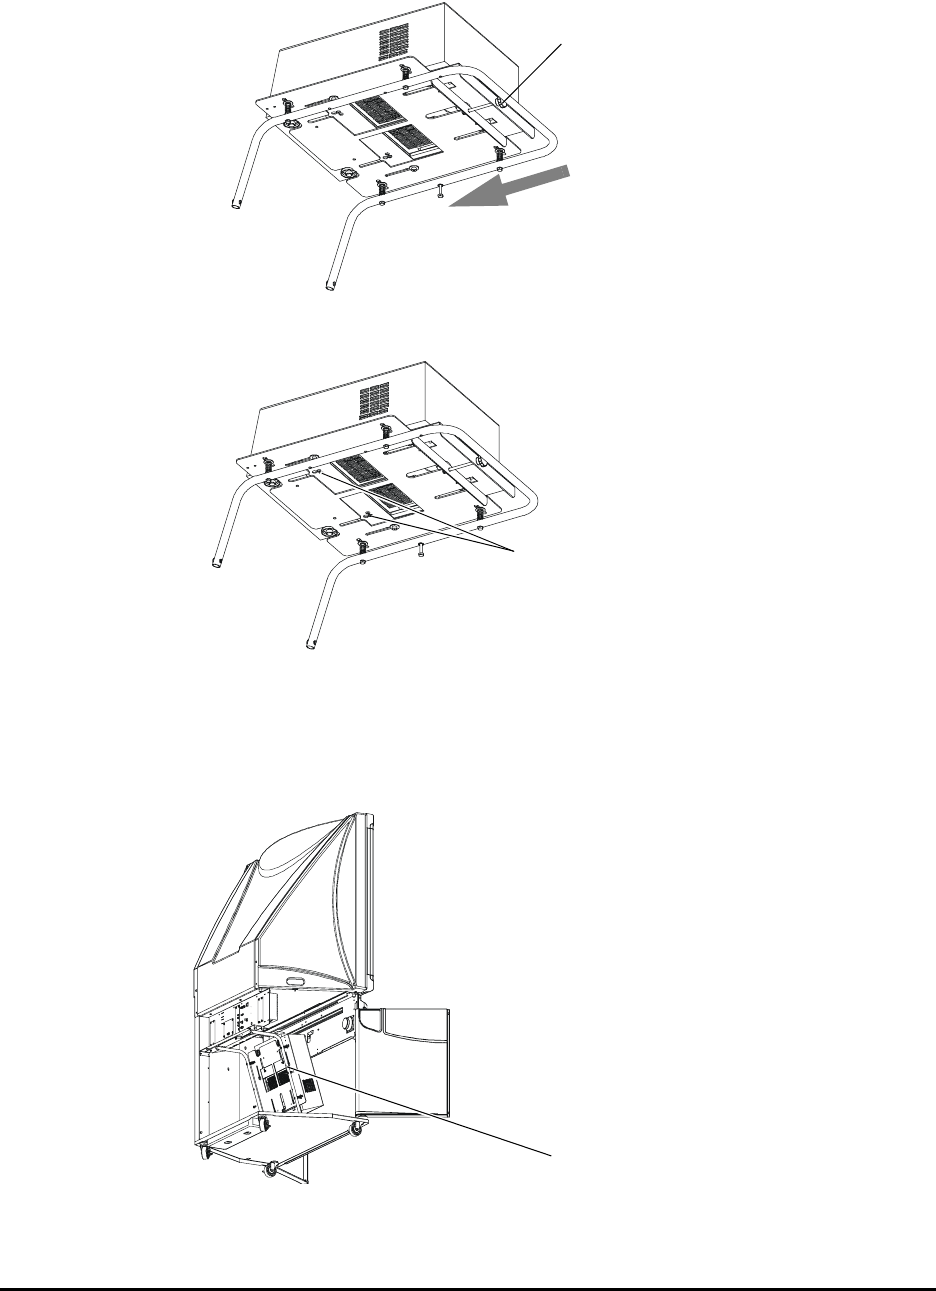
17. Remove the lens cap from the projector.
18. Check that the cables that are connected to the projector have no sharp bends or
stress points in the final position.
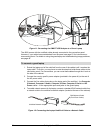
19. Route the cable bundles along the sides of the projector mount and snap the
releasable tie wraps into the three holes on the mounting bracket.
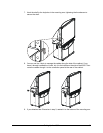
Projector Adjustment Knob
The projector moves this way
NOTE: For clarity, this illustration shows the mounting
bracket out of the 4000i. Also, no cables are shown.
Tighten these screws (two
shown, four in total)
NOTE: For clarity, this illustration shows the mounting
bracket out of the 4000i. Also, no cables are shown.
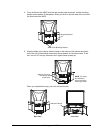
Holes for Cable Ties (x3)
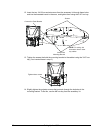
NOTE: For clarity, this
illustration doesn’t show the
side panel or any cables.