


34 Finalizing the Installation
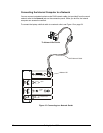
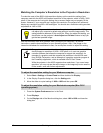
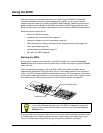
5. Tighten the lockdown bolt to prevent the projector plate from shifting.
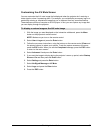
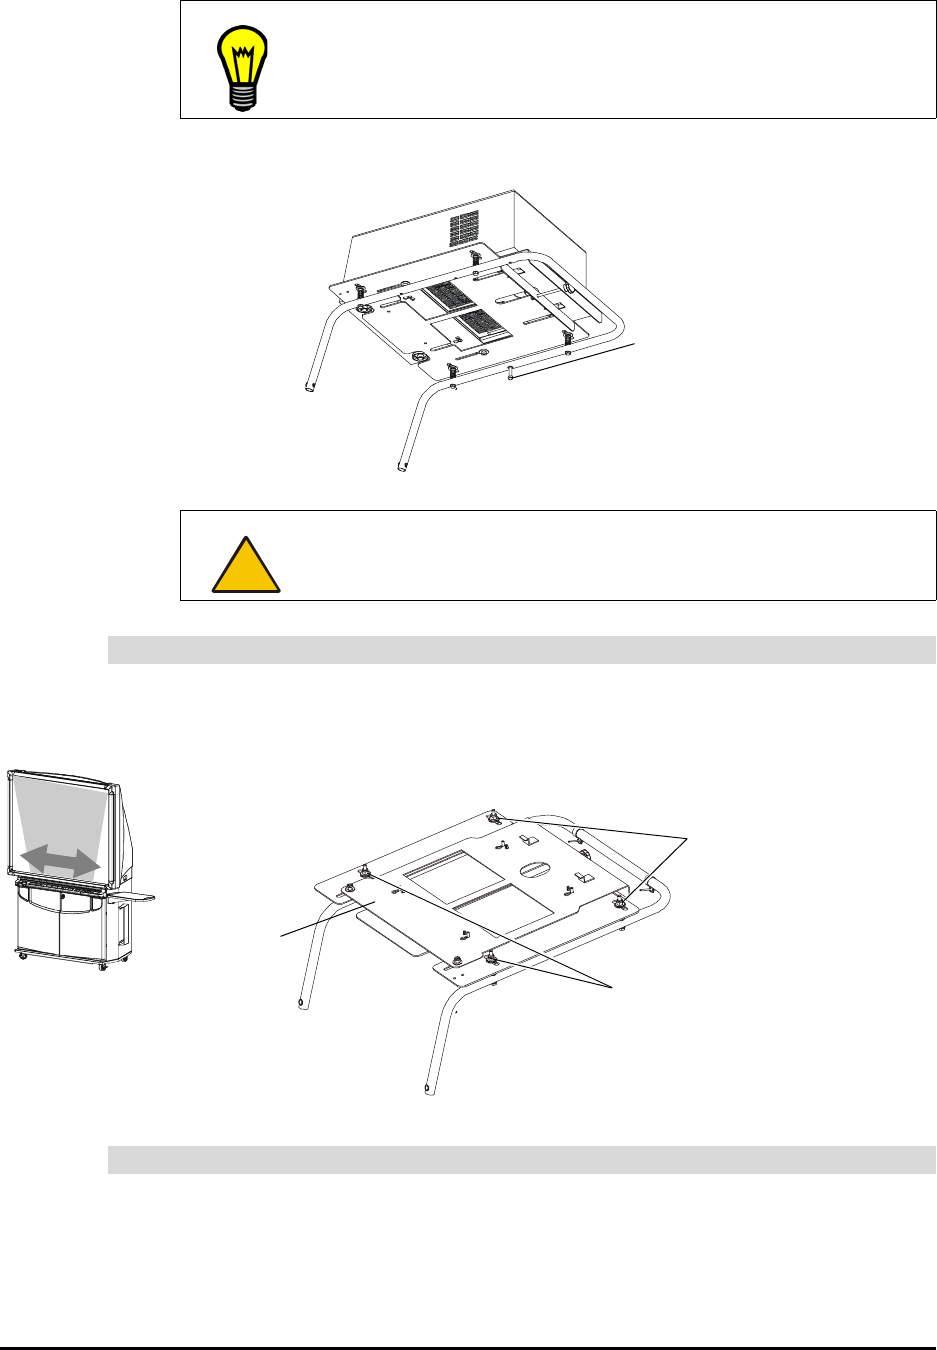
1. Adjust the appropriate spring-loaded screws that hold the mounting bracket using the
7/16" nut driver from the accessory kit (see the illustration).
When you do this, make sure you adjust the screws evenly.
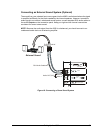
To correct focus problems, adjust the projector’s front focus ring until the image appears
correct.
TIP
You can make fine adjustments to the projected image by pressing the
Lens Shift button on the projector’s remote control.
CAUTION
Don’t overtighten the lockdown bolt. This bolt only needs slight
pressure to hold the plate in place.
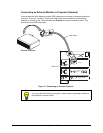
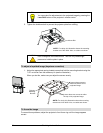
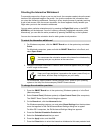
To adjust a lopsided image (keystone correction)
To focus the image
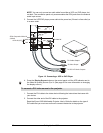
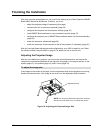
Lockdown Bolt
NOTE: For clarity, this illustration shows the mounting
bracket out of the 4000i. Also, no cables are shown.
Loosen these two screws to widen
the top of the projected image
Loosen these screws to
widen the bottom of the
projected image
Projector
Mounting
Bracket
NOTE: For clarity, this illustration shows the mounting
bracket out of the 4000i. Also, no cables are shown.