Removal and Installation Procedures
TDS 684A, TDS 744A, & TDS 784A Service Manual
6–53
Disassembly for Cleaning
This procedure is for disassembly of the Digitizing Oscilloscopes into its
individual modules so they can be cleaned. For the cleaning instructions, see
Inspection and Cleaning, which begins this section.
1. Assemble equipment and locate modules to be removed:
a. Have handy a screwdriver with a size T-15 TorxR tip (Items 1 and 2), a
T-20 TorxR
tip (Item 3), a flat-bladed screwdriver (Item 6–11), and a
pair of angle-tip tweezers (Item 6–11).
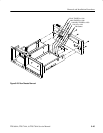
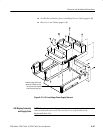
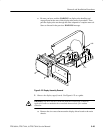
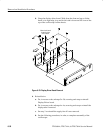
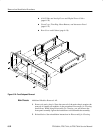
b. Familiarize yourself with the modules illustrated in figures 6–1, 6–2, and
6–3.
2. Remove external modules: Do in order the following procedures. They are
found under Procedures for External Modules which starts on page 6–16.
a. Line Fuse and Line Cord (page 6–17)
b. Rear Cover and Cabinet (page 6–18)
c. Front Cover, Trim Ring, Menu Buttons, and Attenuator Panel
(page 6–22)
d. Front Subpanel (page 6–51) and Display-Frame Assembly
3. Remove the outer-chassis modules: Do in order the following procedures.
They are found under Procedures for Outer-Chassis Modules which start on
page 6–29.
a. Fan (page 6–29)
b. A14 D1 Bus and Analog-Power and Digital-Power Cables (page 6–29)
c. A23 SerPar Board (page 6–31)
d. A29 Video Trigger Board – with option 05 (page 6–32)
e. A11 Processor/Display Board (page 6–36)
f. Top Cover and Board Brackets (page 6–37)
g. A10 Acquisition Board (page 6–39)
4. Remove the inner-chassis modules: Do in order the following procedures.
They are found under Procedures for Inner-Chassis Modules which start on
page 6–46.
a. A16 Low Voltage Power Supply (page 6–46)
b. A30 Display Assembly and Supply Fuse (page 6–47)


