146
7.SCANNING THE IMAGES
7
1. SCAN SETTING IN THE TOUCH PANEL
If the scanning function is used, originals set on the reversing automatic document feeder (optional) or on
the original glass can easily be scanned as image data.
The scanned image data can be sent or stored to the destinations of “SCAN TO e-FILING”, “SCAN TO
FILE” or “SCAN TO E-MAIL”. you can scan up to 200 sheets of LT size per 1 job.
* See the [e-Filing Guide] about how to save the data to PCs.
Scanning cannot be performed while a job is printing.
Scanning Procedure
1
Place the original(s).
- "2.SETTING ORIGINALS" Page 47
- Originals acceptable to be set "2.SETTING ORIGINALS" Page
47
- When placing an original on the glass "When Placing an Original
on the Glass" Page 48
- When placing the original on the reversing automatic document
feeder (optional) "15.CONTINUOUS/SINGLE ORIGINAL
FEEDING" Page 134
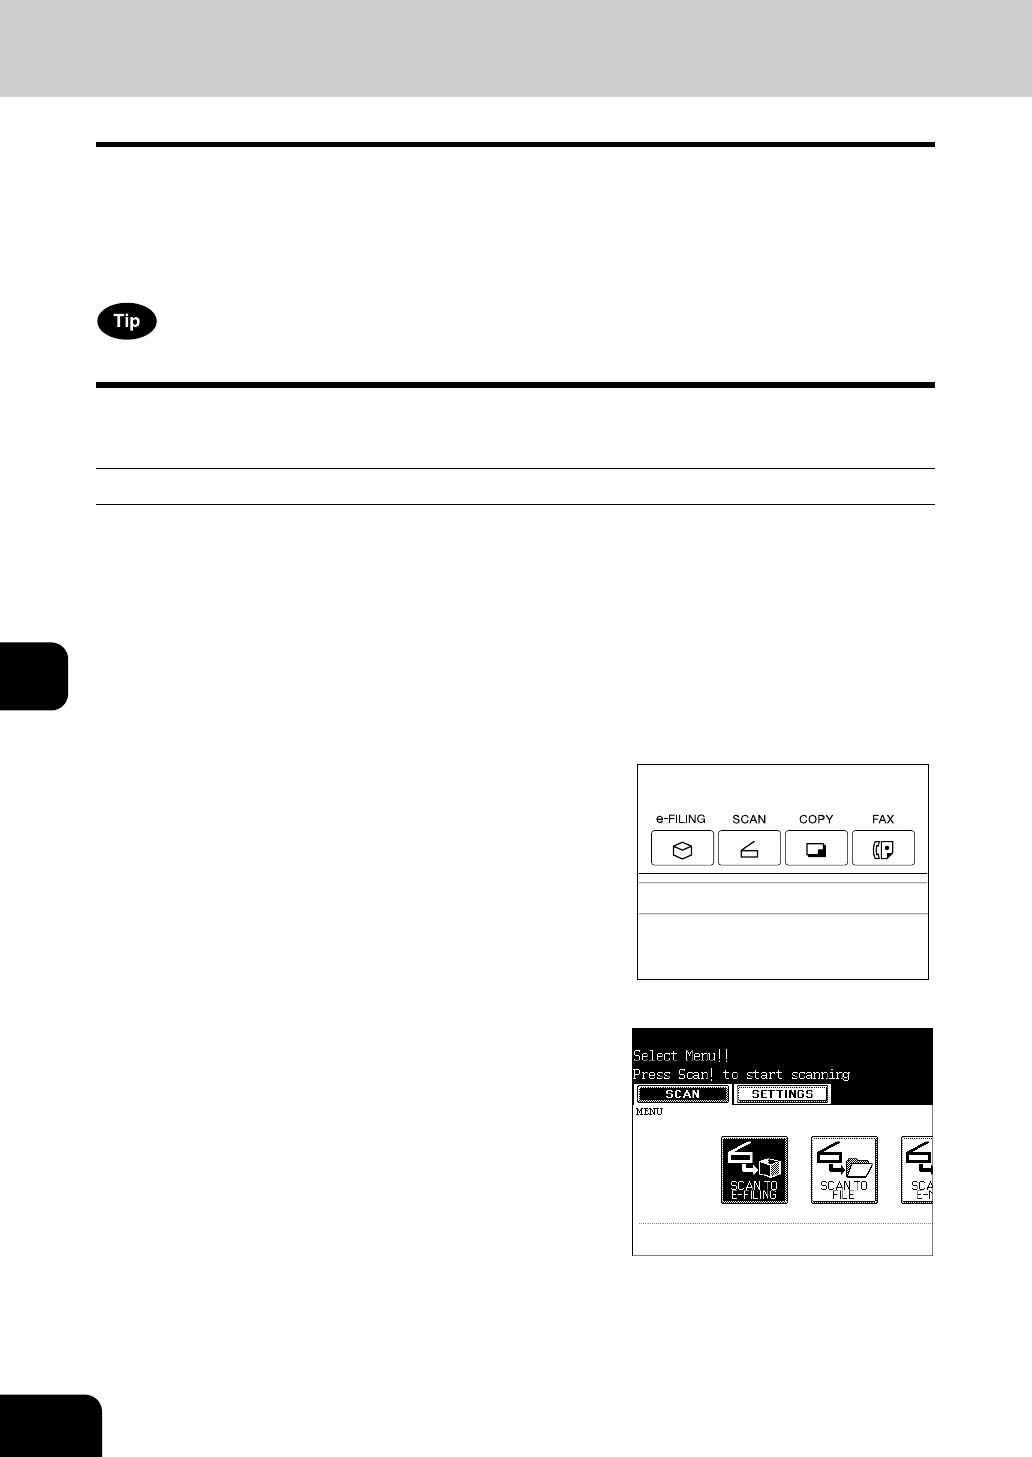
2
Press the [SCAN] button on the control
panel to enter the scan menu.
- The basic scan menu is displayed.
3
Select the desired scan mode and press
the button.
- The screen on the right is displayed as an example of selecting
SCAN TO E-FILING.
- To select SCAN TO E-FILING "2.SCAN TO e-FILING" Page
148
To select SCAN TO FILE "3.SCAN TO FILE" Page 152
To select SCAN TO E-MAIL "4.SCAN TO E-MAIL" Page 156


