


© 2006 - 2011 TOSHIBA TEC CORPORATION All rights reserved GD-1210/1250/1270/1160/1260
FIRMWARE UPDATING
5 - 1
5
5. FIRMWARE UPDATING
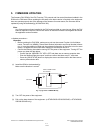
The firmware (FAX ROM) of the FAX Function (T.30 protocol and line control) has been installed in the
ROM on the FAX board. When updating the firmware to the latest version is required or the equipment
does not operate properly due to the damage of the firmware for some reason, the firmware can be
updated by using the download jig (K-PWA-DLM-320).
Note: Note:
Any firmware has not been installed in the FAX board provided as a service part. When the FAX
board is replaced in the field, confirm the version of the other firmware used together and install
the applicable version firmware.
<<Update procedure>>
Important:
• Before updating the FAX ROM, make sure to print out the current Function List for Mainte-
nance, Function List (ADMIN), Phone Book Number Information and Group Number informa-
tion. In case the updating is failed and the registered information of the users is lost for some
reason, re-register the user information referring to the lists and recover it.
• Confirm the following items before turning OFF the power of the equipment. Turning OFF the
power may clear the data below.
- Confirm that the “MEMORY RX” LED is OFF and there are no memory reception data.
- Print the “Mailbox/Relay box report” and then confirm that there are no F code data.
- Press the [JOB STATUS] button to display the screen and then confirm that there are no
memory transmission data.
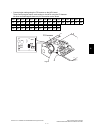
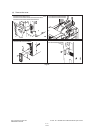
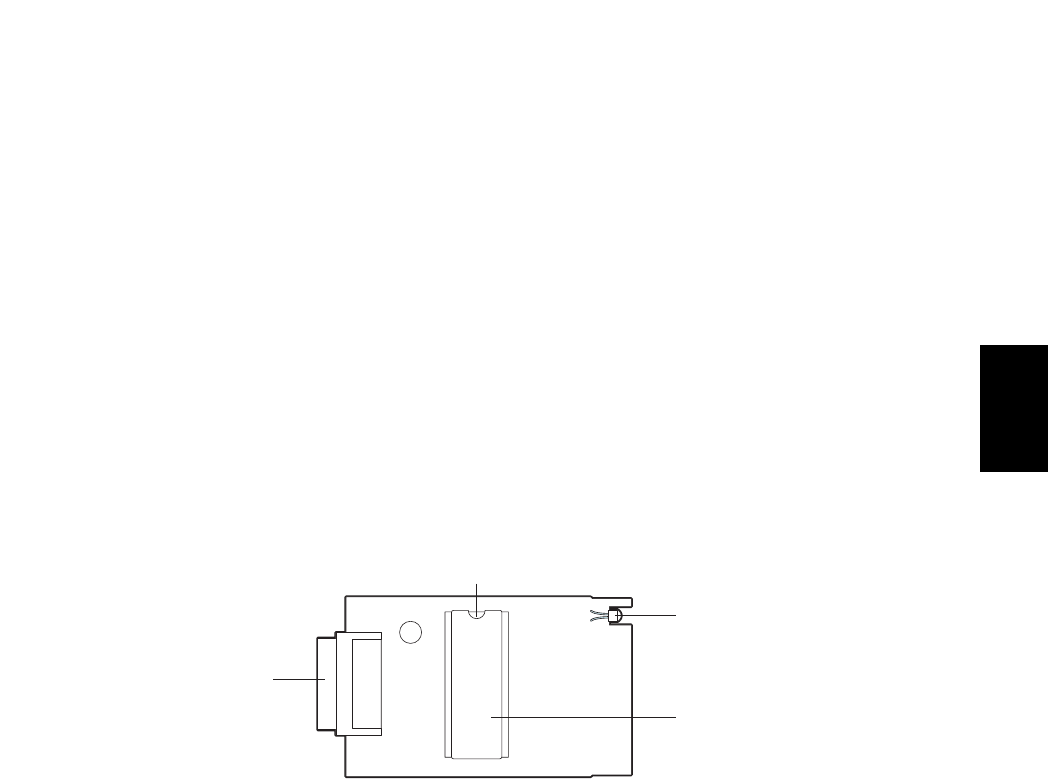
(1) Install the ROM to the download jig.
Make sure the direction is correct.
Fig. 5-1 [Jig board: K-PWA-DLM-320]
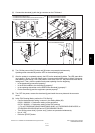
(2) Turn OFF the power of the equipment.
(3) Pull out the lower drawer of the equipment. (e-STUDIO205L/255/305/355/455, e-STUDIO206L/
256/306/356/456 only)
Connector
ROM
LED
Mark for ROM installa-
tion direction
11/12